|
Easy Snow Globe

This tutorial was written by me on November 17, 2004
Any resemblance to another is purely coincidental.
It is not to be copied or mirrored you may link to
it or print it out for personal use only.
My Supplies
(I have included the snowflakes filter)
VDL Adrenaline
(If the plugin I supplied does not work go here and download it)
Download my supplies and unzip them into a folder
unzip the snowflakes filter into your plugins folder.
Open the snowglobe.psp and xmasfarm.jpg in paint shop pro.
Shift+D and make a copy of the snowglobe then close the
original, file/save and name your snowglobe, be sure to save
often psp has been known to close without notice.
There will be ants around the globe
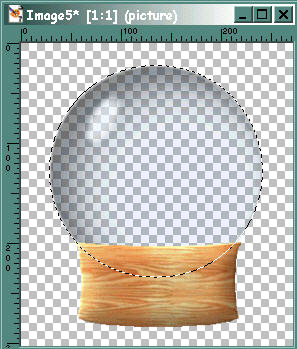
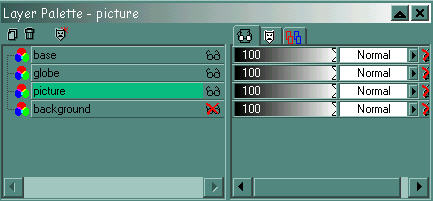
Your layer palette should look like this..
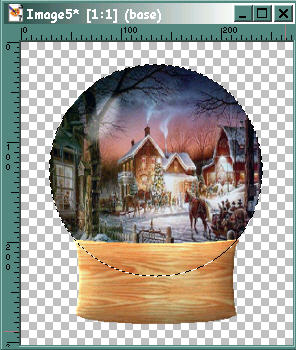
Right click on the xmasfarm image and choose copy
Right click on the globe inside the ants and choose
Paste Into Selection.
This is what you should have..
Selections/Select None.
You can close the xmasfarm image now.
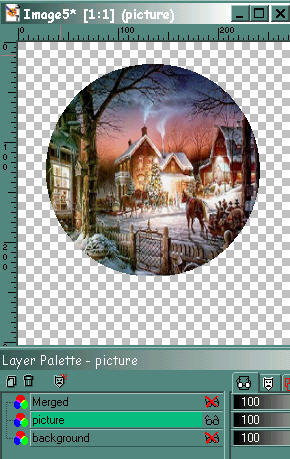
Place a red X on the picture layer and
Merge/Merge Visible the base & globe layers.
Click on the picture layer to make it active
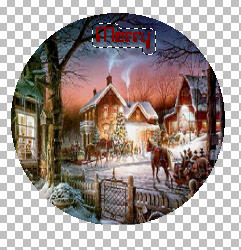
you can add your text if you want but its not
necessary. If you do be sure to put a red X
on the merged layer which is the base and globe.
This is what you should have...
Click on your text tool then click on the image,
the text entry box will open.
PSP 7
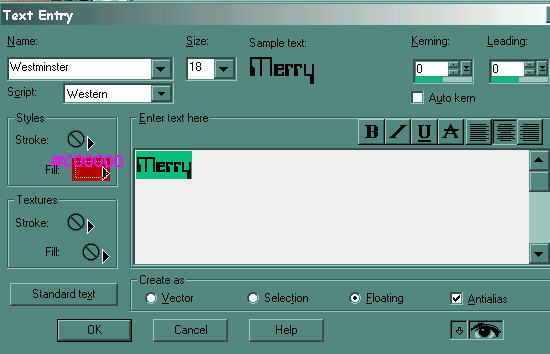
PSP 8

I used the Westminster font, size 18, color #C000000,
Antialias & floating checked. There will be ants around
the text you can add an inner bevel & drop shadow
while its still selected. I added an inner bevel using the
pillow preset, my settings for a drop shadow is..
V&H = 1
Opacity = 60
Blur = 6.8
Color = Black
Selections/Select None.
 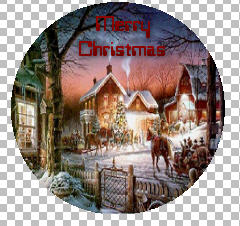
Uncheck the merged layer, add a new layer and name it
text, add your name using the same settings as above
Change the size big enough to accodomate your name
on the snowglobe base. Apply the same inner bevel
and drop shadow as you did for your text.
Continued on Page 2
©Foxy's Creations 2004
|