Fairy Tag Tutorial |
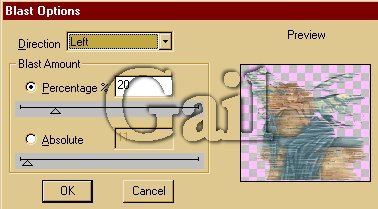
| Now that we have everything, let's begin. 1. Open new image 250 x 250 transparent background. 2. Open fairySittingBenchAB.tub, sand mask, and photo edge02.psp. We won't be using the photot edge until the end so minimize this on your work area. Also at this point, in your color palette, make your background color white. This will be important when we ad borders to our tag a little later. 3. Clicking on the fairy tube file, click on shift D - 2x's. This will duplicate the tube so that we can make a background now and use the tube later. Close the original. Now working with image 2 - Go to effects-plusgin filters-dsb flux-blast. Direction left at 20%. (screen shot to the right) |
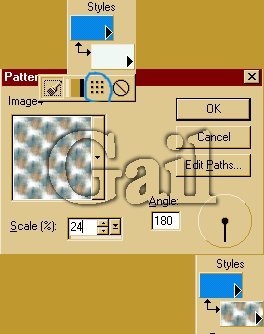
| 4. Now in your background box you need to click on textures and find the seamless background (image 4) that you just made. Clcik on it so that we can use it for a flood fill. Set the scale at 24% and the angle at 180. Click okay. You can now minimize image 4. Now that we have that all set, go back to your transparent image, we are ready to start putting together our tag. |
| *page 2* |
| If you have any comments or questions about this tutorial, please feel free to contact me |

|
 |
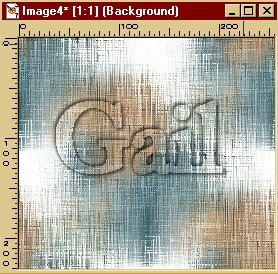
| Go to effects dsb flux blast again only this time change the direction to up. Do it again but change the direction to right and then one last time and change the direction to down. Now go to effects, sharpen, sharpen. Again go to effects, sharpen, sharpen. Now we want to make our background seamless so we are going to copy the image and then paste it into 20/20. Once you have made your seamless tile, copy it from 20/20 and past it as a new image in psp. This is image 4. To the right is what yours should look like. Now close image 2. You don't need to save it. |
 |
 |
 |