Paint Project
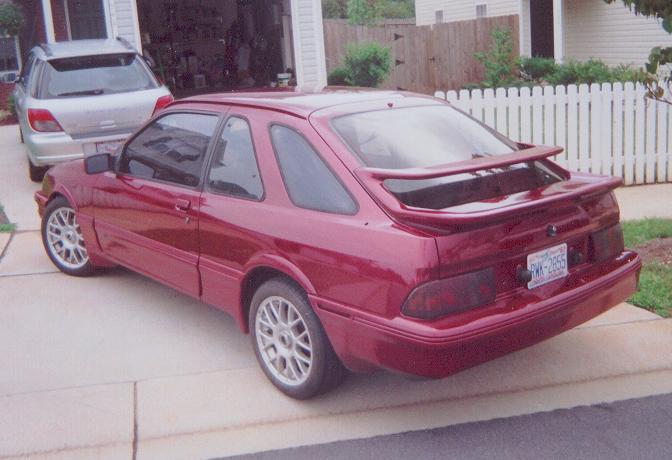
Worker Merkur XR4Ti

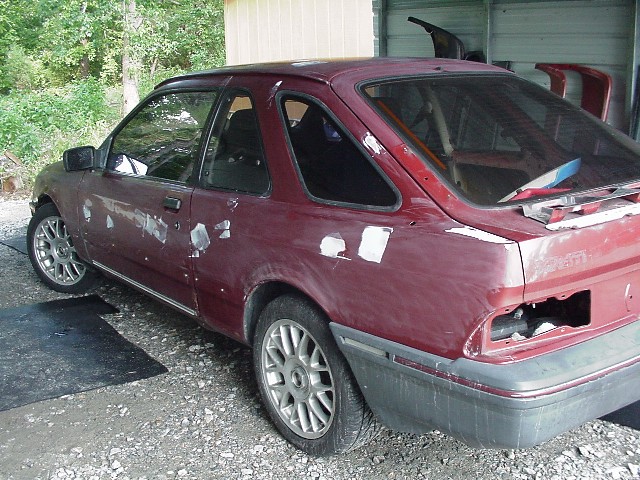
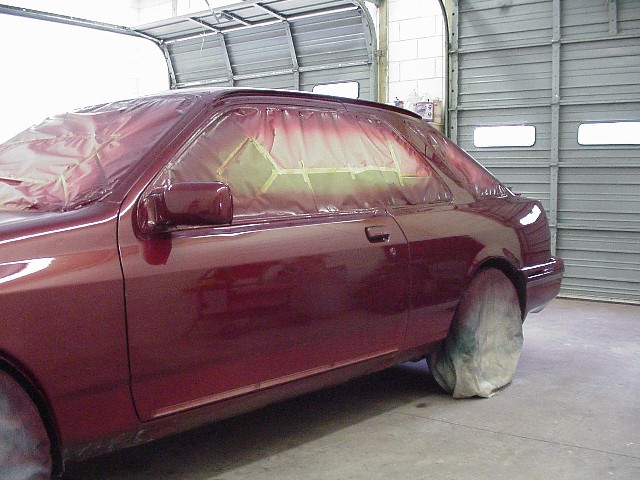
The pictures below are during the preparation for paint. The white spots are where we sanded through the paint. The first layer of primer is white. The second layer is green then you hit bare metal. For a car that is 19 years old and spent most of its life in Ohio there was minimal rust. One spot behind the body cladding on the driver's side door required fiberglass. The only bondo used was for dents attained during some hard years in the driveway of my fraternity house at Kent State.
The color I chose is from GM. It is called Redfire. It is a dark metallic red similar to the stock paint. I wasn't interested in a perfect match just something close enough that it wouldn't need to be painted in the door jams etc.
Don Watts from Youngsville, NC assisted with the preparation. Without him this would not have happened. Thanks Don!
We used 240 grit (rough areas from grinder) and 400 for prepping the paint. Most was done by wet sanding. All bare metal was primed and wet sanded. These are the before pictures. We are spraying Saturday July 26 2003 so the after pictures will be up soon!
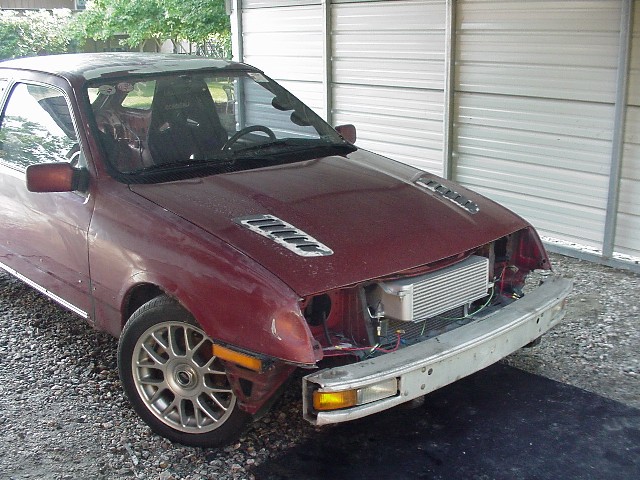
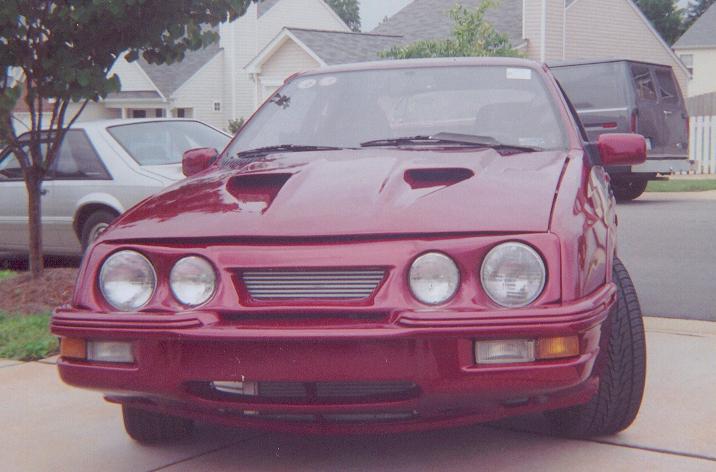
At the very bottom is the fiberglass hood with functional scoops and cowl. Much like the nose piece on my home page this is a rarity and only a handful were produced.


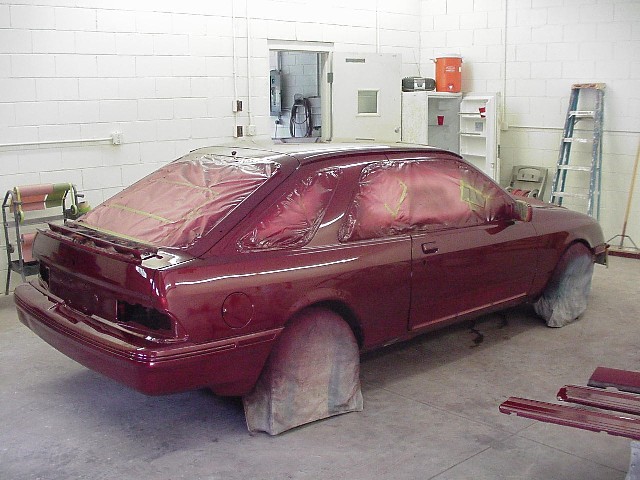
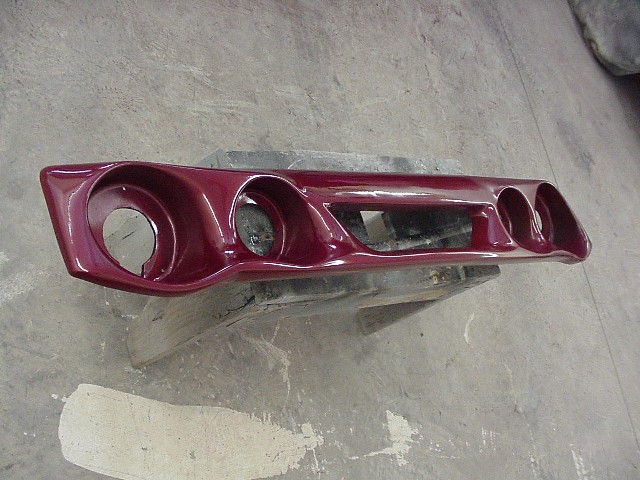
The pictures below were taken while the clear coat was still drying Sunday July 27.. The color is 2003 GM red fire supplied by PPG. 2 quarts mixed 1:1 as specified by PPG. It didn't look like much until the clear coat was on.
The nose piece was from a set that were made and sold by an individual who owns a Merkur. They can no longer be sourced and you can't have mine!
Same deal on the hood. It is a specialty item purchased on ebay from Ed's Custom Glass in PA. He refuses to make them anymore due to the rather poor business deals he's experienced with other Merkur owners. Again, you can't have mine.


 \
\