July 18 2006
Page 13
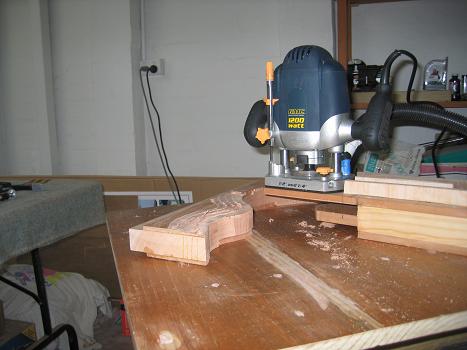
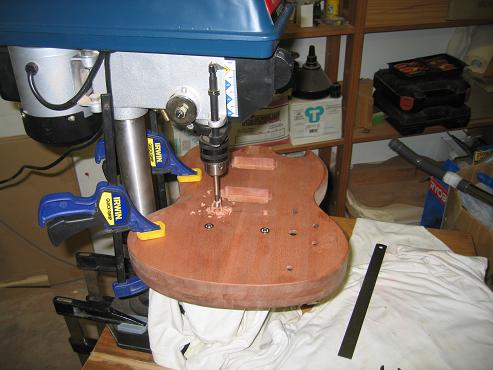
Time to get the feel of the Setch top carve jig.
Photo 1. Practise on scrap.
It took me a while to get the hang of it, and this is done on the negative of the real shape so to speak. Also the sides aren't beautifully sanded like the 336 itself. Their gnarly surfaces also made it a bit difficult. You can see the terraces though. I cut the shallowest and widest terrace first then the second shallowest second widest..if you see what I mean. To put it another way I worked from the inside out towards the edge.
The roughness of the terraces will disappear through the carve sand process. I hope. Let's see.
Photo 2. Looks rough.
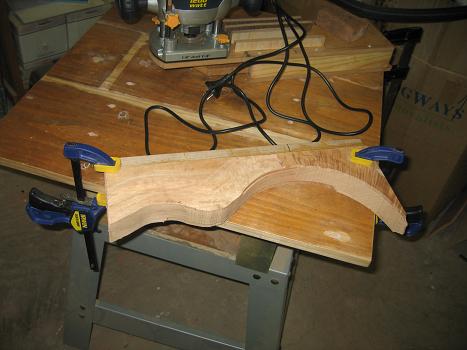
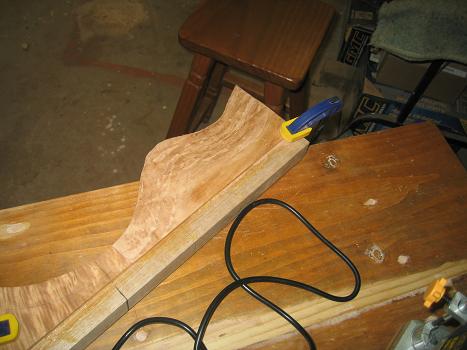
Photo 3. Still rough.
This is a big job. I wondered why my mates reckoned I was game doing a carve top. Well I have to go through with it because the binding channels are done to the depth of the finished carve. No arguments. Get on with it. Practice that is!! LOL.
In the meantime I should be able to get the SG & LP DC up to the 'ready for stain' stage. I hope to stain & lacquer etc over a period of weeks while still practising the top carve.
I'm getting a couple of my router bits sharpened so no routing for a while.
Photo 4. Out with the sander.
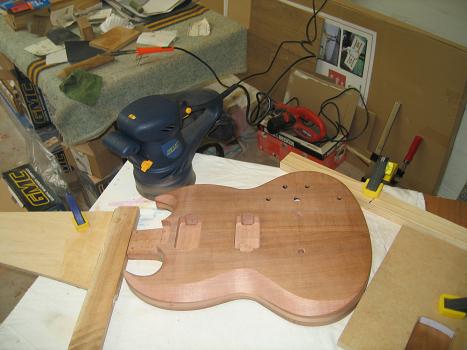
Photo 5. This beats hand sanding.
Photo 6,7 more pics.
Photo 8. Dings....
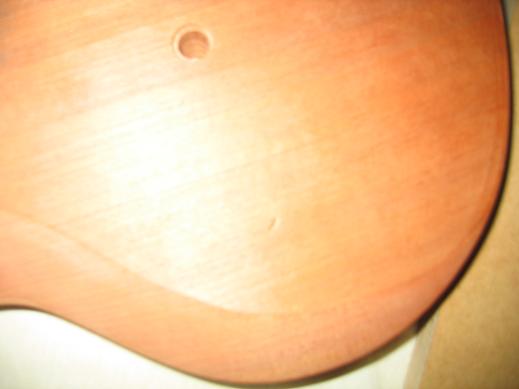
There were quite a few. I'd known about most of them. I got out the long forgotten soldering iron and a damp sponge and steamed them out one by one. It actually works!! LOL. The larger ones took a while and I think I killed the soldering iron tip...ah well. they're cheap!!.
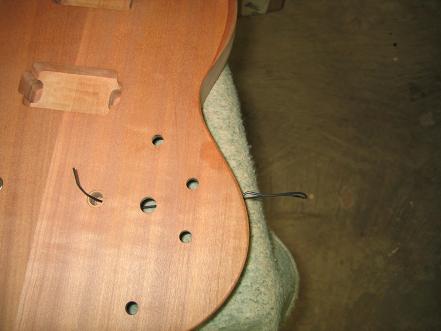
OK. now to get some hardware set in place.
Pictures 9,10..earth wires in.

I pressed in the tail piece and bridge studs on the LP DC by lightly tapping (via a buffer) with a hammer doing my best to keep things straight. The shape of the LP DS was such that I couldn't use the drill press for this. I used the drill press on the SG.
Photo 11. In for good I hope.
Actually it wasn't all smooth sailing. I the fit on both tail piece bridge is very tight. I may well grind the tailpiece a bit to free it up, and maybe the poles on the bridge. Warmoth advertise that their stuff fits. It does, but not perfectly. Using a press could well have given a better result.
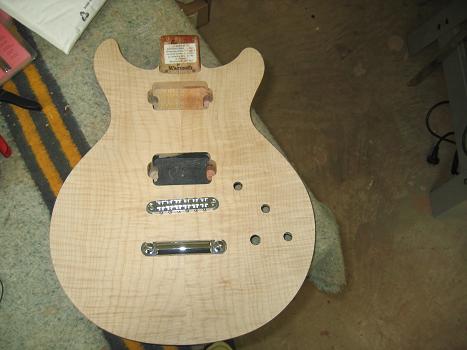
Photo 12. Tailpiece on OK.

Photo 13. Tuners on...
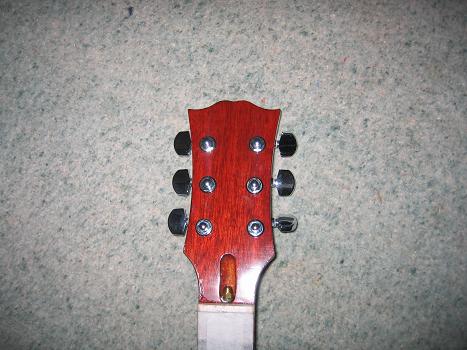
Photo 14. On with neck & E strings..
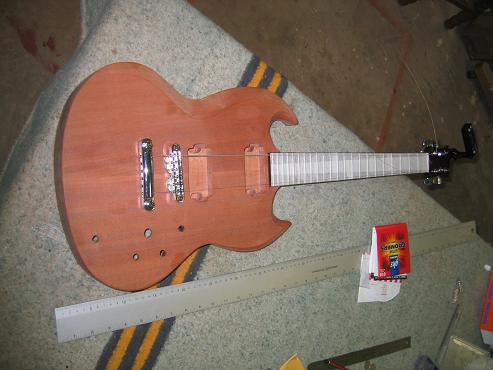
I used coins to 'shim' the bridge & hopefully protect the timber. After a tweak of the truss rod to get it somewhere near straight I got a note.
To get the ball park position of the bridge I measured nut to 12th fret down the centre, then double the distance from the nut right down the body centre line & made mark. I then measured a further 1/16" and from that new mark a further 1/8". I projected a line from the first extra mark at right angles towards the e first side, and projected a line from the second new mark at right angles towards the e 6th. This adds compensation of 1/16" on the treble side and 3/16" on the bass side.
When the bridge was roughly in place I could see the lines through the post holes. When the strings were tightened to pitch I measured down the strings to check that there was compensation and I also set the bridge laterally so there was an equal distance from both E strings to the edge of the neck. I then used my trusty Intellitouch tuner to check the intonation. It went well. No problems so I marked the centre points for the bridge studs.
Photo 15. Drill.
I was edgy about the fit since everything so far had been turning out on the tight side. When I took the body off the drill press, the bridge studs slid in as smoothly as shark shit. BUT WAIT!! They shouldn't!! They should need to be pressed in! What the...???!!. I checked everything at least three times. I even ran upstairs to get a better ruler. I checked the drill bit....7/16" (11.1mm) I'd checked the stud dimensions...11.3mm...check on the Warmoth Product info sheets...I don't know how to attach them since they're not actually pictures and saving them as text loses t he diagrams..Trust me I checked evrything at least three times...Try clicking here.. Bridge Stud Specs
Then ...I actually measured the stud. 11.1mm not 11.3. I was greatly upset by this. I thought of a number of abusive emails to fire off to Warmoth, but truth be told I was most angry at myself. I trusted writing on a piece of paper when I had the real things in my hands!!!
Anyway it so happened that I had read a thread on a topic like this...studs too loose... and the recommended fix was to shave pieces into flat threads and wrap the threadlike shavings around the post. I produced the required shavings, but found it impossible to wrap them around the posts & insert the posts. Ultimately I put pieces of shavings shoulder to shoulder in the holes round the inside perimeter, and used the drill press to press in the studs. The fit of the bridge is good!.
Photo 16. In and on!!

Next up surface prep and staining the SG & LP DC, and more practice for the top varve. I will mask the studs while staining & lacquering. I will probably carefully coat the edges of the pot holes with something to protect the wood from the water. Maybe the black conductive paint, but I don't want a spill on the surface. Maybe decking oil. We'll see.
More soon I hope.
Page List - Much less editing doing it this way. LOL!!