Early Period Costumes
Late Period Costumes
Men's Costumes and Accessories
Modern Creations
Norse Apron Dress
I decided it was time I made an apron dress so I could wear my pretty brooches. I also figured it would be a good way to use up the stash of tablet weaving that was actually purpose-made but had been sitting around unused for several years. The following websites were my source of inspiration, as well as the guidance of her Excellency, Inga the Unfettered.
The Viking Apron-Dress: A New Reconstruction By Ellisif Flakkari
Vigd�s' Viking Apron Dress
��ra's Viking Resources for the Re-enactor
The Viking Answer Lady
And yes, I am aware that this is not the most flattering style on a less than curvy lady. But I'm a viking now, so what choice to I have? I'll sneak the Tudor in when my brothers aren't paying attention :)
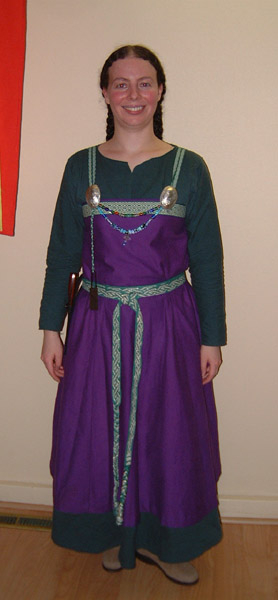 |
I didn't end up making my dress exactly like any of these ladies, but I certainly liked seeing what had gone before. I made my dress like Inga's. All panels the same general shape of a reclangle from the waist up and a trapexoid from the waist down, with no gores. Front and back dimensions exactly the same, with the object being to get the seam just outside the nipple and the sides being made to fill the gap, however big that is. I also put a dart under each arm to nip the top of the dress in a little, so it didn't stick out above my breasts. Just a little dart, nothing drastic as I still wanted to be able to get the dress on and off. The waist is not fitted at all for the same reason. My skirts ended up being a LOT fuller than Inga's. I basically made them such that the angle of the seam was a 45 and figured that should be plenty to get over my hips. It may have been a little overkill, but having made this mistake before on costume 5, I wasn't eager to repeat the unflattering, butt-grabbing effect of making the gores too small or starting them too low. I figured if it was really awful I could take it in later. I made the pattern by using my own measurements. I measured from just past one nipple to just past the other and this was my centre front and centre back measurement. I then measured around the fullest part of my bust, divided by two, subtracted the centre front measurement and this gave me my side measurement. I then added 1 inch to all seams for a generous seam allowance and room for error. This was brilliant as I forgot to add ease. I realized this after cutting but before sewing and decided to sew with a 3/4" seam allowance. This gave me 1/2" of ease on each seam, 4 seams, so a total of 2 inches of ease, which is just about right. Underbust to waist, plus a top hem gave me the other dimension of my rectangle. I then made the bottom hem of the skirt 30" on each piece and just filled in the line from the bottom of the rectangle to that point. This is less efficient use of fabric than true reclangular construction (using gores instead of trapezoids, or in addition to smaller trapezoids). However, as fabric conservation was not an issue with this dress, and time constraints (wanting to get it done for the next weekend's event) were an issue, I opted for fewer seams. The straps were placed using trial and error. The seams are all finished with a serged edge. The seams were sewn by machine, while visible stitching (trim and hem) was done by hand. |
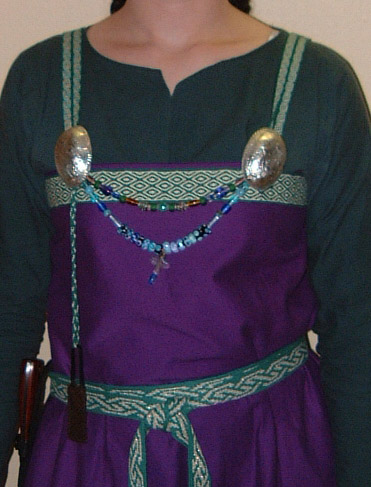 Close-up of the dress, showing use of my brooches, Inga's beads and three different pieces of tablet weaving from my Tablet Weaving Gallery. |
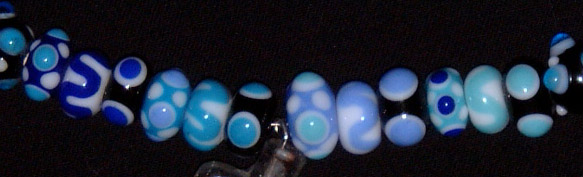 A close up of the lovely beads Inga made. |