It might seems rather straightforward at first but if you look carefully you shall find the trick of the sequence in installing the washers, RCA jack locknuts, etc. Here are the steps to tear-free construction:
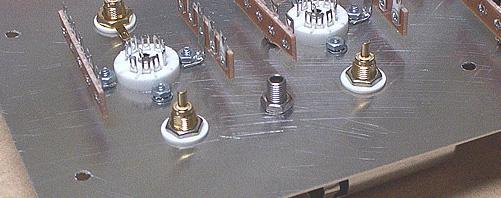
(1)install shouldered RCA input jack washer from the top side of the chassis, then followed by the thin (non-shouldered) nylon washer on the component-side of the chassis. Now, instead of threading the gold-plated ground tab washer and then the gold-plated jack nut, this time just the plain dull silver-looking metal nut and nothing else. Tighten it carefully. Repeat the same process to the other RCA jack on the other channel.
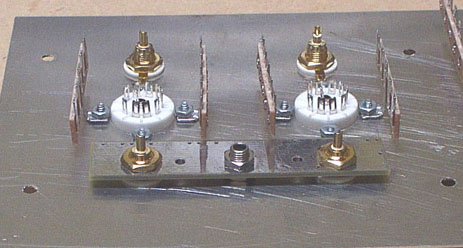
(2) thread the grounding screw and put on 1 of the nuts provided on the back side of the chassis.
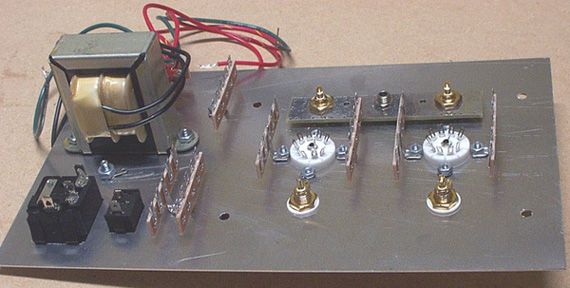
When it's done it should look something like this: