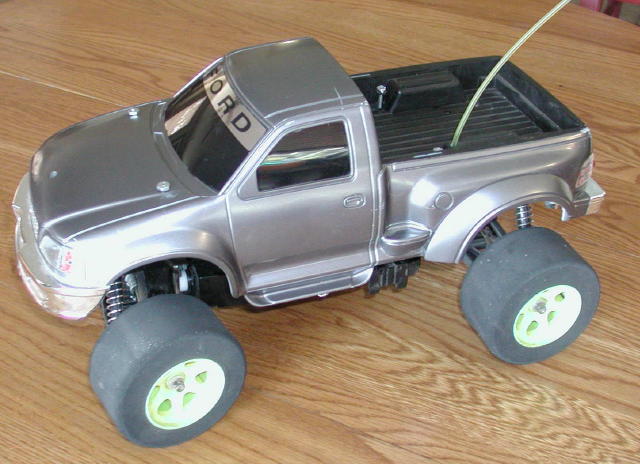
Start by buying a used Radio Shack F-150 (the 7.2V dual-motor variety). You can get them on eBay for around $40. Keep in mind that if you are going to race more than one vehicle, you will need to get them with different frequency bands (Band 1, 2, 3, and 5). Once you receive your truck, remove the body. Remove the back bumper and trash it, but put the two small bolts/nuts back onto the chassis. Remove the front bumper and saw off the part that protrudes past the front of the chassis. Re-attach the part that fits below the front end with 3 screws.
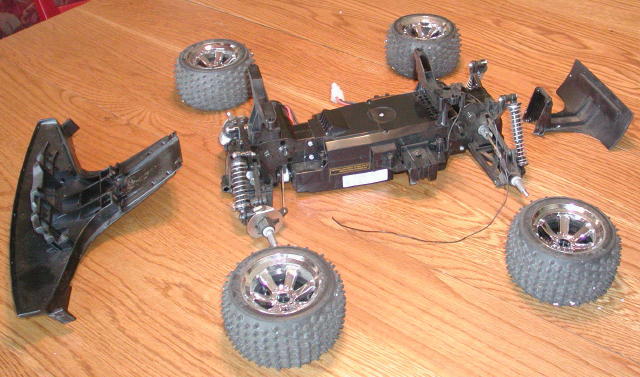
Remove the front plastic body mount plate from the body, and saw off the rear body mounting posts. Drill 3/16" holes through the body at the locations that line up with the body mount towers. Attach the body to the chassis with #8-32 bolts and nuts. You may have to trim the bottom edge of the front bumper if the front wheels rub when the shocks are compressed.
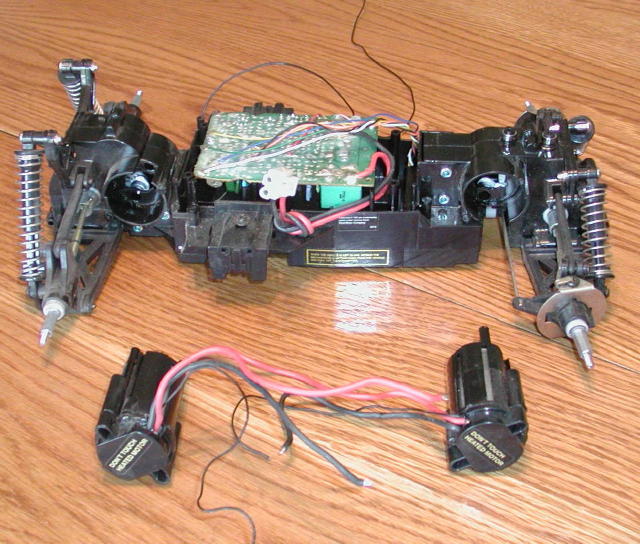
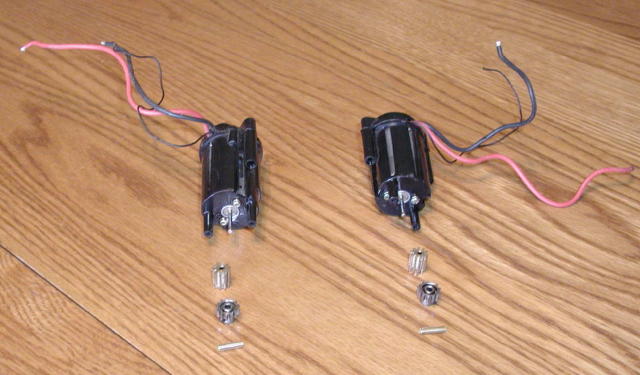
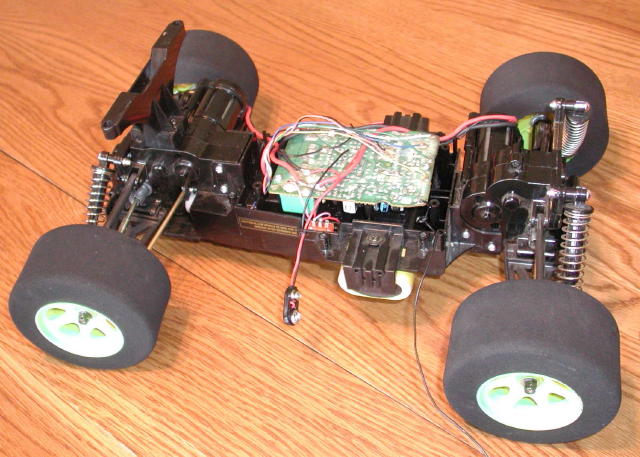
The factory gear ratio provides lots of torque but not much speed. Remove the four screws holding each motor to the chassis and remove the motors. Using a screwdriver, loosen and remove the pinion gears on the motors. Cut a 1/2" piece of brass tubing and press it into the 13-tooth pinion gear. Put a drop of super glue into the brass tubing and press it onto the motor shaft. Tighten the allen screw. Now, remove a small piece of plastic on the motor mount so that the moor can be rotated 180 degrees and re-attached to the chassis. Repeat for the other motor.
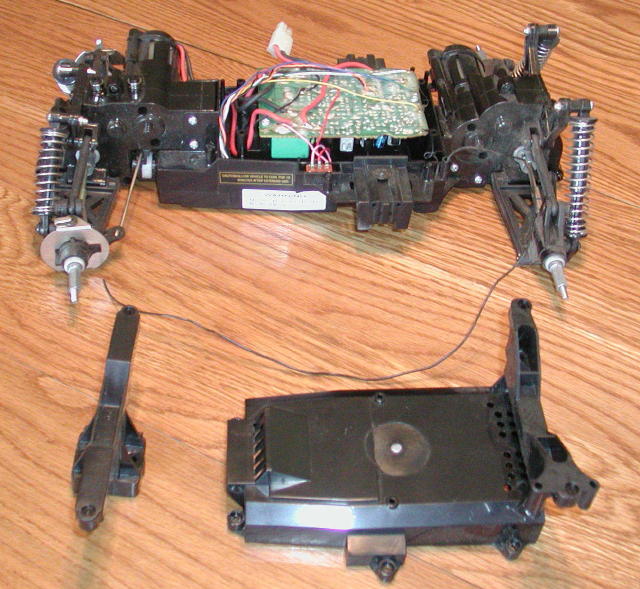
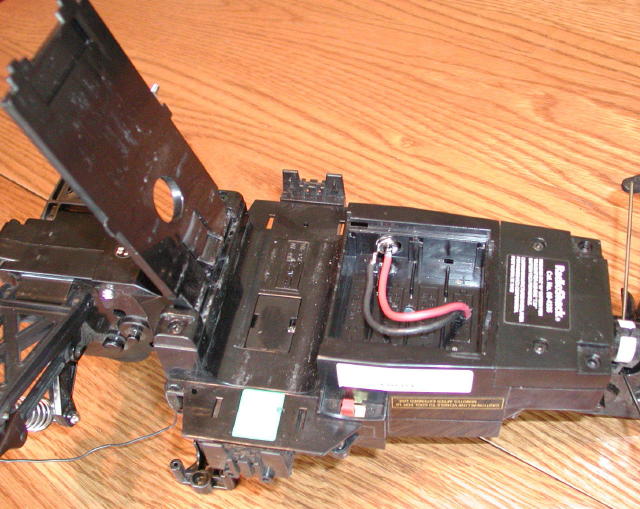
The factory Tamiya connectors are unreliable. Drill a 3/8" hole in the side of the chassis and insert the type M power jack. Drill a hole through the chassis to feed the power wires through, and solder them to the power jack.
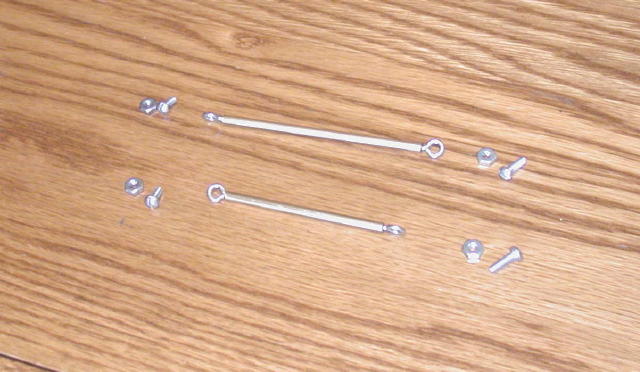
The factory steering linkage is too thin and very sloppy. Remove the steering servo and take off the two linkage rods. Insert two 4-40, �� bolts into the holes where the old rods were connected to the suspension, and two 4-40 3/8� bolts into the holes on the servo. Secure each with a nut on top. Using 1/16� steel rods, make two new linkage rods, bending the outer ends around the small bolts. Secure each end in place with a second nut and super glue in place.
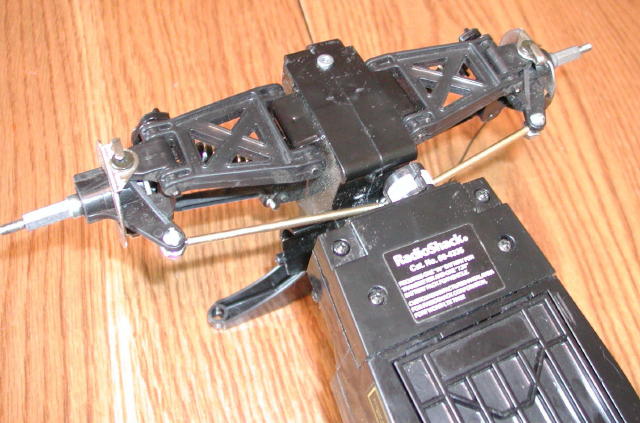
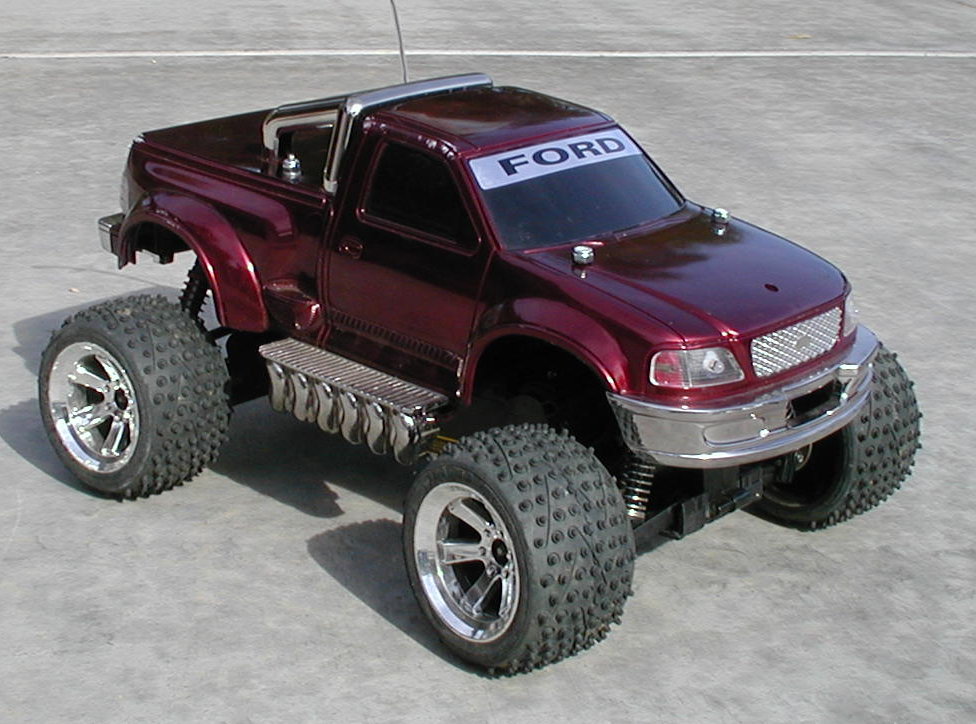
If you are going to do any jumping, you need shocks. A good buy is the Traxxas Tmaxx/Emaxx set of 8 springs/shocks. Remove the rear spring tower and saw off the riveted springs. Drill out the holes to accept a 10/24 bolt, and attach the top end of the shock with a lock nut. Screw the small set screws that came with the shocks into the bottom of the suspension and attach the other end of the shock with a small lock nut. Replace the front tower with a rear tower scavanged from another truck and modified as above. Attach the front shocks in the same way as you did the rears. Try out your truck on a few curb jumps or a bumpy road - awesome!
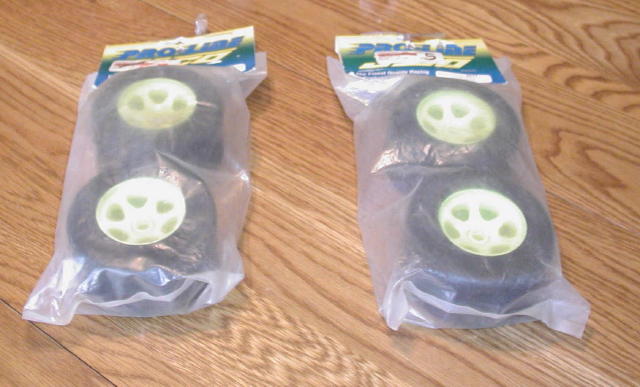
The stock wheels are quite heavy, so buy 4 lightweight wheel/tire assemblies. Assemble the wheels/tires onto the axles as follows: two metal washers, wheels, star washer, metal washer, lock nut. Fill the gap between the axle and the wheel socket with epoxy. Not only are the wheels lighter, but they look cooler, too!
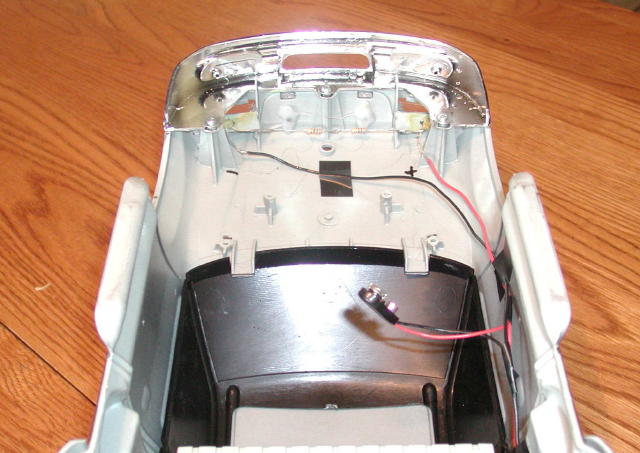
For night racing, LED�s make great headlights and taillights. Start by removing the receiver cover and soldering a 9V battery clip between ground and the �switched� side of the on/off switch. Drill two holes in the front of the body and two in the back for the LED�s. Super-glue the LED�s in place. Solder a 20 ohm resistor between the two front "bright white" LED's and a 100 ohm resistor between the two rear red LED�s to limit the current to about 30-40 mA. Solder two wires to the other ends of the LED�s. Route the wires to the left door of the body, and solder to another 9V battery clip. Insert the 7.2V battery, connect the two battery clips together, and make sure all four LED�s light up when the switch is turned on. If not, reverse the wires from the second battery clip. Check out the lights at night - too cool!