|
Meet the 'Prime'
Minister...Aaron Frase
| |
|
|
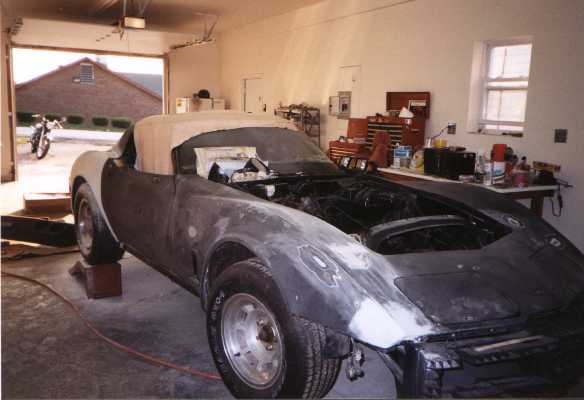
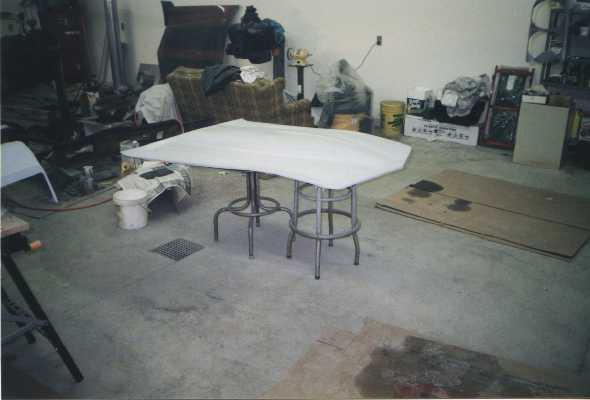
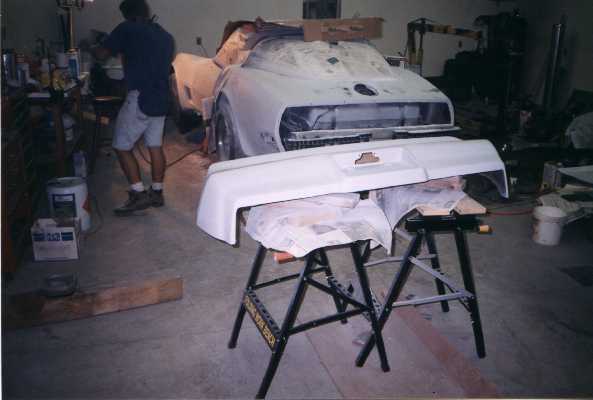
By the summer of 2001 the car was ready to be
primed. Then came the joys of continuous wet sanding. Fortunately for me, I am
lousy at it, and was often sent off to due more menial tasks such as painting
small parts and fetching food and drink. The car was sanded and reprimed, sanded
and reprimed. Many times I considered torching the car, but common sense won
out, and I picked up my sandpaper and went at it again.
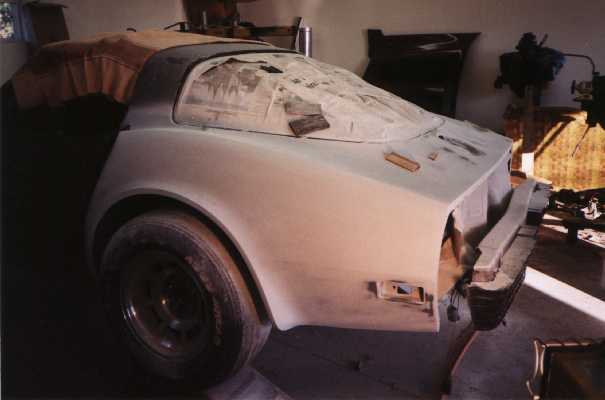
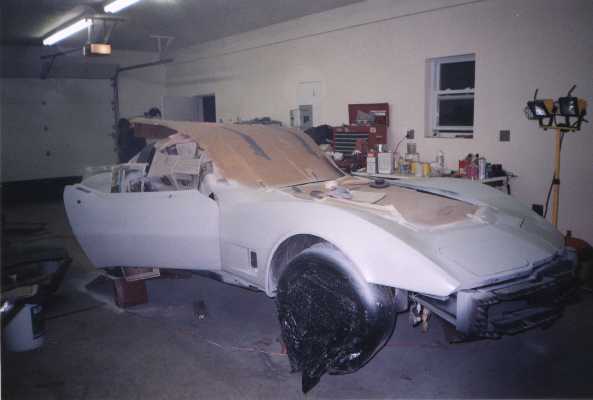
Several times during the process people
stopped and asked if the car had been involved in a fire. It sort of looks that
way in some of the pictures. I got an Oh my, what happened? out of my mom once
during the priming. Still the process went reasonably smooth.
|
|
|
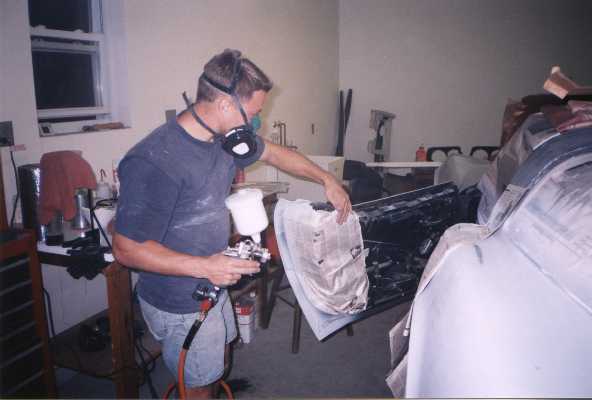
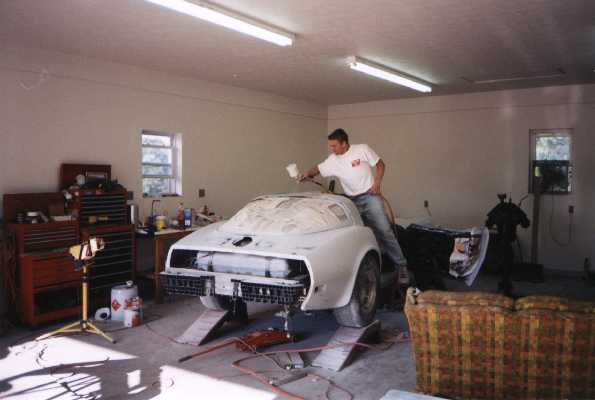
Paint; the final frontier.
Aaron strapped on his spiffy white suit in October of 2001
and at 10 Pm began laying down the PPg black paint. I mixed the paint while the
Big A layed it down. My secondary job was to run about the job site with pair
of tweezers and pick bugs and debris out of the paint. I guess the pole barn
wasnt the most sterile environment.
We finished at around 5:30 in the morning. We painted 2
coats of black and 3 coats of clear, the last one quite heavy. This would leave
plenty of clear to allow us to wetsand out the imperfections. All in all, a
lengthy but tiring process. A success!
|
|
Now that the paint was done, I moved on to the interior. I
had the new seat covers installed, the fit was terrible, but once they are on,
theyre mine. I left the seats and carpet out while I reinstalled the dash and
console parts, because there is no room for all of us in there.
Everything had to be worked on or rerouted. All the vacuum
lines had to be attached, the wiring sorted out, and all the missing brackets
needed located. Once again Gary Gruhala came to the rescue supplying me with a
interior screw kit, some vents, heater controls, and other miscellaneous things.
|

|
|
The dash install went a little something like this:
1.)
Locate a friend
2.) Heat up
the little corner wings with hair dryers so they are flexible
3.) Quickly fold up the corners, tilt the dash, push it in,
bend the corners down over the A pillars into position.
4.) Breathe heavy sigh of relief that nothing cracked.
5.)Lose temper when you realize you didnt install any of
the air ducts or venting behind the dash.
It was OK that I had to spend 3 hours installing all the
vents instead of 15 minutes. I had the time, HA, HA.
|
|
My brain is slow.
I find it difficult to do multiple things at once, so I
fear starting multiple projects, such as installing the interior, working on the
lights and installing the side windows. My desire would be to have the whole car
wet sanded, and then move on to other things, but it is March and the car was
painted in October, and still needs about 50% of it sanded, so I will have to do
something.
I found I could not get the key to work in the ignition, it
just wouldnt star the car. Obviously the first thing to do is look at the least
possible reason. Demonic possession? No, thats not right. Starter harness
thingie fouled up? No, after completely tearing it up, it was good. Clutch
switch? No, the previous owner had already jumped that. The lock cylinder? Yes
that must be it!!
|
 |
 |
Removing enough of the steering column on a tilt\tele
vette means removing approximately 7,000 small nondescript pieces while working
your way down to the ignition lock. I then pulled it out and realized it was in
perfect working condition. Ha, the jokes on me.
I whipped out my trusty, well-used engine wiring diagram
and a set of testers and decided the problem was somewhere in the column itself.
That sucks. So it was time to remove the column! Another job made more enjoyable
by the tight confines of a vette. After disconnecting the rag joint, and
unbolting the column from the dash, I pulled it out and found a bent plug. This
had prevented contact in one of the harness plugs, and thus no starty. I bent it
back, plugged 'er in and she fired up. Another problem overcome.
|
|
Pop up Headlights: A beautiful thing.
I next continued my ongoing battle with the headlights.
They never worked, and when I got the car, nothing was hooked up under the dash.
I used a Mityvac and found quite a few leaks, so I ended up biting the bullet
and buying a set of new hoses. They were easy to route and hook up. My coffee
can reservoir was leaking everywhere, so I bypassed it. It doesnt really
create any problems, just make sure to shut the lights off with the car running.
I also needed to re-seal the rod in the driver side vacuum pot. I am still
somewhat surprised that in the high tech 80s, GM still used yards of vacuum
hose and large canisters to actuate their headlights. But, as one reply to my
post on the NCRS board said, when you get them running, it will be a thing of
beauty. I must say, he was right.
|
 |
 |
But wait, no light.
Ah, yet another wiring problem. The headlights come up, but
he shine no light. This appeared to be a daunting problem, but luckily it was
not. After testing numerous grounds, memorizing the wiring diagram, chanting and
burning up one test light, my friend Adam found a plug that wasnt connected
under the dash. That did it!! Lights!! Lights that go up and down! Hooray. A
very serious problem overcome.
Meanwhile, the car is slowly being sanded. It is now ready
for the cut and buff. My pal Aaron whips out the buffer and brings out the
shine. Wow. Just amazing. I cant believe how good the car looks. It is awesome.
The sight of the shiny car inspired me to finish up the interior.
|
| Home
| Prev | Next |
|