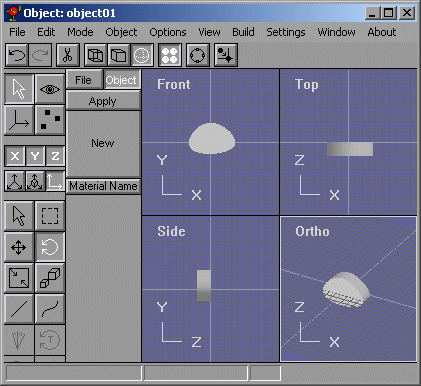
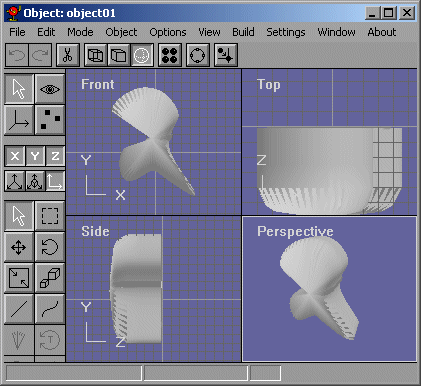
I never messed around with Anim8or splines before, I always modelled using basically box modelling. So I started thinking about how useful Anim8or's splines were. I tried modelling a complex spline character by extruding it and it made it fine, but the end and start caps were tessalated, so I could have never done modelling that way because Anim8or doesnt have a connected extrude. And I saw that if I use the do not tessalate face option, the face isnt the right way. Figure 1 shows a spline extruded successfully with the endcaps not tessalated.
Figure 1

Figure 2 shows the extrude dialog box that is essential to spline modelling. For modelling purposes, and Anim8or's functionality, I use "Do Not Tessalate Caps" option so that I can extrude spline faces.
Figure 2
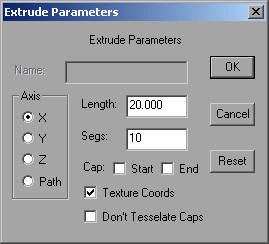
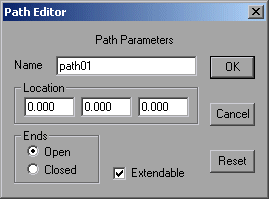
Figure 3 shows the Spline Dialog box. What I do when I draw a spline path, is I make all the control points and when I am about to finish the spline, I dont draw a spline point to the end, but what I do is I double click the spline and I click on the "Close" radio button so that the spline closes itself. then if the last control point isnt the way I like it, I check off the "Extendable" check box so that I cant build upon my spline anymore and just edit the knot handles. (Spline points and Spline knots are the same thing.)
Figure 3
The Animated Gif, Figure 4 shows what happens when you extrude a spline that isnt tessalated and tries to make a face out of concave edges.
Figure 4
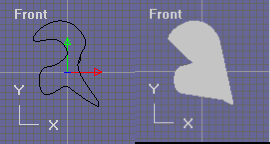
This can be fixed by deleting that face, then mirroring the extruded the spline and joining the solids, and merging the points. OR, you can delete the face, then draw some edges, then fill the faces again. Or, you can subdivide the faces of the model and Anim8or will fix it up. Figure 5 shows that model in Figure 4 subdivided.
Figure 5
Now lets go onto the next page to make a slug in demonstration of my next technique.