|
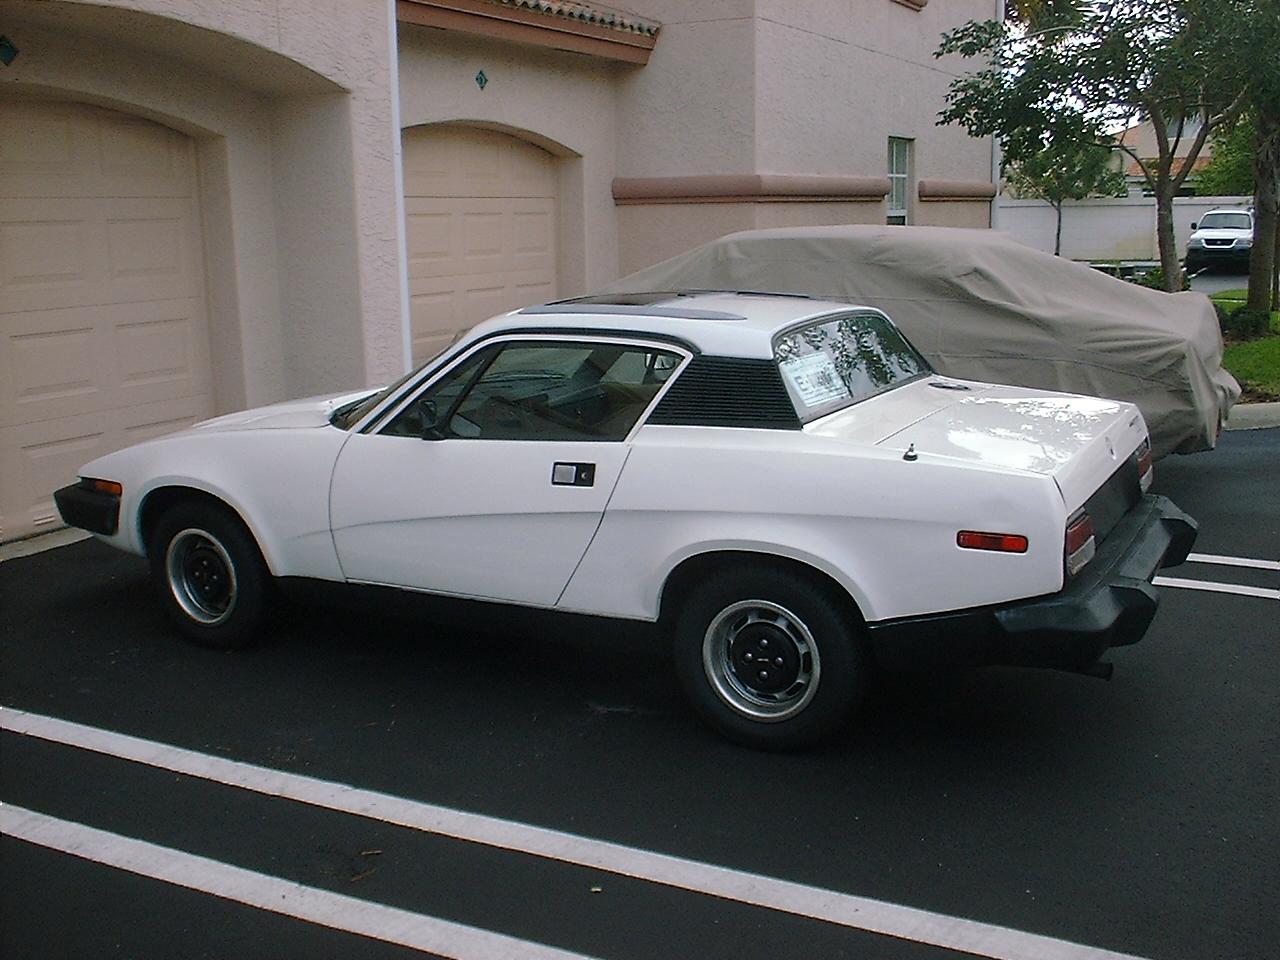
Here's my "new" 1976 Triumph TR7! Here are some pictures... (click on the thumbnails for larger versions) 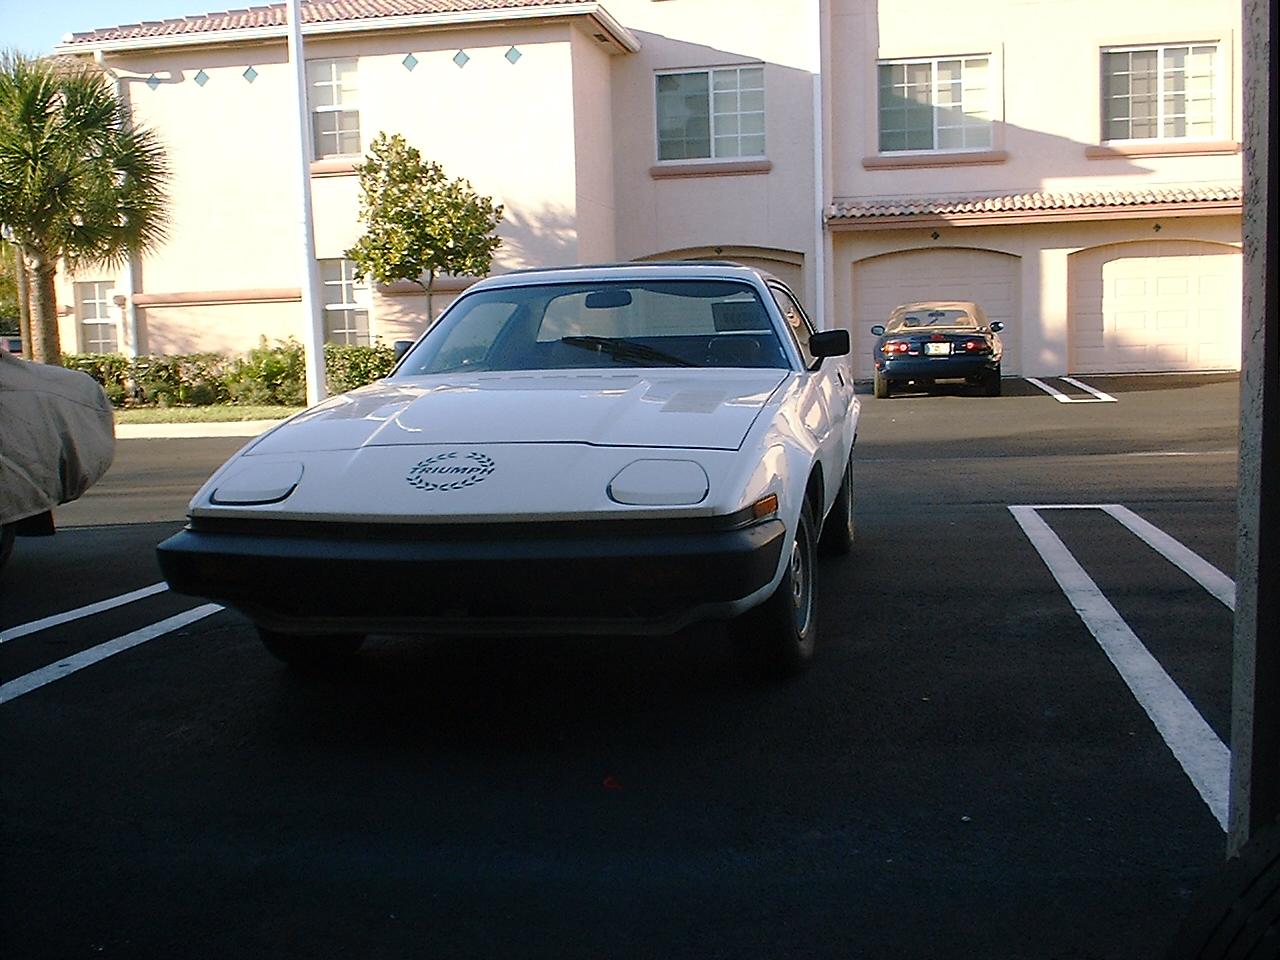

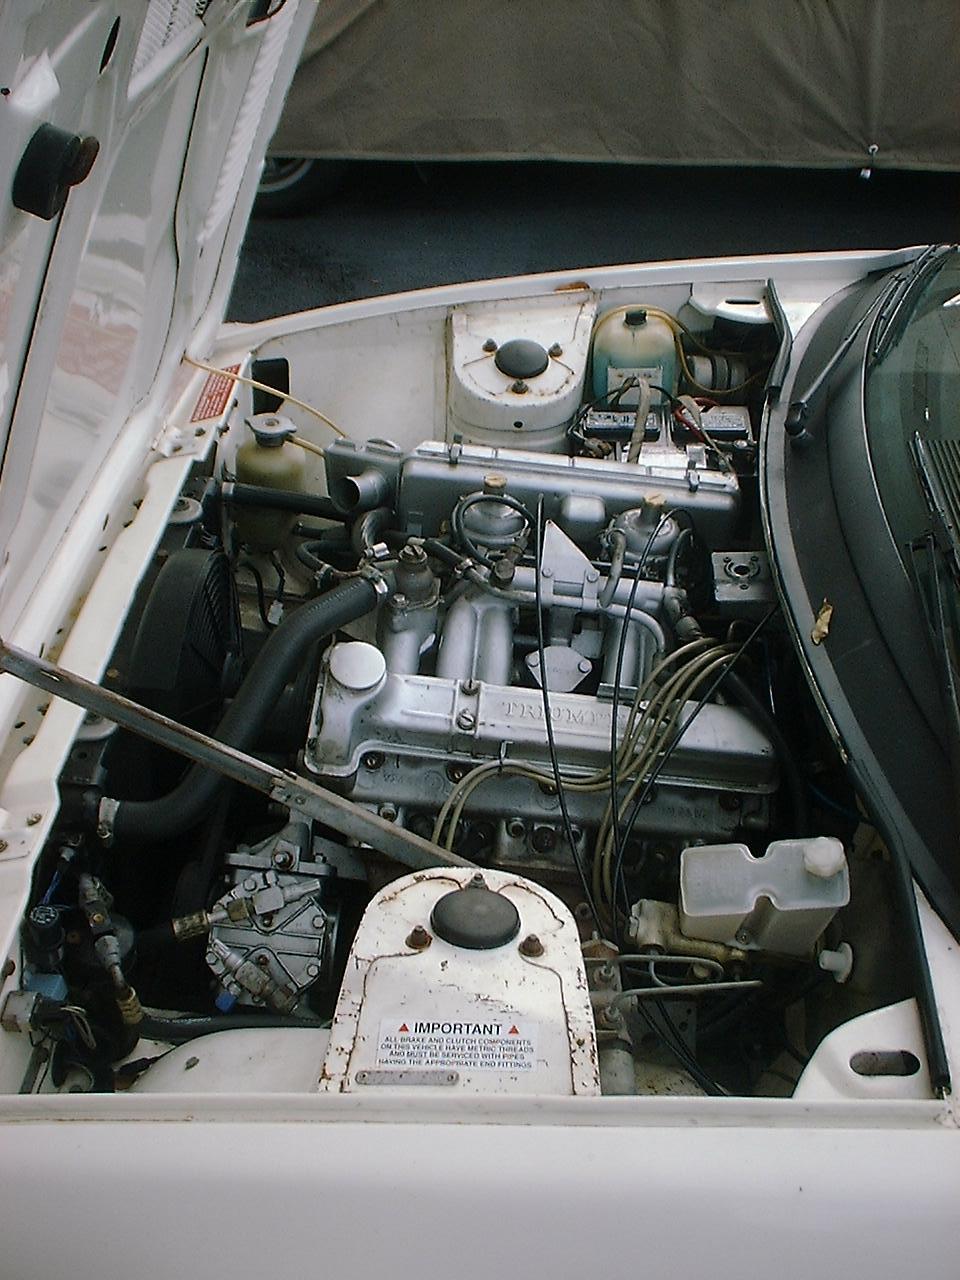
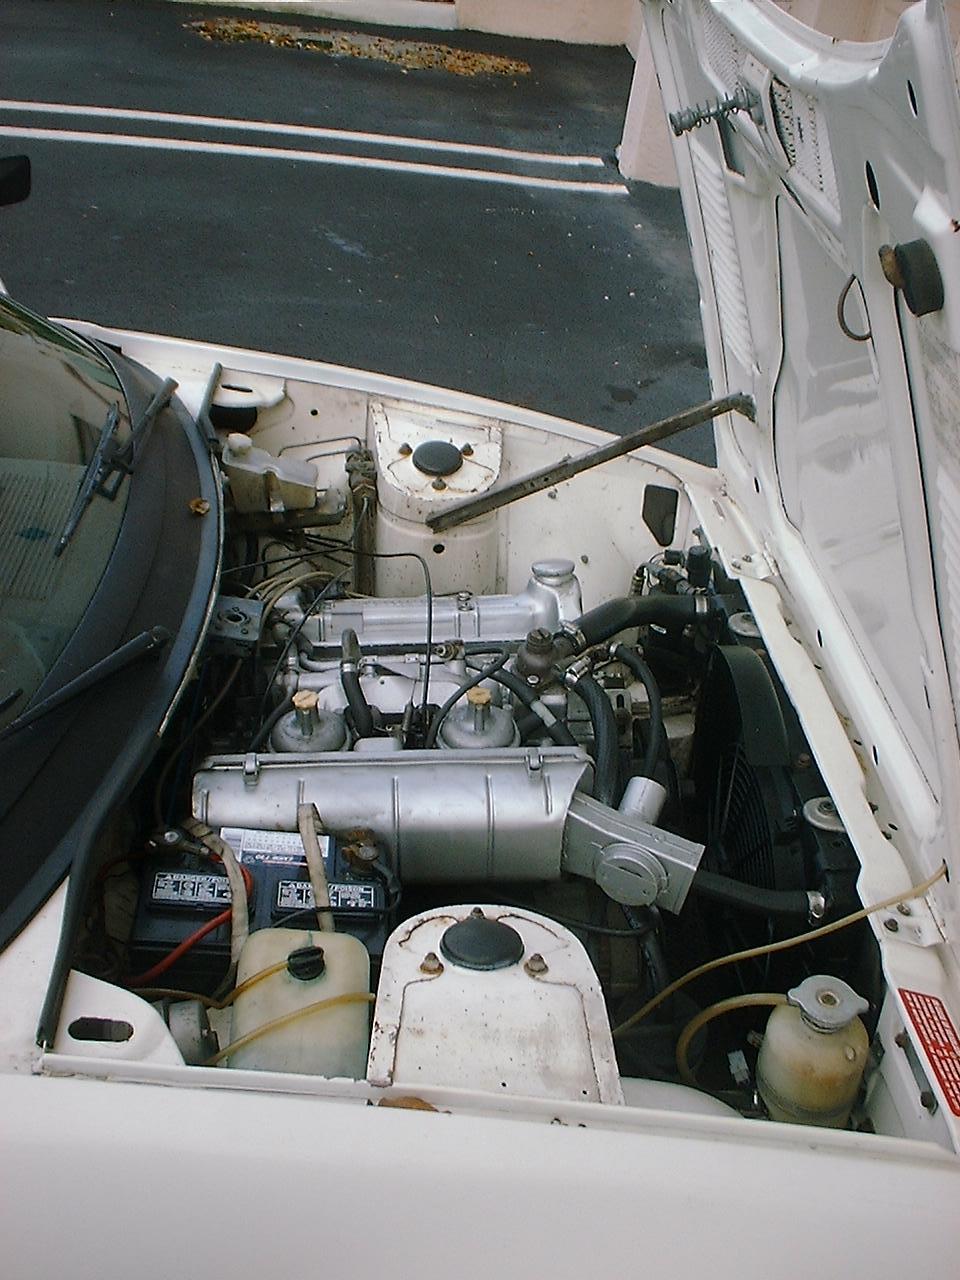
February 2002 As mentioned on my TR8 web page, I recently bought this 1976 Triumph TR7 on eBay... but only after going across the state to look at it. The drive back from picking up the car was frightful... the car sounds horrible, like the wheel-bearings are gone, the engine is going, etc. I even ended up losing a tire on the way back... it came uncapped while driving about 50-55MPH (in a 60MPH zone). It turns out there wasn't a jack in the car, and the spare was flat... so I had to pump up the spare, and use the jack from the car my sister (who brought me out to the car, and followed me back) was driving. Unfortunately, the jack was way too short... so we had to find a board to shim it up with. Well, to sum it up... I eventually got back here without further problems. I spent quite a bit of time looking over both of my wedges to figure out what I needed, looking through sale catalogs, etc. and of course - ordering parts. While looking over this car, I realised that a lot of the upgrades I had planned were already on the car! It already had an optical-triggered ignition system, an electric fan, a fairly new interior (looks like a Rimmer Bros. kit), which unfortunately includes the 2-section parcel-shelf (I prefer the 3-section unit that the car is supposed to have, but is no longer available)... it has even been upgraded to a 5-speed model! (including the rear-axle!) The interior is nice, with only a couple small bad spots... but unfortunately, the seats are vinyl (bad in a hot climate). It turns out that the engine has quite even compression... that's a good sign. I measured the compression with a guage that is almost certainly out of calibration, but my readings were 155, 160, 160, 155 - which are all well within 5% which is excellent. The engine was so noisy, and sounded so bad, that I decided to check out the valve lash. Looking at the engine, I noticed that the head studs looked almost new... this is wierd, as people very rarely replace these, and when they do it's because there was a major problem with the head. I looked closer at the head, and there was green paint on the front... but not like a salvage-yard mark, it was almost the entire front (wierd!). 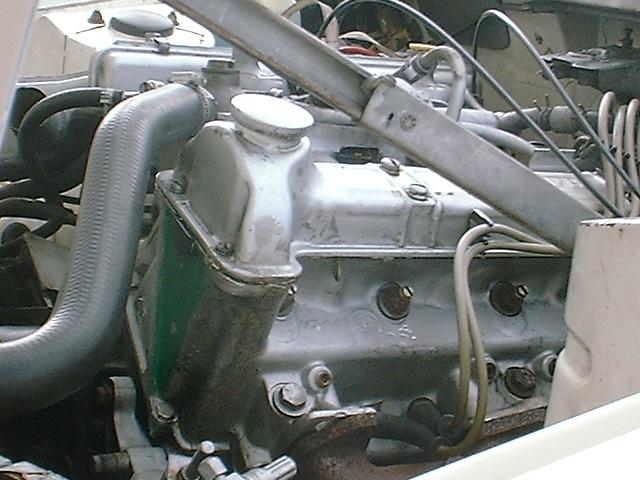
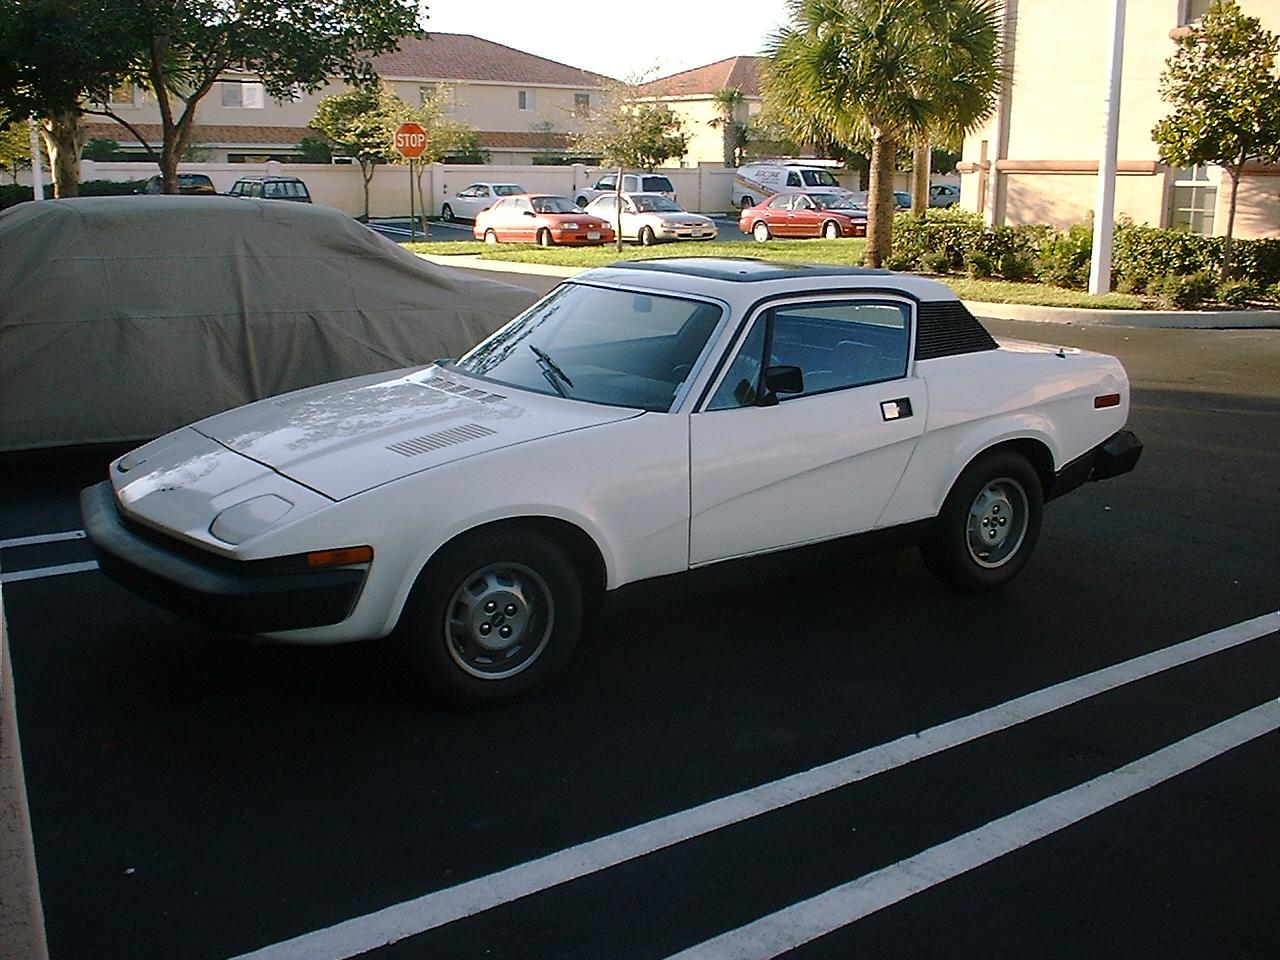
Every TR7 I've ever had the cover off (several) has had a little play at the top of the sprocket, so a slightly stretched chain... even ones that ran great! This one was so tight on top, I could only move it side-to-side. The next thing I noticed was the bucket-tappets were so sloppy it was downright scary! I've seen some badly worn ones before, but these were incredible! They rocked back and forth with the touch of a finger! I reluctantly bought a set of replacements, that just happened to be on sale at the time for only $45 (normally $64). I was reluctant because I was wondering what else was wrong, and if I should just replace the entire head, or even perform an engine swap. Another item that needs to be replaced is the driveshaft... the front boot is shredded and it is very noisy. March 2002 OK, parts started rolling in... loads and loads of parts. I started by swapping in the new bucket-tappets and measuring the shims. It turns out that some of the buckets are .005 smaller in the middle than the new ones... and they are slightly hour-glassed in shape, which I've seen before, and expected. Well, half of the shims are thinner than you can buy... not good. I turned the engine over several times (not firing it up) to make sure everything is settled so I can take the new lash measurements. I measured the lash, and one of them came out thinner than my .0015 guage, so I couldn't even measure it (not good). I was afraid that the cylinders the buckets ride in were worn, since the buckets are steel, and the head is aluminum (which is much softer). This is something that I cannot explain, but have seen with my own eyes more than a couple times... the buckets were badly worn, but the aluminum cylinders they fit in were fine! The new buckets fit very well! I decided to fire up the engine and idle it, just to see how much of a difference there was... it sounded great! I ran it for a couple minutes, but didn't put any load on it, since I didn't want to burn the valve that had unmeasureable lash. I later was thinking about the noise that the engine still made (drastically reduced from before the work), and decided to remeasure the lash. Yup... sure enough, running the engine caused everything to settle much more than just turning it over - almost all the readings were considerably different. It wasn't easy to find someone to supply the shims, but it turns out that Woody (of the Wedge Shop) was able to supply all the ones I needed! (I thought he only did TR8 parts) Next thing I need is a set of tires. I started calling around and checking the local places where people buy tires, and then I checked out Tire Rack for tires. I wanted 205/60R13 tires, since I've had very good results with this size on previous wedges. I ended up deciding on Sumitomo HTR200 tires, since both Tire Rack's customers and every search result on the web ended up with nothing but very positive feedback. The tires were only $36 each (no, I'm not kidding) and even with the 3-day FedEx shipping, they were only $45.27 each! (I ordered 10 - a full set w/spare for both wedges) My sister does voicings for voice-jail systems, and knew of a local tire-shop that was pretty good... turns out I can get them mounted and balanced for only $10 each! (very cheap for this area) I put on my new tires, NOS (New/Old-Stock) early-style (proper) hubcaps, and used beauty-rings that I also bought mail-order (after spending hours cleaning the crud off the rims), and I love the results! 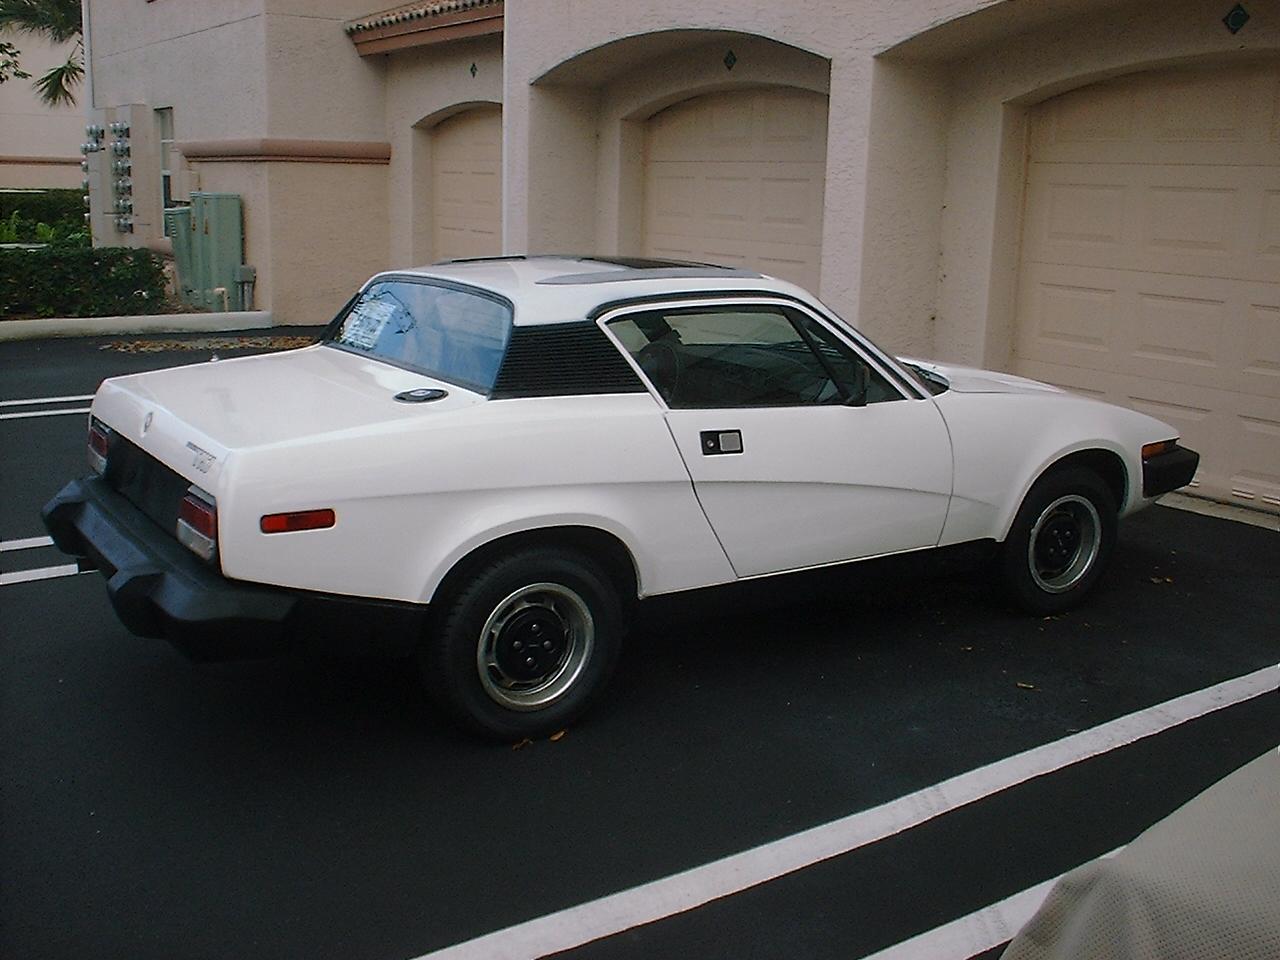
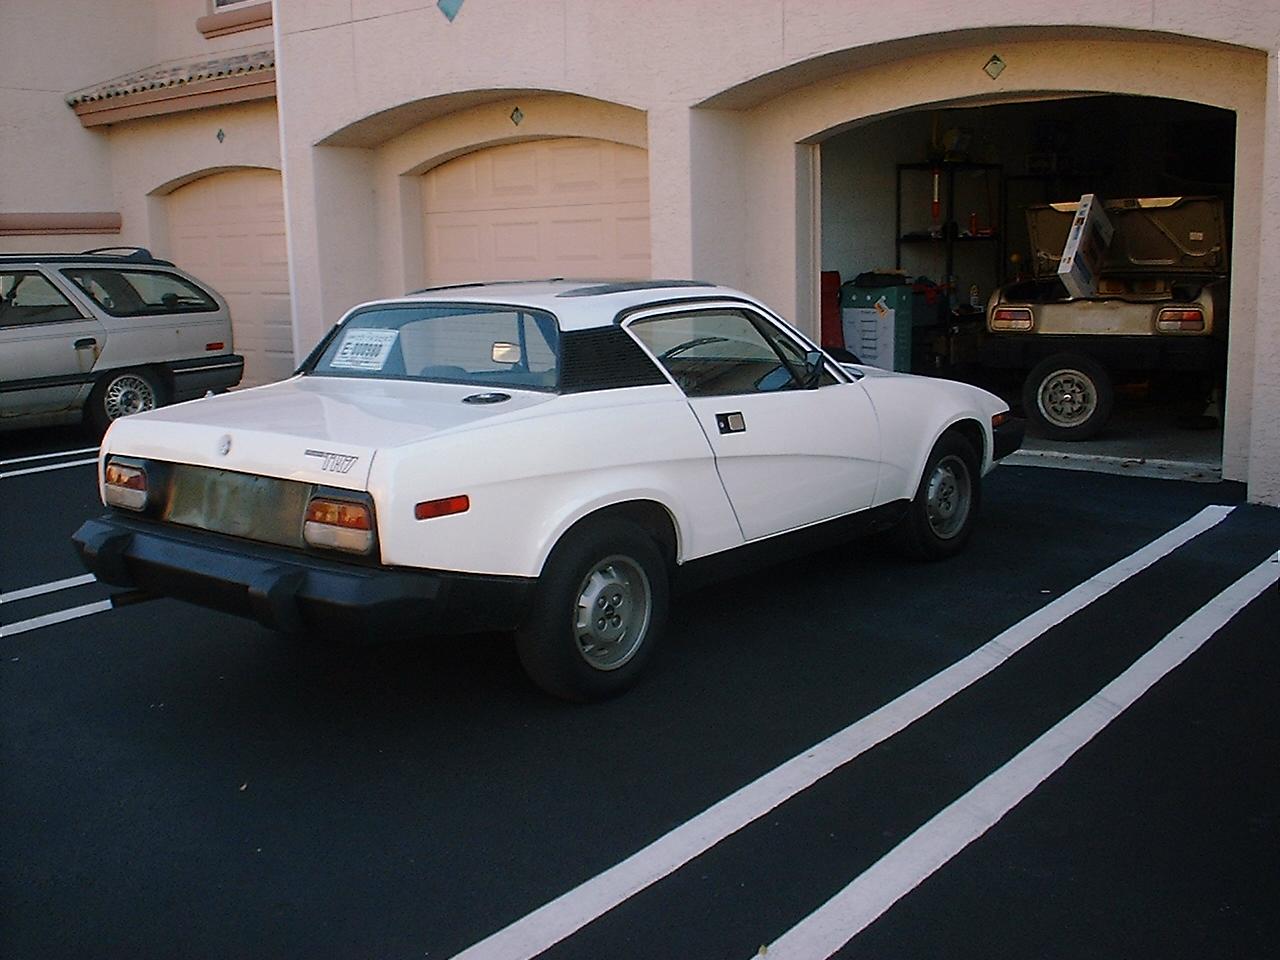
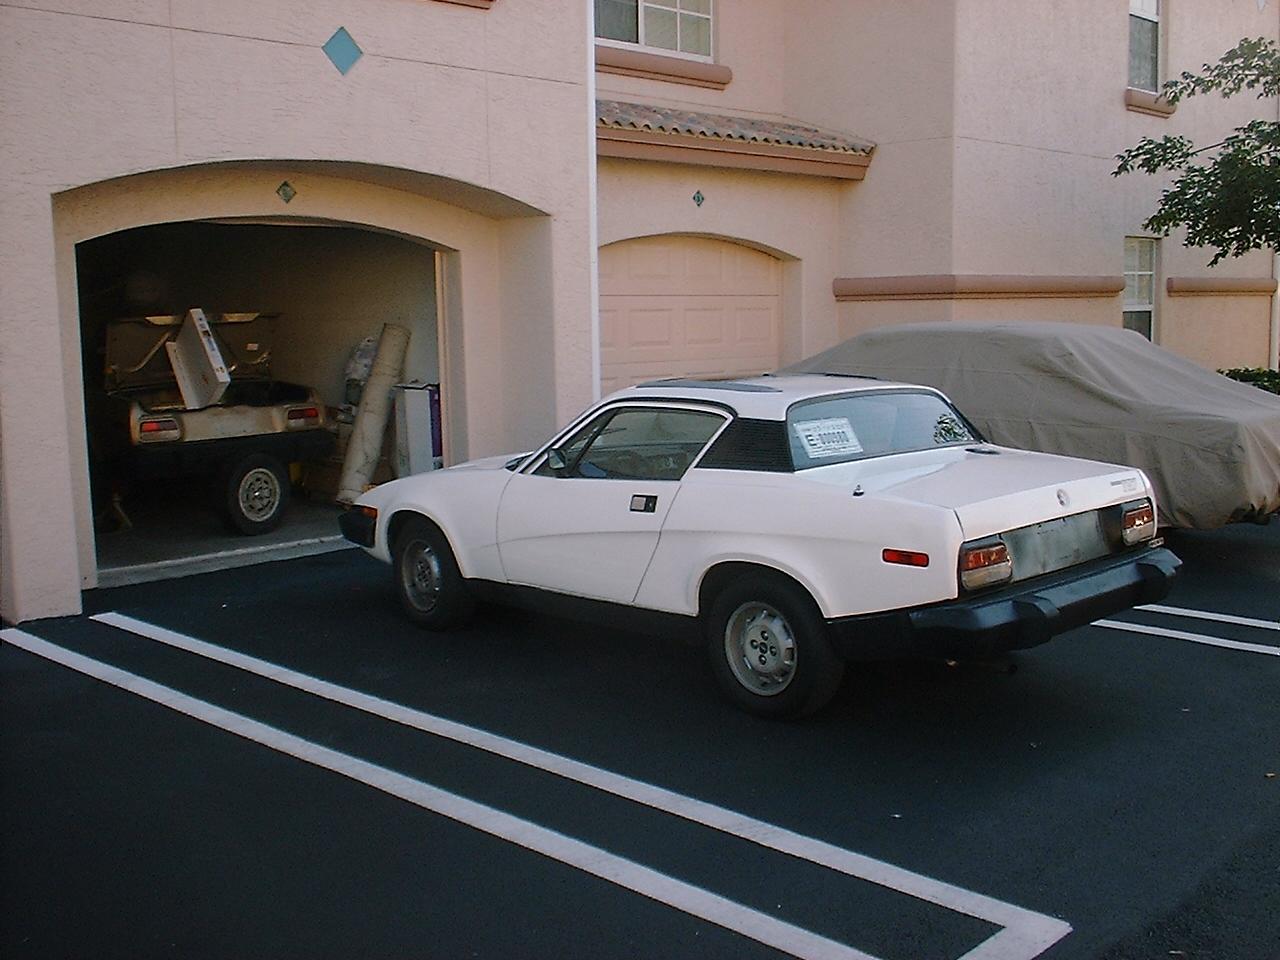
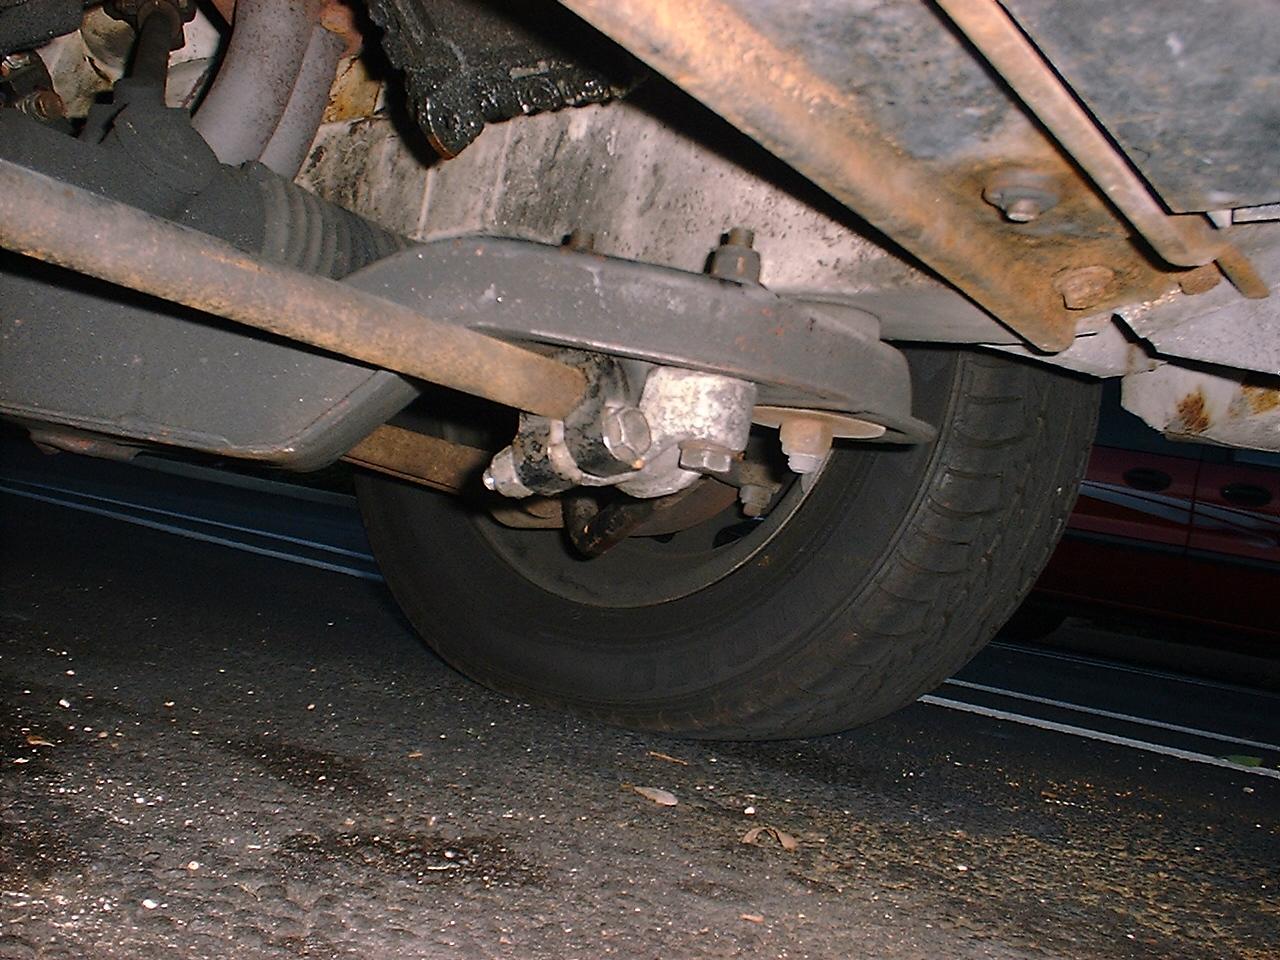
I love the classic look of the old-style caps... I don't really care for hub-caps that try to look like rims (like the newer style ones that a previous owner installed on this car). Well, I really wanted to install the new valve shims (just arrived yesterday), but I tore my thumb up trying to fix an antique juicer, so I can't safely immerse my hands in oil for a few days. August 2002 It's been a while since I updated this page... hasn't been much of a need to so far. A friend of mine finally convinced me to try the A/C. I've been reluctant to do so since the last time I pulled the switch the alternator died! It turned out that was just a coincidence, as the A/C actually works! I've never had (or seen) a wedge with working A/C that wasn't a show-car! Now it doesn't work great, as it's low on Freon, but it does cool and dry the air a moderate amount. I'm not sure if or when I'll be doing a full-blown conversion over to R134a, as I've got way too much work to do on my TR8. September 2002 - part 1 OK, I lied... I decided it was too damned hot and muggy in South Florida to not have good A/C. I got a receiver/drier from Woody's Wedge Shop and went to evacuate the system and realized that the P.O. had already performed the conversion to R134a! Unfortunately, the P.O. didn't perform the conversion properly, as the car obviously still had the original receiver/drier, which was shockingly rusty. If the receiver/drier wasn't changed, what else was improperly done? Was the old oil removed from the system? (You cannot mix the oils from R12 and R134a, as they form a goo that will destroy your system) OK, I vented the system as hard as I could to try and blow out any oil, evacuated it, and charged it with R134a and the appropriate oil (conversion kit cans, had both the freon and the oil charge mixed in the proper proportions). Hmmm.... well, the A/C works well, but when the engine is below 2000RPM, it sounds like I'm crushing rocks into gravel. The sad part is, I'm not exaggerating, I said that to Bob (the guy who was helping me) and he laughed out loud that "That's exactly what it sounds like!". So it now looks like I need a new compressor... time to do some research. I ended up learning that the York R210 compressor used in the TR7 was also used in many other vehicles, usually quite large ones like Lincolns and such. The clutch is _super_ easy to remove with nothing more than a 5/8UNC bolt and an impact wrench (took less than 1 second!). The bolt that holds it on is also used for installation. Oh, and even though it looks huge, it's only 14.6 pounds! I went to the "local" U-Pull-It this weekend (it's over an hour away). I found this compressor in some old Lincolns, but they were no good. Just for giggles I popped the hood on some old Mercedes that were there and found they use the exact same compressor! The one I ended up pulling was in a big '74 diesel Mercedes. It took quite a bit of searching, since no auto parts stores were interested in helping me rebuild this unit, but I finally found a seal kit. The auto parts stores recommended I call Cold Air Products, who said I had to call the auto parts stores! (they wouldn't deal with me because they're a wholesaler... stupid thing is, they wouldn't tell me WHO to call so they can make some money off me!) Anyways, a lister recommended I contact a local truck & heavy equipment shop, which I did. When I explained the situation to the Rex at Palm Beach Brake & Wheel, he was more than cooperative, and got me the seal kit (for well under $12!). September 2002 - part 2 In the TR7 & TR8, the sway-bar doubles as a "brake strut" or "strut rod" (depending on where you're from). This means that the part that locates your front wheels longitudinally is the sway-bar instead of a separate rod connecting the lower-control-arm to the K-member or subframe. There are clamps (on the sway-bar) against the inside of each of its mounts, to prevent lateral movement of the sway-bar as the suspention stresses vary. My car was missing these clamps, which I found shocking, to say the least. I ended up getting a pair from a fellow list member, and a set of urethane sway-bar bushings from Woody's Wedge Shop and installed them... WOW! The difference in the way the car feels and handles is staggering! It now handles as well as any wedge I've ever driven (and this is my 4th)! I absolutely LOVE the way this thing handles now! I started a discussion on the list about this, and it turns out the '76's didn't come with these crucial clamps! The reason I thought they did, is my previous '76 did have them, so a P.O. of that car must have installed them. For those curious... here's what the driver's side one looks like: 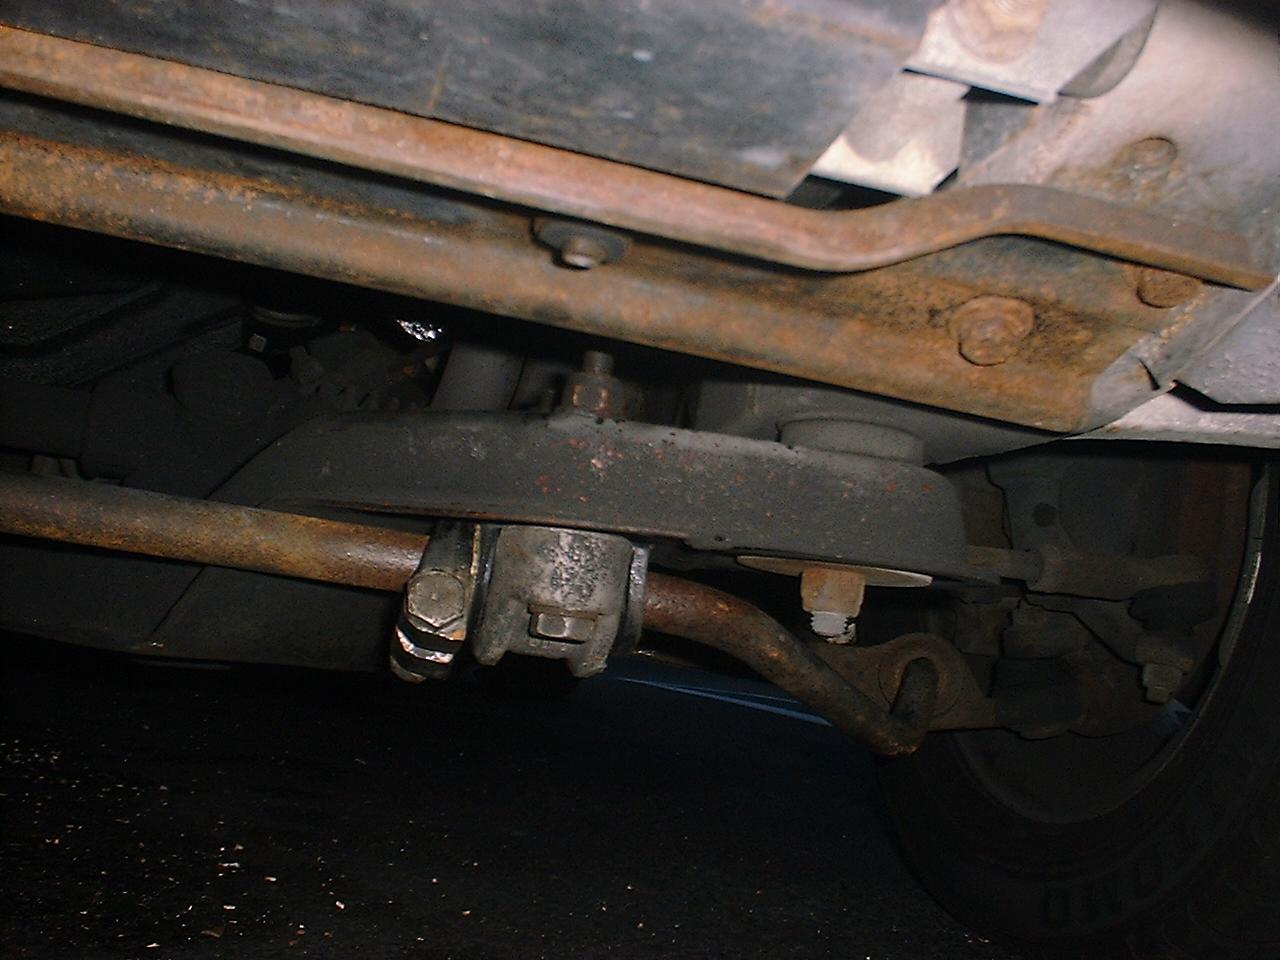
|