Tudor
Kirtle c.1545
The
Skirt
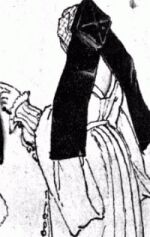
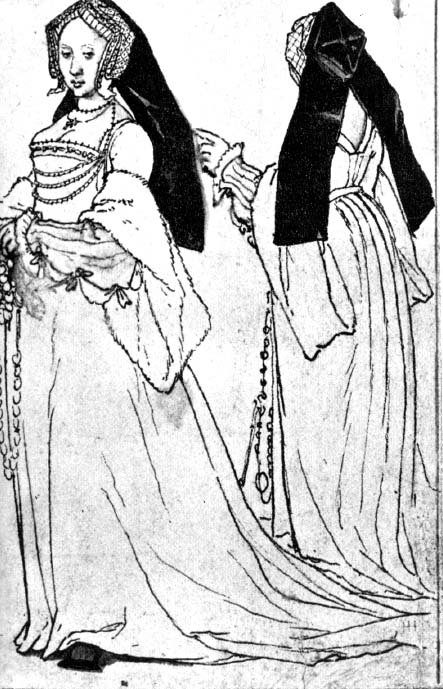
Detail from sketch of an
unknown English woman c. 1540 by Holbein |
Following the
concept of Juan de Alcega's Kirtle pattern I used a gored skirt
pattern, but with an added cartridge pleated panel at the
back to match Holbein's sketch. At first I had planned to
draft my own skirt pattern using my measurements, however
on other occasions when I have tried this I had a lot of
trouble cutting the hem to the right curve, so I decided
to use a comercial pattern instead. I took a basic four
gore skirt pattern which I had bought several years ago.
I had to add an extra 20cm onto the bottom of the skirt
to make it floor length instead of calf length (though
once it was hemmed the skirt no longer touched the
ground). |

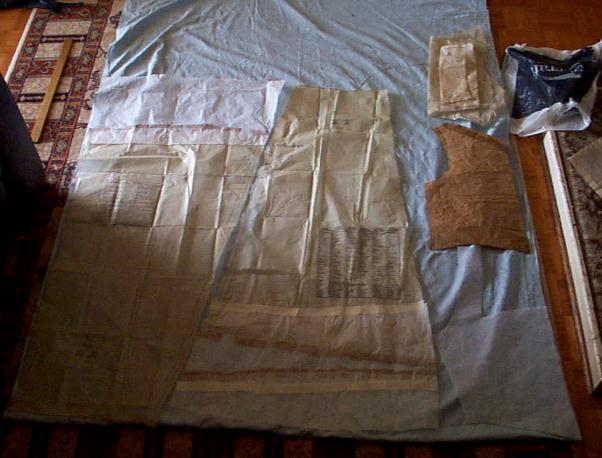
The pattern pieces laid out on the fabric. |
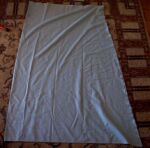
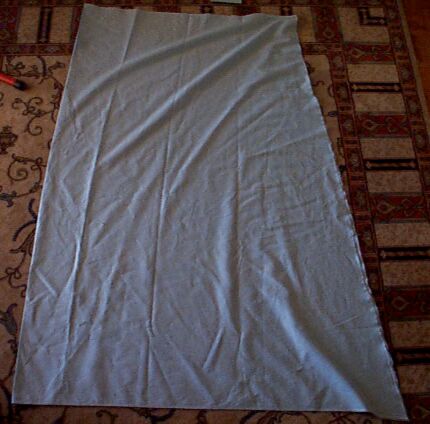
The back panel of the skirt folded in half. |
Once I had cut out
all of my pattern pieces I took the left over fabric,
neatened the edges to create a wide gored panel. As you
may be able to see from the picture to the left the
selvedges are at the top and bottom of this piece.
normally a skirt would have the vertical seams paralel to
the selvedge. However, I had to cut this piece across the
grain as it would not have been long enough if I had cut
it in the conventional direction. |
| Once the skirt
panels were sewn together I put the bodice back on my
dressmakers dummy and pinned the skirt to the bodice.
This allowed me to adjust for the point on the front of
the bodice. In the picture to the right you can see the
skirt being pinned onto the bodice. I began by pinning
the skirt pieces straight along the true waistline. You
can see the first stage on the right hand half. The
second stage was simply to leave the top edge of the
skirt pinned along the true waist and then pin the bottom
edge of the bodice to the skirt, the photo shows this
step once the original pins (along the true waist) have
been removed. Once the bodice and skirt were pinned
together at the front waist I sewed along that seam and
turned my attention to the back. |
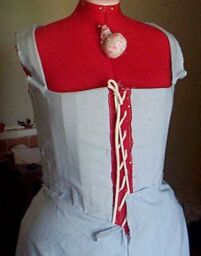
Pinning the skirt to the bodice (step one right, step two
left) |
the divide and conquer method of pleating
|
The final stage
was cartridge pleating the back waistline As the front
skirt panels extended about 5 cm past the side seam of
the bodice I decided that was probably a good spot to
start the cartridge pleating. Most instructions for
cartridge pleating tell you to run a gathering thread
through the fabric and then pull it up to create the
pleats which are then sewn down, if you want to follow
the standard method Tammie Dupuis has good instructions. I
have used this method berofe, with some success, but I
find it hard to keep the pleats evenly spaced, and there
is always the danger of the thread breaking under the
weight of all that gathered fabric if you pick up either
end of the pleating before it is secured to the bodice.
Instead I chose to use the 'divide and conquer' method to
ensure even pleating (see the diagram to the left) this
method also works for other methods of pleating, the only
difference lies in how you sew the pleats to the bodice.
I then sewed the pleats on in the standard way. |
This page is maintained
by Elizabeth Walpole
Known in the SCA as Elizabeth Beaumont
Last updated, 18 January,
2004