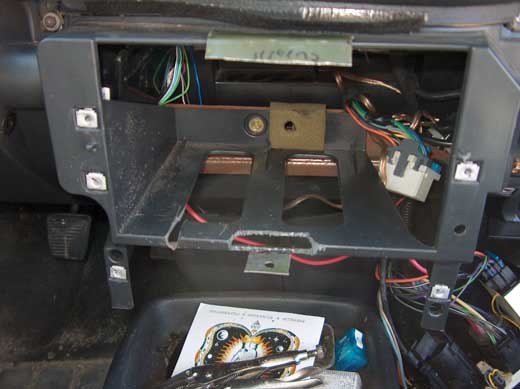
Friday night after work I got right back on that mounting hole for the Lilliput. I found that the back of the lilliput had a angled out part right in the middle on the back for the mounting points, as well as a rounded out panel on the front to turn the buttons upwards towards the user. I had to cut out a space for the back to fit into the dash to sit properly. Then I had to cut a small hole for the video cable to pass through. (you can also see my mount for the screen allready built as this picture was taken a day later)
As you can see in the top picture I had to fab up a mounting plate to put the bolt through and another plate to hold the top out towards the shroud so that there would be no gaps, and it would be strudy when tapping on. (Again, hack saw and leatherman were tools of choice for this job) Here is where I'm fabbing the bracket and testing its placement. At first I used epoxy to hold it, but that broke when putting it together on the final build, so I ended up drilling it out and using a bolt to make it strong.
|
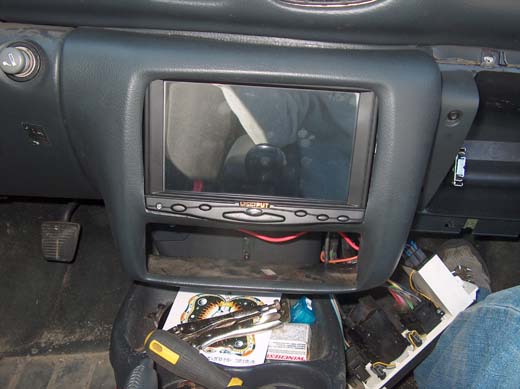
Here we have it in place for the first time. This completed Phase 1 for console instalation. For now I'm just going to leave it like that. Later I plan on either fiberglassing it to be one piece(paint color is the issue) or something to clean it up, but for now it looks not too bad.