updated February 7, 2004
| Conversion to the AS5046 Airfoil (cont.) updated February 7, 2004 |
||||||||||||||||||||||||||
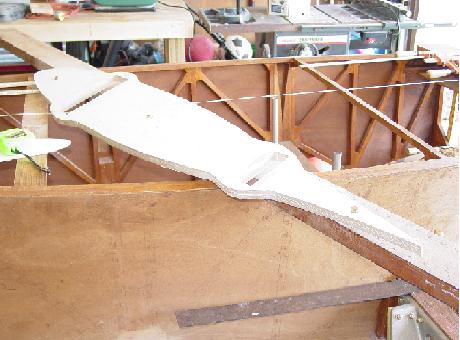
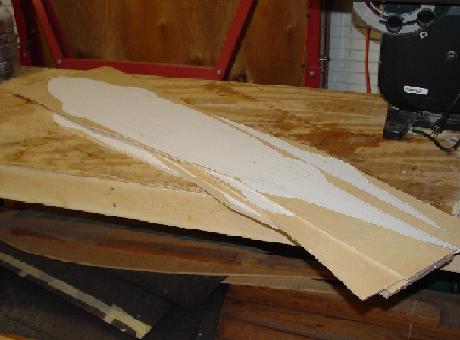
| Once the aft spar has been removed, I printed the new AS5046 airfoil templates and glued them to plywood with spray adhesive. Next was cutting them out on the band saw. After the rough shape was cut on the band saw, I bolted the four ribs together (below right) and finish sanded the ribs to final shape. | ||||||||||||||||||||||||||
|
||||||||||||||||||||||||||
|
||||||||||||||||||||||||||
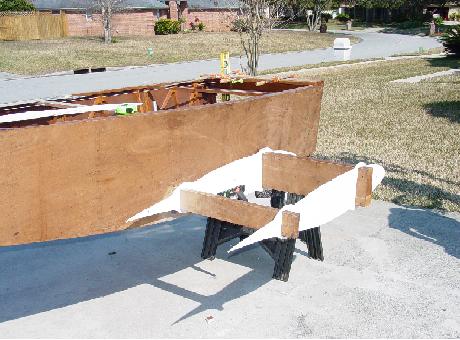
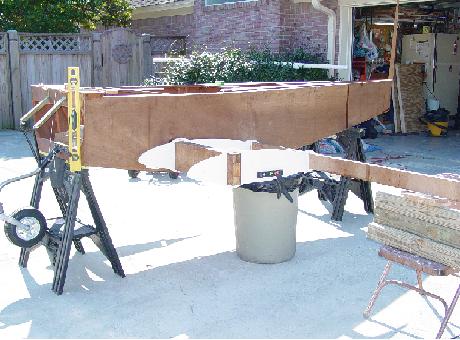
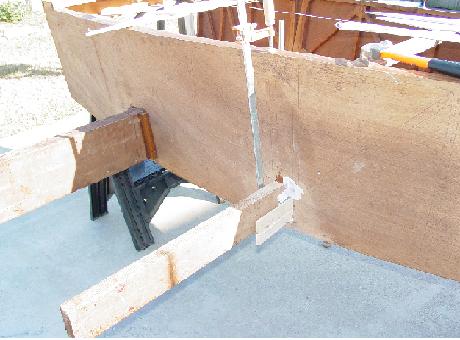
| Using the firewall, the plane was leveled (below left). Then, mounting levels on the new ribs, I leveled the the ribs for the right amount of incidence and marked the new hole location in the fuselage side. After repeating that for the other side and cutting the holes out, I test fitted the new ribs with the new aft spar location (below right) - perfect!! | ||||||||||||||||||||||||||
|
||||||||||||||||||||||||||
|
||||||||||||||||||||||||||
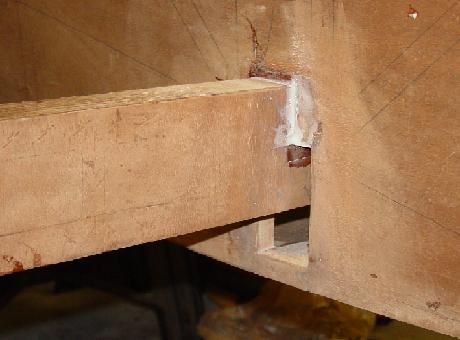
| Finally, the aft spar was floxed and clamped in place. Notice the wood wedges used to maintain forward pressure for a good seal. The aft seem was filled with flox. | ||||||||||||||||||||||||||
|
|
|||||||||||||||||||||||||
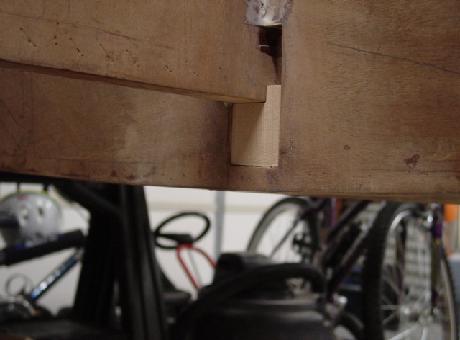
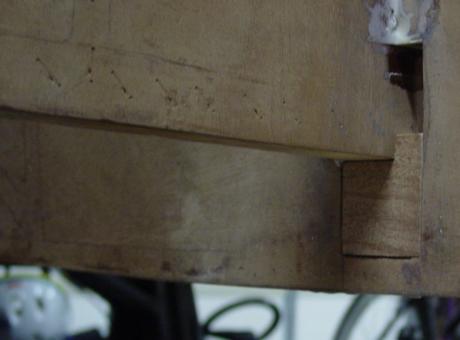
| Below (left), I cut a solid piece of spruce to fill the gap left by raising the spar. On the right, I cut a piece of 3/32 mahogany to match the outside of the fuselage. These two pieces were epoxied in place. The airfoil conversion is now complete. | ||||||||||||||||||||||||||
|
|
|||||||||||||||||||||||||
| << Prev | ||||||||||||||||||||||||||
| Return to Dean Cooper's KR2 Home | ||||||||||||||||||||||||||