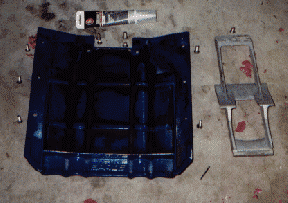
Clean your ride plate thoroughly. Exhaust gasses will coat your entire ride plate with a film of oil, making anything like silicon difficult to stick to it. Begin by laying a bead of silicon around the outside edges of your ride plate. You don't need to put any on the back of this plate. Press the plate up to hull, and install a single screw part way to keep the plate in place. Now thread-lock all of your screws, and install them. When you have installed all of them, back out your holding screw, thread-lock it, and screw it in.
This is one of those areas where the tighter these screws are, the better. Just don't strip them. Oh yea, don't forget to install that intake scoop! All that is left is to take it to the lake (you must wait 24hrs for the silicon to dry) and enjoy! See you out there!
Disclaimer: Hey guys, Dan is an internet programmer, not a jet ski technician. On his first prop install, he trashed the prop at the lake. However, Dan has installed two props now, and his ski is running like a champ. If you have any questions, feel free to email me on any other Polaris related questions. If I can't answer it personally, I own the service manuals to my ski and I would be more than happy to let you know what Polaris recommends.

