
Now it's time to add backgrounds and frames to all of our
images.
Pick a color from your image that you want for you MAIN
background color and put it in your foreground color. The color
for your frames, put as your background color. I am using #FDF7DF
as the main color and #969BB6 as my frame color. Your color
palette should look like this: 
Working with Image 1, add a new raster layer.
Name it Background and drag it below Layer 1: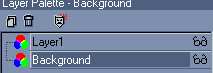
Click on your flood fill bucket and left click to fill the
background color with the light color in your color palette.

If you want to apply a texture, do it now. I am using the
texturizer plug-in with Sandstone at 50% scale and relief of 2.
Click on Image and Add Borders. Make sure Symmetric is checked
with the size 6.
Toggle your color palette by clicking the little arrows
Add a new border with the size 8.
Toggle the color palette again and add another border with
size 6.
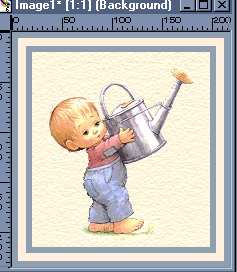
Your image should now look like this:
Using your magic wand tool, click on the middle border. Apply
the same texture as you applied to the main image (Sandstone, 50%,
2)
Now click the inside blue border, then holding the shift key
click the outside border, too. They should both have marching
ants now.
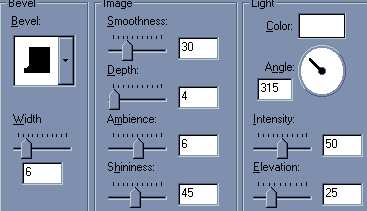
Go to Image --> Effects --> Inner Bevel with these
settings:
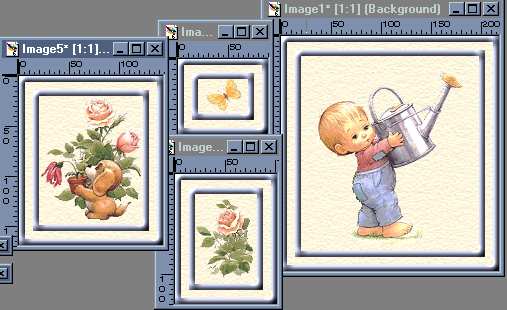
Now, we need to repeat all the steps on this page for each of
our little pictures (the puppy, the butterfly and the flower).
Giving us these images:
Go to the next page to see how to put it all together.
Tutorial Page 1
Tutorial Page 3