|
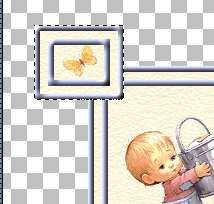
Ā Open a new image 500x500 with a transparent background. Make Image 1 active and click Edit, Copy and Paste this image as a new layer to your 500x500 image. Open a new layer. Make the butterfly image active and copy and paste it to the new layer positioning it near the upper left corner of the large image:
On the same layer, copy and paste the other 2 images (the puppy and the flower) positioning the puppy at the lower right hand corner and the flower on the lower right. Now your image should look like this:
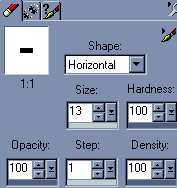
Click on your eraser tool with these settings:
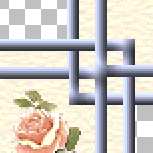
Zoom in on your new image, and erase lines to make your image interweave, you may have to adjust the size of your eraser and the shape from horizontal to vertical as you go.
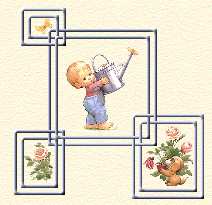
When you're finished erasing to get the look you want, click on the background layer (Layer 1) and flood fill with your light color. Apply texture as before. Your image should look something like this:
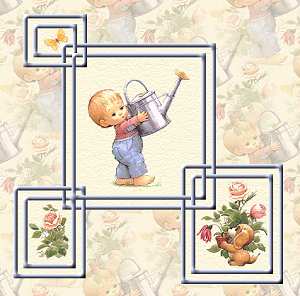
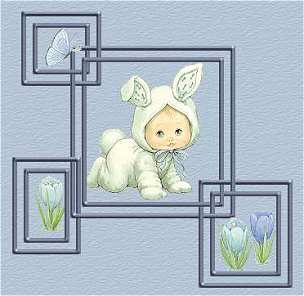
Merge all layers and crop to desired size. Add a right border to make a background image or stationery with it. Here are some other examples:
Ā I hope you have enjoyed this tutorial. Please e-mail me if you have any questions, or if you would like to share your creations-- I love to see them!
|