|
In this lesson we will look at
how to make some different types of backgrounds. Tiled Background Lets create a tiled background
using
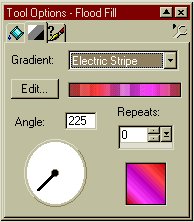
some of the features in PSP6. Now, we are going to use the flood fill
tool
Then click on the linear tab, and choose a gradient to use. There a quiet a few there to choose from, or you can make your own. (we will learn how to do that in an advanced class) I chose Electric Stripe. And have set the angle to 255 degrees, you can use whatever angle you like though.
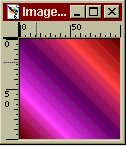
Now click somewhere in your blank image and you should have something like this:
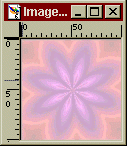
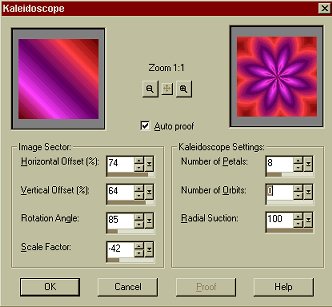
Now lets use the kaleidoscope tool. Go to Image, Effects, Kaleidoscope. Play around with the settings until you get something that looks nice in the right window. Because we want our background to be seamless, be sure that the Number of Petals is an multiple of 2.
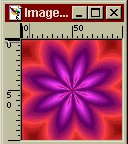
When you have something you like, click on ok.
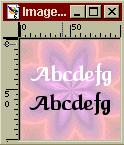
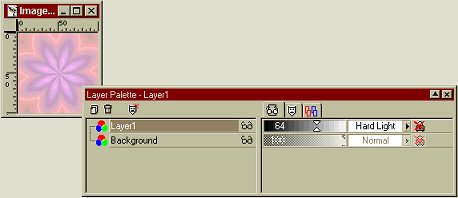
Now, as you can probably tell, trying to write anything on this background will look terrible. So we are going to add a layer so you can see the text. Make sure your layer palette is open, click on new layer and then click on ok. Now flood fill the new layer with white. On you Layer Palette, make sure layer1 is still highlighted and slide the layer opacity to around the 64 mark like I have below. You could also change the Layer blend mode to hard light if you chose, but it doesn't really make all that much difference. Your image should now look like the one below!
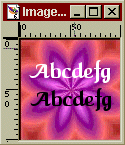
Here are two examples of text on the backgrounds. The first is the background without the white layer, and the second is the background with the layer. See what a difference a white layer can make?
Now go to "Layers" then "merge" then "merge all" or alternatively you can right click on a layer in your layer palette and select "merge" then "merge all". Your background should look like this:
Congratulations! You have just
made a background tile! This Page © Area52 University 2003 |


 ...
...