|
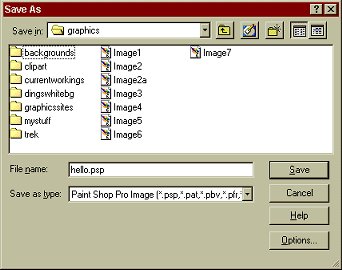
PART 3 Now for some Text Effects! First, lets save our image. Go to "File" then "Save As"
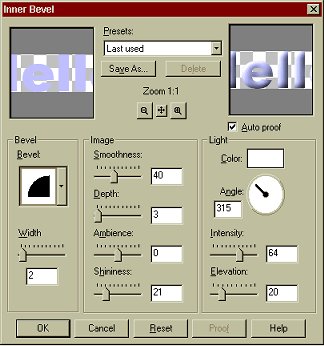
Make sure you save the image as a .psp file. This is important. Saving as a .psp file, will preserve the layers. I've named mine hello.psp Now click on save. But also remember what directory you save it in, we will want to use it again shortly. Inner Bevel Lets apply an inner bevel. On your menu, select "Image" then "Effects" then "Inner Bevel"
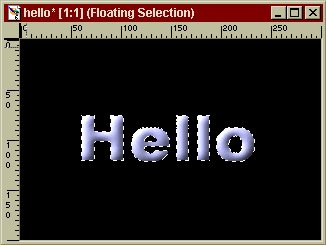
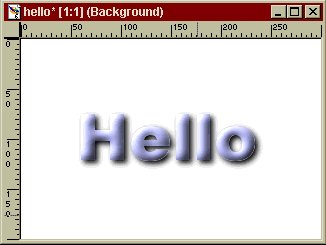
Play around with settings, you can change the type of Bevel, the width, the depth, the shininess, the lighting color etc. You can preview the image in the box on the right hand side of the dialogue box. Once you get an effect you like, click OK. Now right click on the black
part of your image to deselect the text. Wow! you did it. Beveled text.
Now lets say you decide you want a white background. Lets change the
background of our "hello" to white, and add a drop shadow to
the text. First, go to "edit" then "undo delete
selection" or you can click on the undo icon:
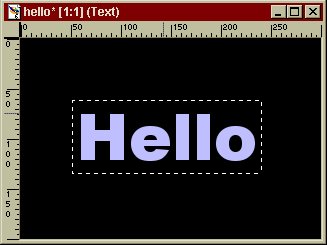
No go to "Image" then "Effects" then select "Drop Shadow"
These are the setting I used, but you can use whatever setting you desire. Click on OK. The go to "Selections" and choose "Select None" Now on your Layer Palette, click on the layer called background. Now click on the "flood
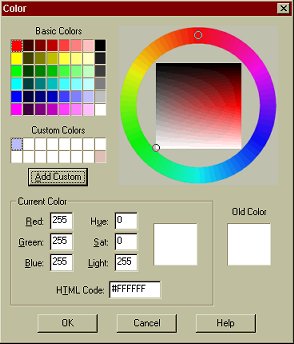
fill" icon: make sure that the top color
swatch in the color palette is white. If it is a different color, click on it. The color picker will appear,
simply click on the white box in the "basic colors" section and then OK. Now click somewhere on your image. Presto! Your image should have a white background now.
You can change the background to whatever color you like. I'm going to leave mine black. Now lets crop our image.
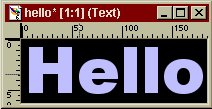
Click on the "crop" icon: Now click and hold the mouse button, and drag the cursor to make a box around the text. It will end up like this:
Then Double click in the middle of the box you just drew.
Congratulations, your image is now cropped. If you like you can save your image as a .jpg or a .gif file in the same way you saved it earlier as a .psp (but give it a new name) Want to try some other
effects? Load up the hello.psp you saved earlier, by going to
"File" then "open" or by clicking on the
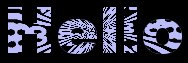
"open" icon: Play around with different effects. Go to "Image" then "Effects" then try something different. Remember to save as a different name each time, or you will overwrite your original image! Here are some of the results I got:
Most of PSP is playing around to get the effect you want. If you don't like something, you can always "undo" and try something else. Now on to your assignment! Assignment:
Try the lesson again, this time using your own colors and
text, and pick an effect to use. This page © Area52 University 2003 |