|
Part 4 Now lets use some of those buttons by playing around with an image.
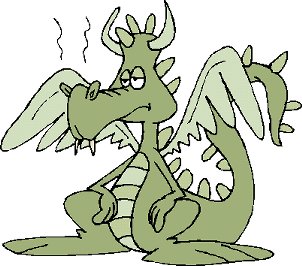
Save this image to your hard drive, by right clicking on this it and choosing "save image as" from the menu. Remember where you saved it! Now open your PSP. Go to "Open Image" Find the name you saved the dragon image as (probably dragon1), in the directory you saved it in, and select it, then click on "open". Your image should appear in the main window. Now we need to make a new blank image around the same size
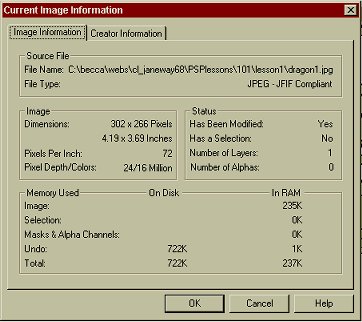
as the dragon. So lets check how big the image is. Click on
From this information, we can see that the image is a JPEG, Has one layer, uses 235k of memory and its size is 302x266 pixels. So we know we need to make an a little bigger than
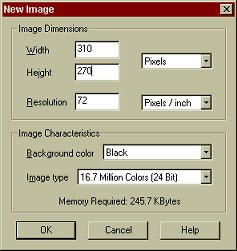
the dragon image which is 302
x 266 pixels. Create a new image by clicking on "New
Image" Make sure the settings are the same as they are here:
Click on OK. You should have a new image with a black background! You can of course change the background color to something different, by using the scroll box in the "Background Color" Box, but for this example we are using black.
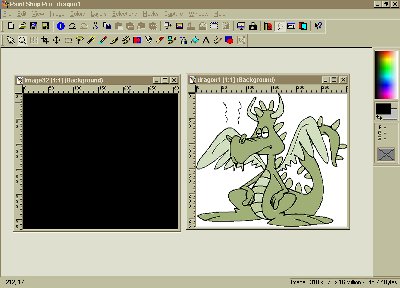
So now you should have 2 images open. This page © Area52 University 2003 |