Hood Ornament
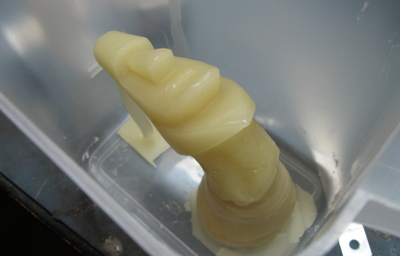
The wax original ready and waiting for it's investment. The thin strip of wax you can barely see on the left is to give a path for the air to escape from the mould when the aluminum is poured.
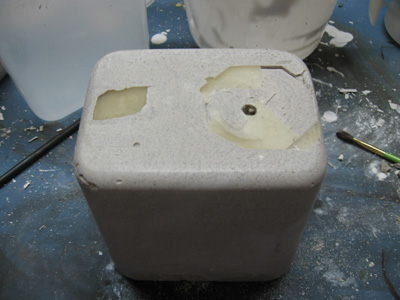
The investment (in this case a mixture of plaster of paris and sandbox sand) is set over top of the wax. Unfortunately the wax actually started to float in the plaster and actually had to be held down under the surface until the plaster set a little.
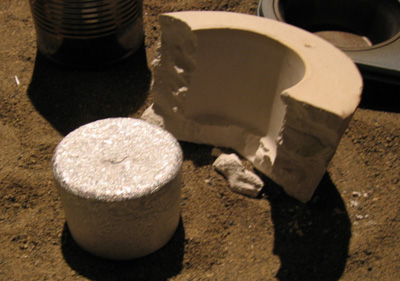
What happened after the plaster set is that the whole thing was put into a pressure cooker with a little water in it, and boiled for about half an hour. This removes the majority of the wax inside. Then the now empty plaster mould was put into the oven for almost ten hours (I don't have to pay the electrical bills) slowly increasing the temperature from about 250oF to 550oF over the course of about four of those hours. This removes any of the last remaining wax, as well as all of the water in the plaster.
Most of the information that I have come across on the internet suggests a much higher temperature for the burnout, but I suppose since the mould that I used is so small, it is not necessary to torch it quite as hard.
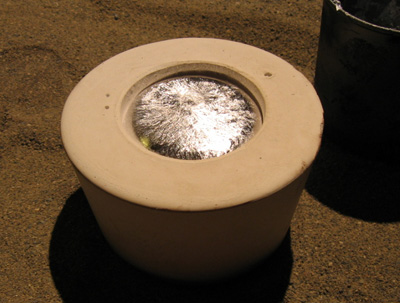
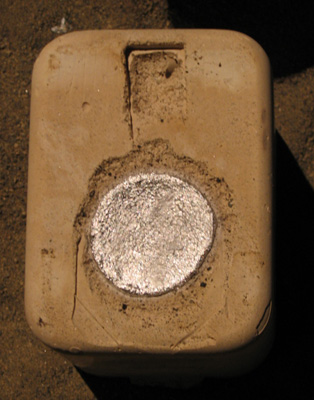
This is a plaster mould I made to see if anything bad would happen when the aluminum was poured. If you do not bake the plaster sufficiently, there is still water trapped in the plaster which all escapes at once when the extremely hot aluminum is dumped on it, causing the aluminum to appear to boil. In this mould, not much would have happened. In the actual mould, it may very well have blown the molten aluminum back out of the sprue (Where the aluminum goes in) and back into my face. I like my face. I try not to destroy it.
As you can see, the test mould seems to have worked. the finish on the aluminum is quite smooth, but looks sparkly, almost crystaline.
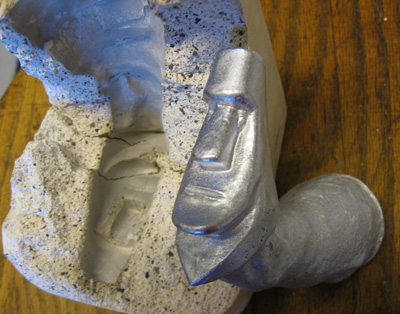
The head's mould has been filled. At this point I got a little worried. In a perfect world, a small amount of aluminium would have come up through the smaller hole at the top of the mould. Obvoiously, nothing showed. I was worried that the strip of wax that formed this hole had broken off when it tried to float, and might not have been connected anymore.
IT'S FREE! MUHUHAHAHAHAHAHA!
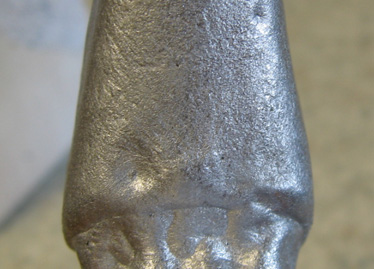
Here is a profile shot for everyone to admire. The surface finish is a little better than the ingot from the test mould, I think because of the pressure of the aluminum in the sprue.
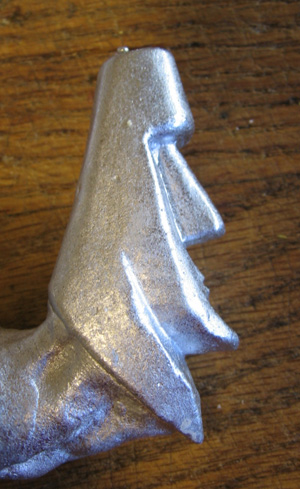
This lump in the corner of his nose is a fault from the mould. There must have been a bubble in the plaster when I was investing.
The funny lumps here are from faults in the wax original I didn't bother to correct, because I really didn't expect this to work.
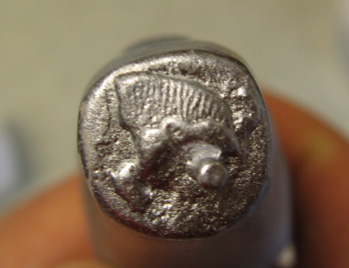
My fingerprint where I pressed the strip of wax onto the top of his head.
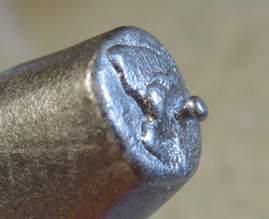
This is where you can see how close to failing this whole endeavor came. The little protrusion here is where a small bubble in the plaster connected the head on the wax model to the strip of wax which DID break off when I was pouring the plaster. Not much of a hole for the air to escape from.
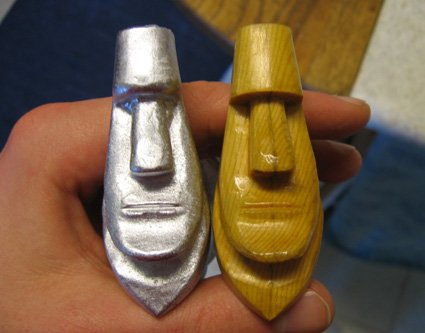
Not a bad copy. I think if the vent had been bigger as was intended that his forehead would have filled up better (his brow is rounded because the aluminum did not completely fill the corner of his forehead) and I will have to take greater care on the next attempt to make sure that the vent is bigger.

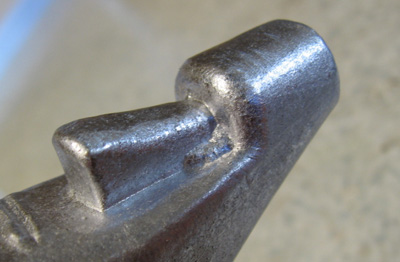
This thing looks much bigger than it really is. It's about two inches tall.