| 2003 Saturn ION: |
| The customization process |
| Thanks for visiting my page! I hope that you will find the following information and pictures useful and interesting. Most of the work done on this car (excluding the tint and original red vinyl graphics) was completed by myself and with the generous assistance of my fiancee's father. Recently, a lot of the elctrical work and body work was done through the assistance of several team members. I have found this process to be both challenging and fun, as it is great to be able to look back at a finished product and say "I did this!". If you ever need any feedback on your own do-it-at-home car projects, feel free to e-mail me at: [email protected] |
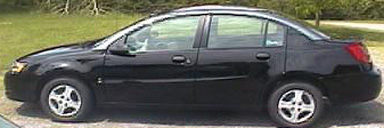 |
| Stock vehicle: May 23, 2003 Saturn of Rochester |
| Step 3: Installation of spoiler and performance mods |
| Step 1: Tinting and vinyl graphics by Akme Motorsports |
| Step 2: Install of vinyl graphics, trim, and carbon fiber dash kit |
| Step 4: Installation of aftermarket lighting accessories |

|
| Thanks for being visitor #: |
| By clicking on the links below, you will be able to see the process of customizing my ride over a year's time and hopefully more to come as funds allow (currently saving for graduate school). I have tried hard to find the best deals around, but I also do not discount the value of going to a dealer or having a professional body shop install many of the things I have done. I have also selected some of the easier and least inexpensive ways so far of enhancing my car. If you do decide to do any of these projects, let me know how it turns out. I'm always looking forward to seeing the progession of other people's cars as well. |
 |
| Step 5: Removal of front bumper and installation of mesh grille |
| Step 6: Interior and under-hood |
| Step 7: Rims and tires! |
| Step 8: Car club membership |