| 2003 Saturn ION: Other Vinyl Graphics and Carbon Fiber Dash Kit |
 |
 |
| Installing vinyl yourself can be fun and rewarding, but there are a couple of things to keep in mind in order to ensure that your graphics will adhere and look good for up to 5 years. 1.) Make sure you install the vinyl on a warm day, about 60-70 degrees. You can also turn on your car's defroster or use a heat gun or hairdryer, but it is usually easier to just wait for a hot day. 2.) Check the weather report, especially if installing a window strip. You won't be able to use your windshield wipers for about 3 days afterwards, so make sure it's not going to rain (or snow...). 3.) Make up a solution in a spray bottle of water with a couple of drops of dish soap. Spray the on the back on the vinyl and on the area where install will occur. This will allow for more free movement before the vinyl sticks to the surface and easier placement to avoid mistakes. 4.) Use a squeegee or a credit card wrapped in toweling paper to smooth out the bubbles before peeling the backing off. It also helps to use a heatgun or hairdryer to get rid of the excess water. 5.) For large vinyls, it helps to use some masking tape to mark off the areas where you are going to install the vinyl. You can always peel the tape off later on. This is especially useful when putting on a windshield decal or a full body decal. 6.) Just be patient and don't peel the backing off too early. |
 |
 |
 |
| A |
| B |
| C |
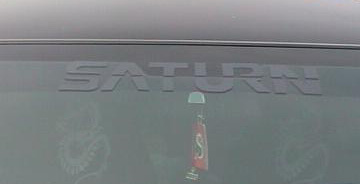
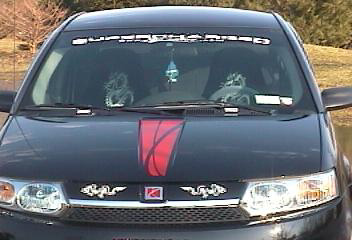
| A.) SpiralMax "Supercharged" banner. This lasted about 2 days, peeled off when iced up. The dragons came off, too, since near engine. B.) Handcut carbon fiber vinyl "Saturn" decal made from stencil, much easier with machine C.) Current team banner. Looks better in person when not using a crappy camera. |
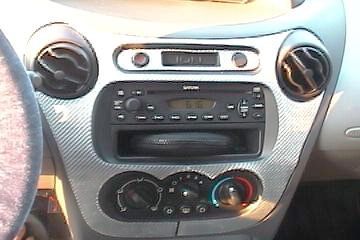
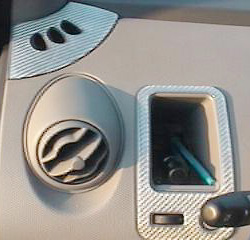
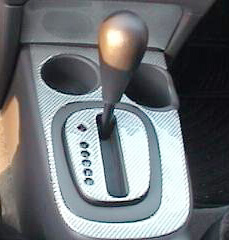
| Finding a Dash Kit You Like and Installing It |
| Before getting into how exactly to install a dash kit by yourself, I'd like to go over some of the sources you can get your dash kit from. Ebay has a bunch of people selling these kits from about $99-150. I bought mine from Kickin' Dash for $100 (I had wanted the black one but they had silver in stock so I got a $20 discount). I've also seen some left over directly from the dealership for only $30-50. You just have to find the right person at the right time. The quality of the kits is pretty much the same with the 3M backing tape (same product used on the ventvisors). If you go to an options store, they will charge you about $250 for the product and whatever hourly labor is to "insure" their work. Now, on with the instructions: 1.) As with the vinyl, wait for the right day. Make sure it's warm out. 2.) Put the heat on inside your car (might want to wear cool clothing). 3.) Use alcohol wipes to prep each area where the kit will be installed. 4.) Heat up each piece before installing by using heat gun or hairdryer. This will make the pieces pliable so you can fit them around contours. 5.) Carefully place each piece on its intended area. If you place a piece on incorrectly, it will be difficult to lift it back up since it is sticky. With the radio bezel piece and the shifter, you can pry them out with a screwdriver to make it easier to put the kit on (wish I knew this before!) If you mess up and the 3M tape doesn't stick any longer, buy some General Trim Adhesive spray in a can and spray it on the backing first. |
 |
 |
 |
| Visit Kickin' Dash for some ideas |
| The silver pinstriping in some of the pictures is about $5 from Wal-Mart (better than $80) |
| You can get many of the product decals (roll-call kits) off of Ebay. |