| Project "Roja" ARB Bull Bar Bumper |
 |
 |
 |
 |
 |
 |
 |
 |
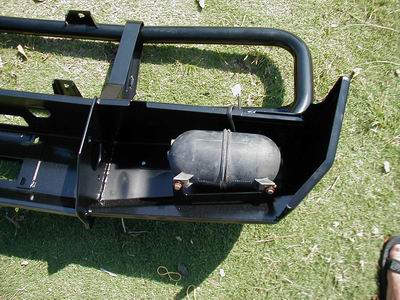
| We debated endlessly on how we would mount the vacuum resevior for the ac. Many mounting plans were created and discarded. When we went to take some measurements on the bumper, we discovered that the people at ARB were kind enough to have already made the bumper with a bracket specificaly for mounting the resevoir. |
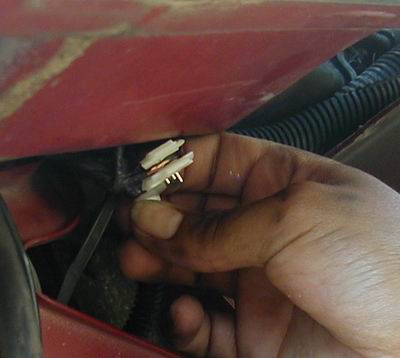
| Meanwhile at the Roja, I was installing the second part of the marker lights. The kit comes with conectors that allow you to splice into the factory marker lights. Just slide the conector over the marker light wire, slide a wire from the kit into the conector and close the aluminum splice. Repeat for the other wires. It's way easier than it sounds. |
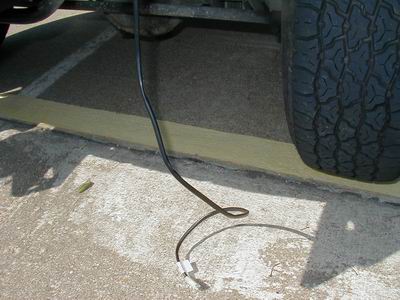
| Now the "tails" for the marker lights are installed. |
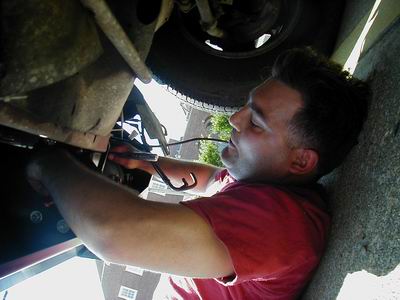
| While "Fez" holds the bumper in place I install the three bolts that hold the bumper to the mounting brackets. " The mounting bracket to the bumper mounting points." We originaly tightened every bolt as we went and the bumper wouldn't fit on the brackets, panic insued. When we came to our senses, we loosend the mounting brackets and were able to mount the bumper. Then we tightend everything. This takes a lot of skill, a few universal joints for your socket wrench would be a good idea. |
| Once the bumper was mounted I installed the vacuum lines onto the resevoir for the AC. |
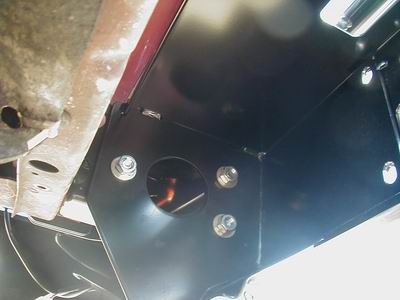
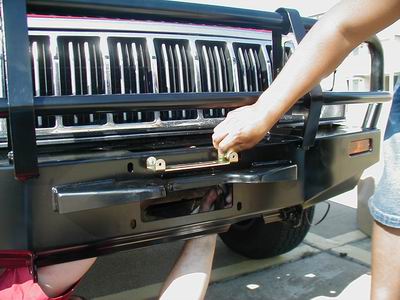
| We really don't know what this piece is really for, but it seemed to fit here. I think its really for mounting the winch. We have tons of parts left over that have to do with mounting the winch, but that purchase will come later. |
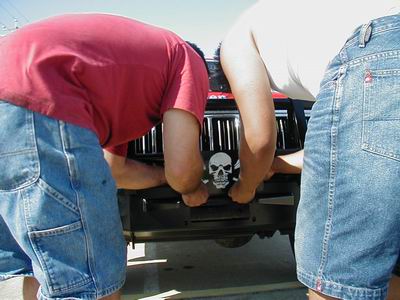
| The odd piece is used as a mount for the pirate plate that the "Roja" must have. This project was way more complex than originally fragged. However with these pictures, your install should be a "no brainer". Good luck. Cujo4x |
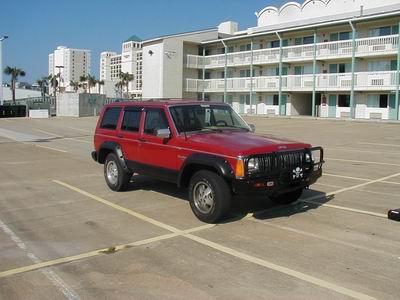
| Here she is with her new bumper.... now for the lift. |