| Project "Roja" Rockkrawler 4.5" lift |
| It's Friday night, my hands look like I'm a proffesional bare knuckle boxer, every muscle in my body aches, I have a black eye from a wrench that slipped, and I may never see pink nail beds ever again. The only thing I've ever done that has come as close in complexity and personal adversity would be an engine rebuild on a 225 V-6 for a 1970 CJ5. I recommend you block out at least two days to do this job. Try to get access to a car lift. You need at least two people. I highly recommend a tool called a pickle fork, a big one. I only used this tool for it's inteded purpose once, but I used it frequently to remove stuborn bolts, pry metal, and as a hammer. Not every lift is this difficult, a guy in the next stall installed the same lift on a Grand Cherokee and he said it only took him five hours. I hear he's doing nicely since they removed the pickle fork from his butt, and he should be able to walk normaly with a little physical therapy. I'm glad I did this lift myself, but I'm not sure I would do this again. I'm sure I will, but right now no freakin' way! YOU MUST GET A FRONT END ALIGNMENT AFTERWARDS. |
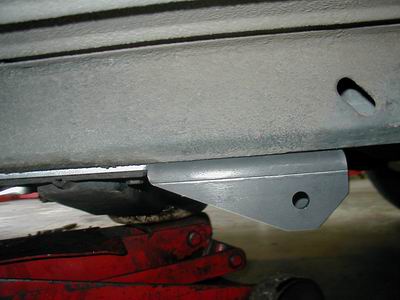 |
| After reading and re-reading the instructions the first step was to mount the lower control arm brackets. Support the transmission support bracket with a jack and remove the bolts that hold it on. In between the frame and the support bracket slide the lower control arm bracket then install the support arm bracket bolts. My bracket had a stud and a bolt on each side. The supplied longer bolts didn't fit in the holes, and I had the studs on each side, so I used the factory bolts and they managed to be long enough. |
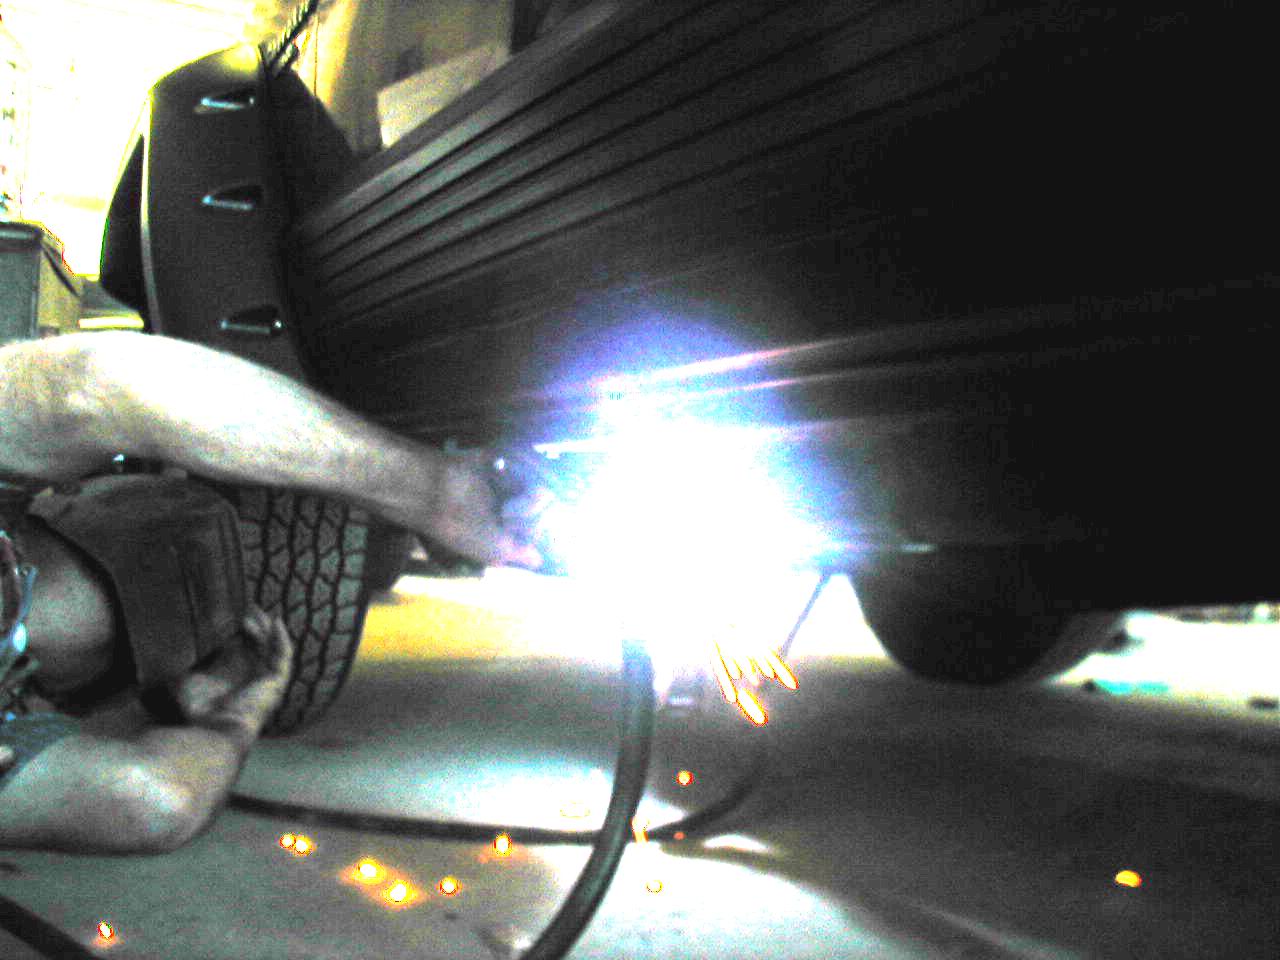 |
| A local body shop was kind enough to weld the brackets in place. Even though they were bolted in, the instructions require that they be welded to the unibody. |
 |
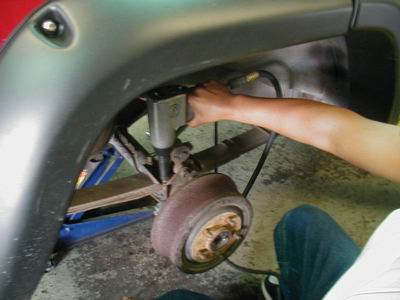
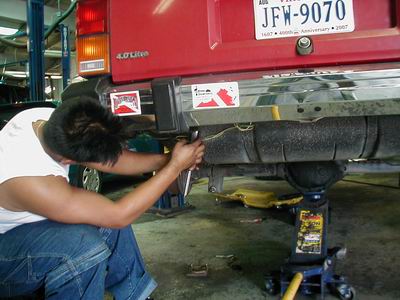
| As per the instructions we raised the rear body of the truck and placed it on jack stands. Then we supported the rear axel housing with a jack. We removed the shocks and the rear sway bar. Both of these items can be thrown away, but keep every bolt and nut. The system requires you to re-use most hardware and experience has shown us that some of this hardware is so rusted that you can't help but destroy it when removing the old suspension. |
 |
| Next we removed the u bolts that held the leaf springs on. So far everything is going smoothly and as planned. |
 |
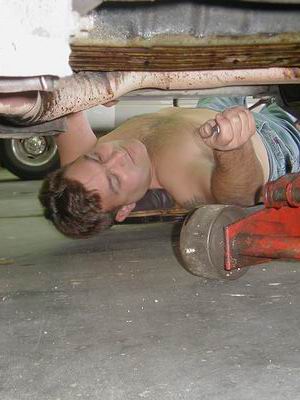
| Next we removed the leafs from the shackels. These bolts would not move. We used massive breaker bars, cans of break free, and buckets of sweat. Spray everything down constantly with break free a day prior to doing this project, and spray generously throughout the process. The bolts had frozen to the bushings, we used the pickle fork to pry the bolts out of the leaf springs. |
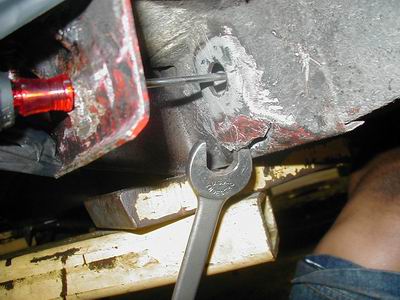 |
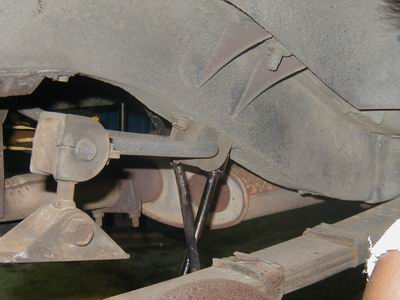
| When removing the front bolt on the left leaf spring, the bolt that is welded to the frame broke off. We ground a hole in the bracket witha a cutting tool so that we could get a wrench in the hole. This is a picture of the begining of the hole when we were trying to see what the problem was. This hole was eventually large enough to barely get that wrench in. This enabled us to hold the nut while we screwed in the bolt. The screw driver is holding the nut out of the way of the cutting. |
 |
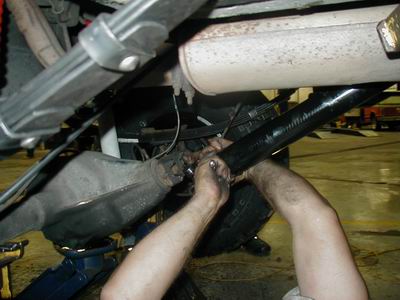
| Then I removed the drive shaft. I probably should have done this step sooner, but once the axel housing was free I noitced the drive shaft slipping out of the transmission. If you do this lift then you need to: A. lower the transfer case with a transfer case lowering kit. B. replace the driveshaft and install a slip yoke eliminator. C. replace the drive shaft with a CV driveshaft. Since I plan to install an ATLAS II transfer case later, I went with the CV Drive shaft from Six States Automotive. |
 |
| Prior to installing the rear leafs I installed the new drive shaft. |