| Project "Roja" Bushwacker Cut Out Fender Flares |
 |
| After cutting we filed and sanded the edges so they weren't sharp. We then covered the exposed metal with undercoating. |
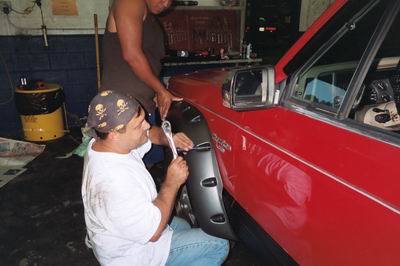 |
| We mounted the fender flares against the body and marked the holes to be drilled. The flares are plastic, and subject to a little warpedge, so make sure they are mated snuggly against the fenders and body. |
 |
| After drilling we screwed the flares on. The sheetmetal screws provided in the kit, were not what I would have chosen, and I may still swap them out. We had a problem with the front flares, where one screw on each side in the same spot wouldn't reach the sheetmetal. The rubber spacers really suck at this point. They continually fell off. Tempers were a little short at this point. RUBBER SPACERS!!!!!!!!! |
 |
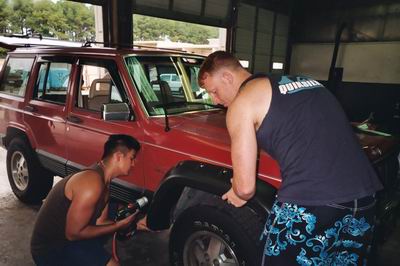
| Now look at the front of the fender well. This piece makes sense now. When you get the kit however; we spent hours trying to figure where this went, it's not mentioned in the instructions. Once we figured out what it was for, we really questioned the measurements listed in the instructions. We fitted it several times before we got the cut right. |
 |
| We worked very hard to mount the rear fender. More trimming. Unfortunately the pictures of mounting the front part on the door didn't come out. The holes you drill for the front part of the flare are in the door. The very top hole if drilled all the way through would drill though the door and into the body. Ahhh, what about the screw that goes there? We had to cut it roughly in half. Otherwise it would hit the body on the inside of the door. This isn't a problem if you never open the rear door. |
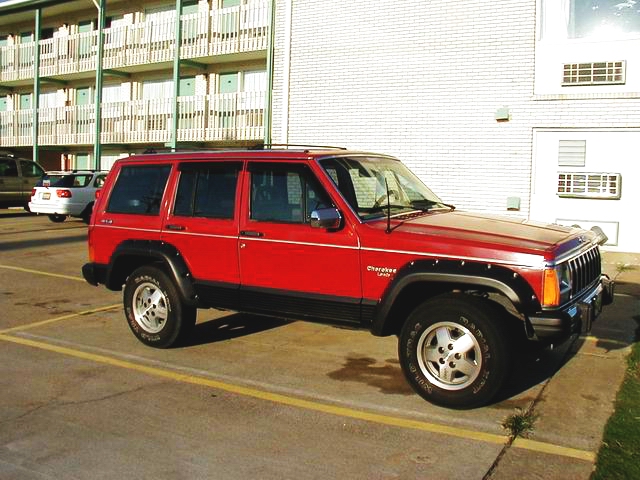 |
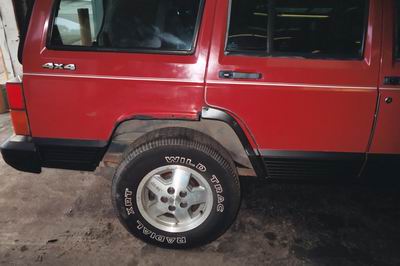
| This is the finished product with stock tires and no lift. Notice the front part of the rear fender flare is on the door, but it doesn't effect the rear doors operation. Since installing these flares I have had non-stop questions about them. A little advanced, but easily with in the shade tree mechanics ability. Cujo4x |
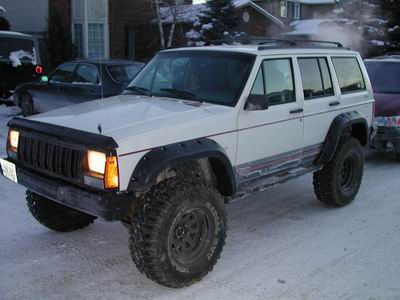 |
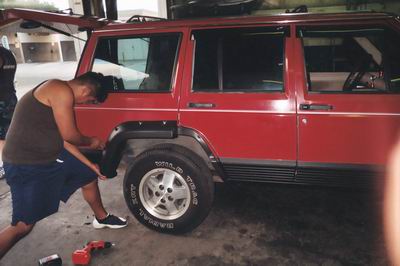
| Kevin is a reader from where it snows obviously, and he completed his install of these flares with little problem. I'm glad we could help. |
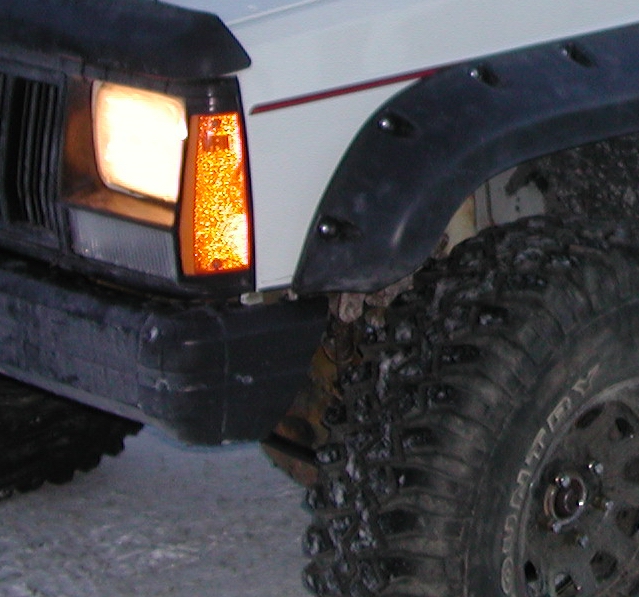 |
| Kev however; was not satisfied doing what others before him had done. He moved the fender flare back approx. 2 inches. This gave him 2 inches BEHIND the tire. He said this has worked out pretty well for him. Thanks for sending us your pictures. I hope everybody has as much success as Kev. You'all keep wheeling. |