 |
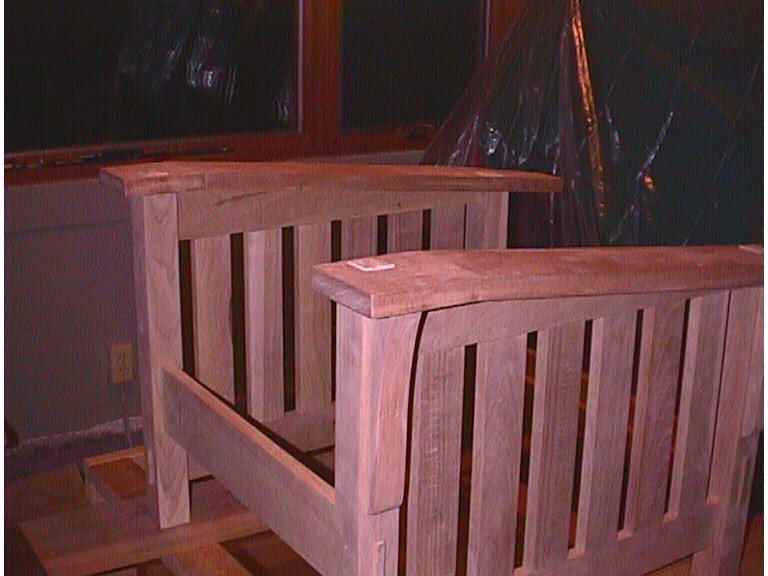
| I used 1-1/8" mahogagy for the arm rests and two posts of the seat back. All other parts were made of cherry. The arm rest has 6 degree of slop whick I cut the piece into two at 6 degree and jointed back with biscuits. Also the wedged upper rail on the sides fit into the groove on the underside of the arm rest. |
|
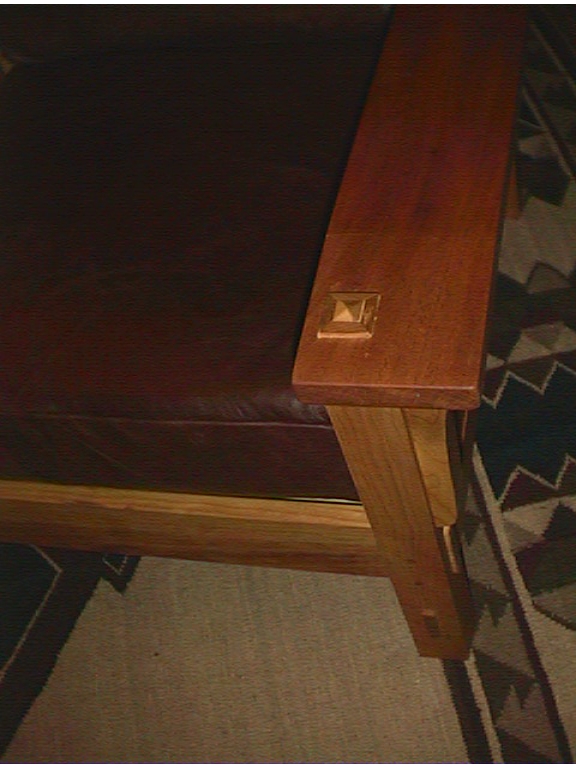
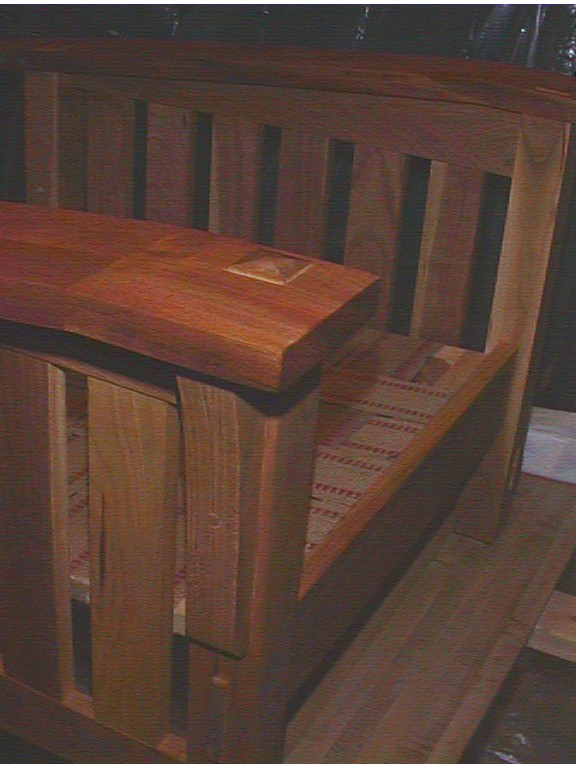
| From this picture, you can see clearly the construction of the leg and through tenon made to the front of the arm rest. I used 3/4" solid cherry square core for the leg. That gives me a final dimension of 2-1/4" on each side of the miter jointed leg. I got the idea from FWW magazine #149 issue's article of making the mission style library table. It turned out pretty good and fun to make. |
 |
| I don't have a bandsaw to cut the curve on the support piece under the arm rest. But in the middle of this project I got a very good deal on the DeWalt scroll saw. So I cut this 1-3/4" thick support on the scroll saw. It worked out nicely. Much better than that I did with jigsaw and required minimum sanding. The support piece was attached with glue and pin. All the through tenons were secured with pins. |
 |
 |
| After the arm supports were assembled, it was ready to be finished. It will be just tung oil for the first two coats and then two clear coats of Barley's oil urethane finish. |
 |
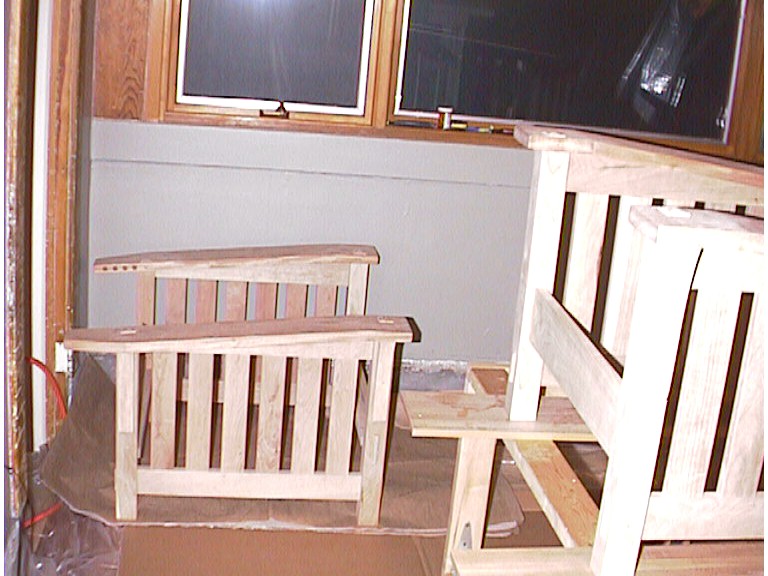
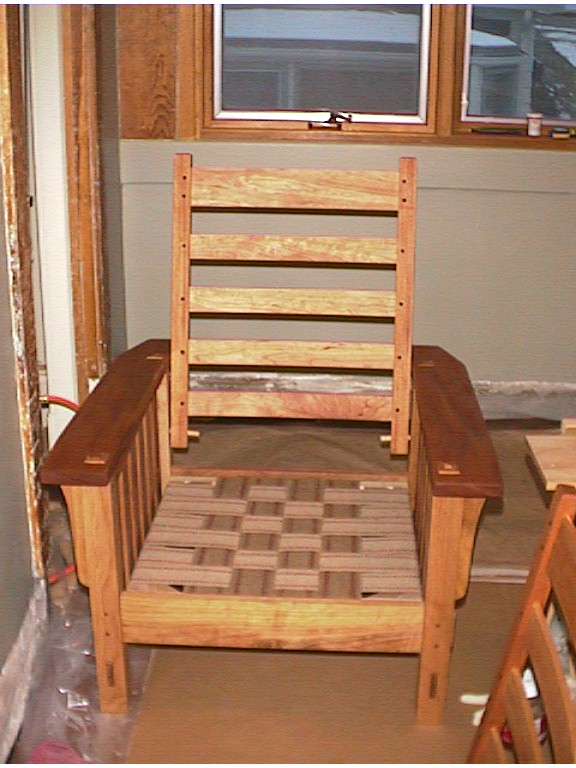
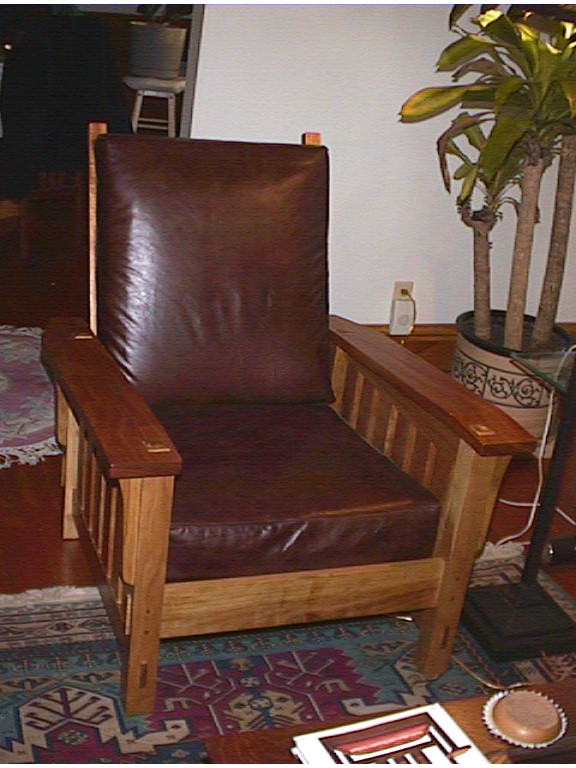
| As you can see the color of the unfinished chairs are quite different. This one was taken at night with just the regular light and flash from the camera. |
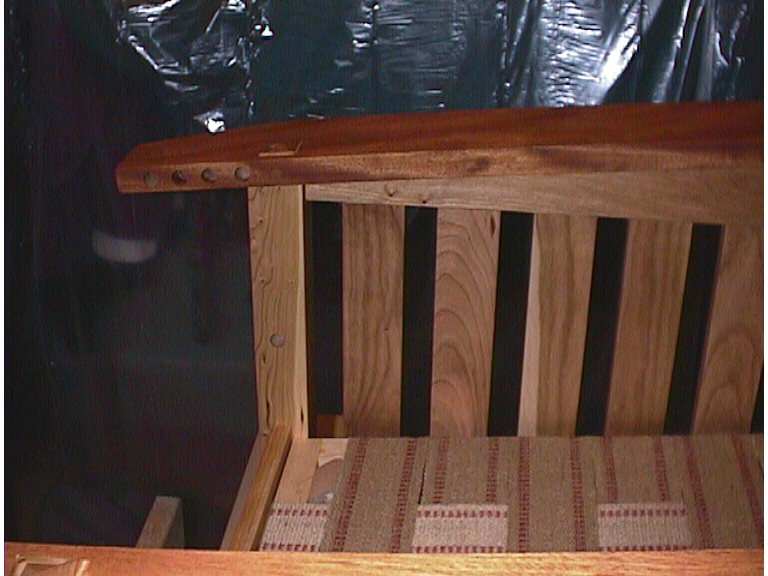 |
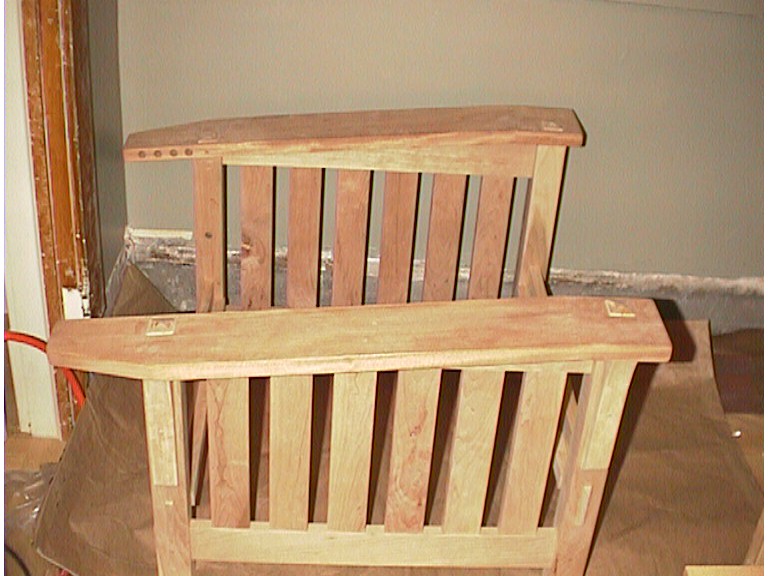
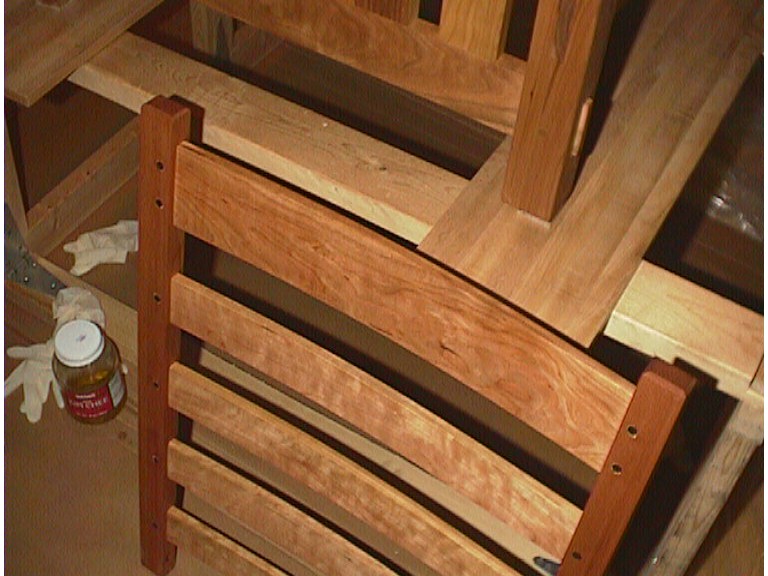
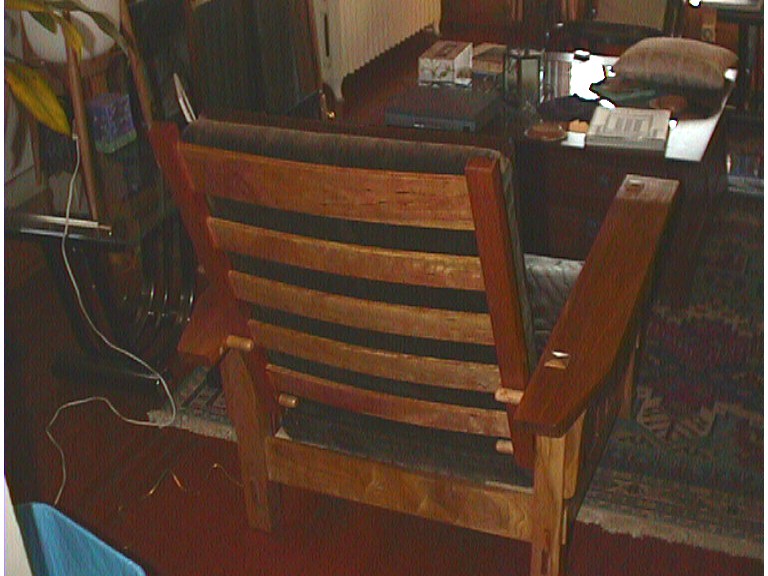
| The back of arm rest with four holes for back angle adjustment. |
 |
 |
 |
 |
 |
 |
 |
 |
 |
 |
 |
 |
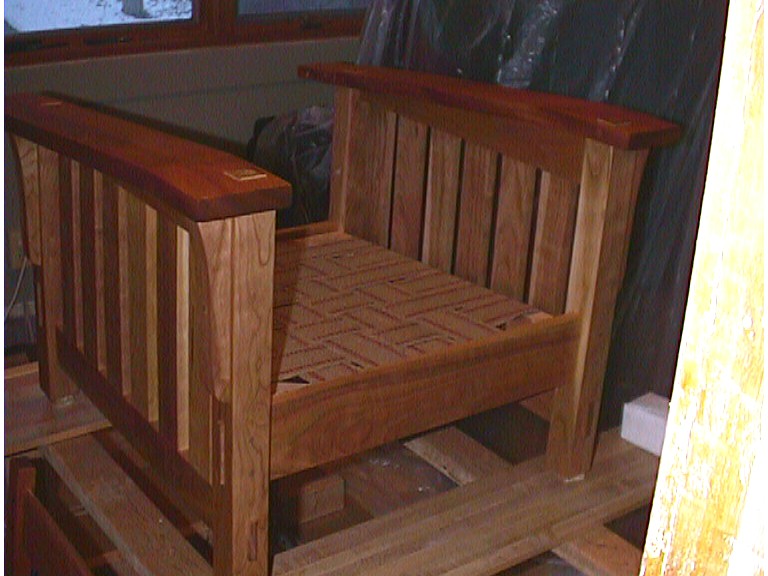
| This picture was taken right after the first coat of tung oil was dried. |
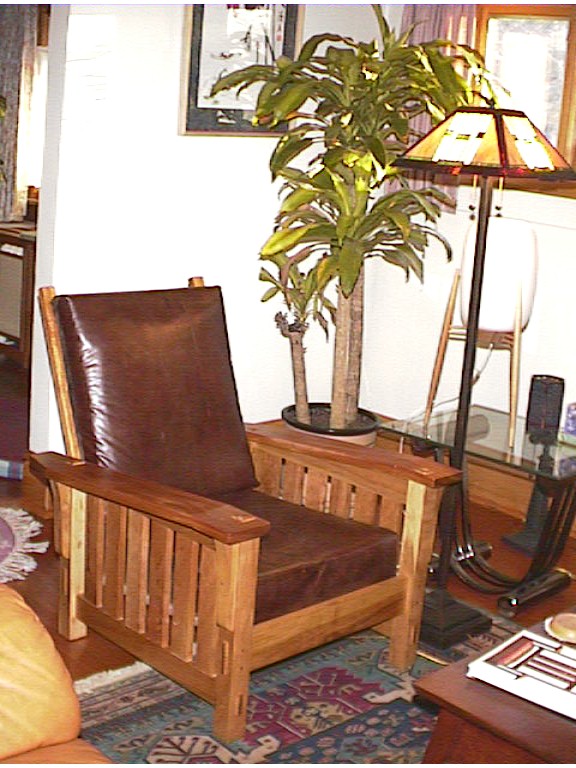
| These are just two more pictures of the chair after two coats of tung oil. |
| I only only dry-bend with 1/4 cherry for the back. I made a MDF jig to clamp the back rails in while two pieces are glued. I was able to do three at a time. As you can see it does not have the sharper curve I would like since it was my first time to bend anything. But it turned out pretty good. |
 |
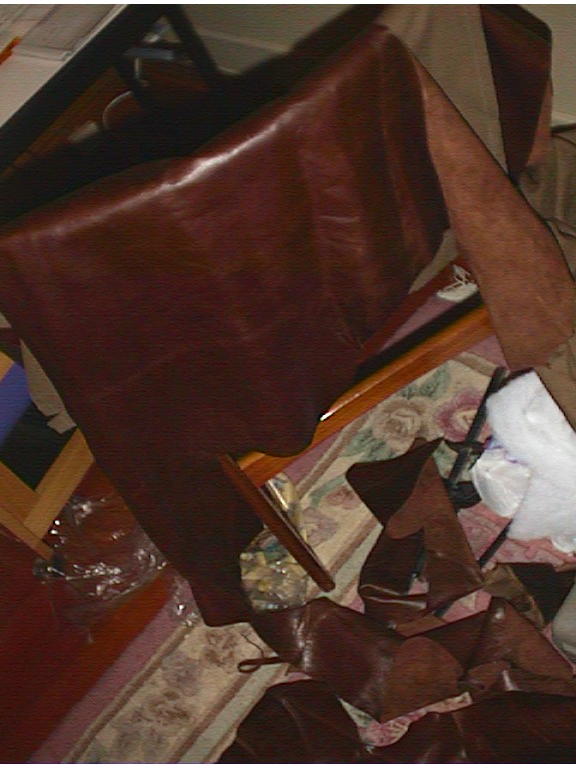
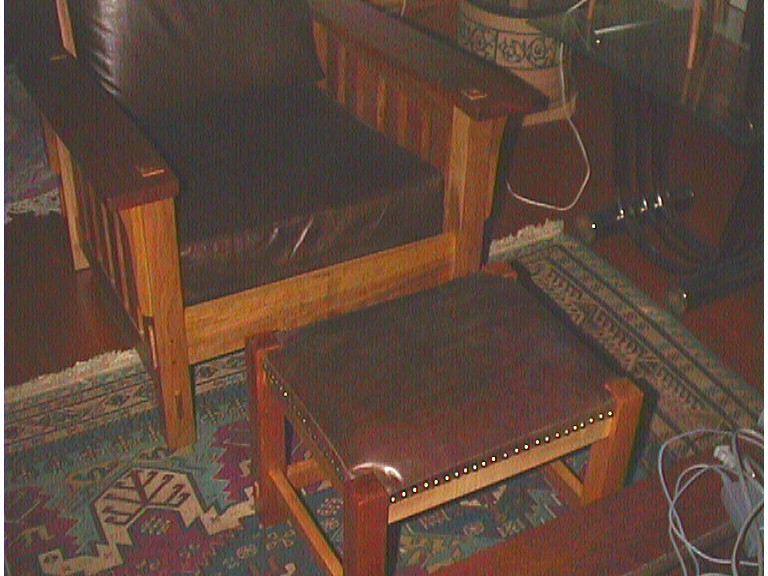
| When the chairs were close to be done, I started to call around about getting leather cushions. The average price I got was about $300 per chair. That includes labor and material. I did not ask what grade the leather would it be even it's for both sides on the back cushion since it would still be too much for me. So I looked into to make cushions myself and I did end up doing the cushions myself. Both seat cushions are removable. All cushions (4) have one side leather and one side dark brown velvet. The total material for all chair cushions and two ottomans (leather top) came in under $350. The leather is of very good quality that has this luxury feel to it, much better than that used on a $1200 Morris chair I saw in the store. |
| I had to use my neighbor's lathe to make the pins for the back. |
| This is how it looks in the living room. |
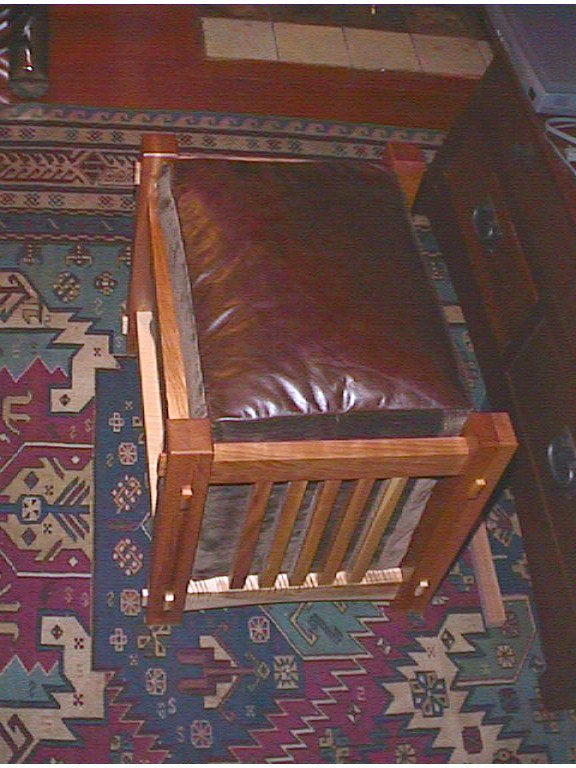
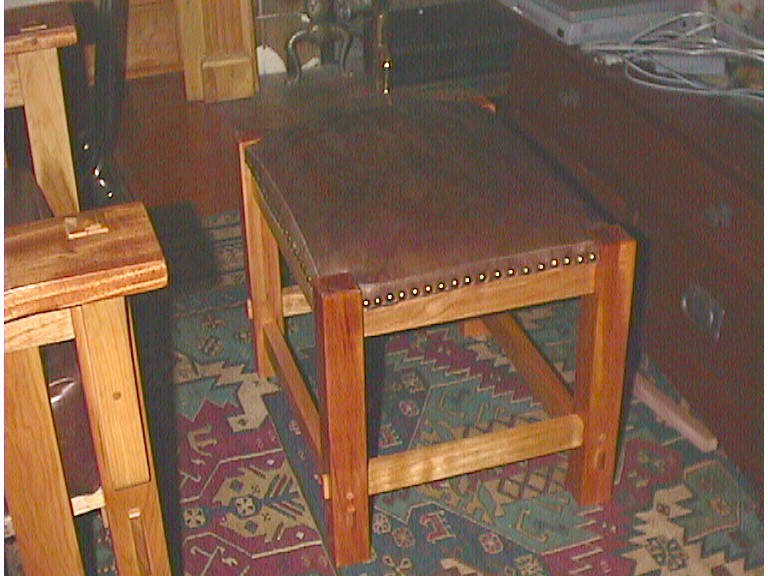
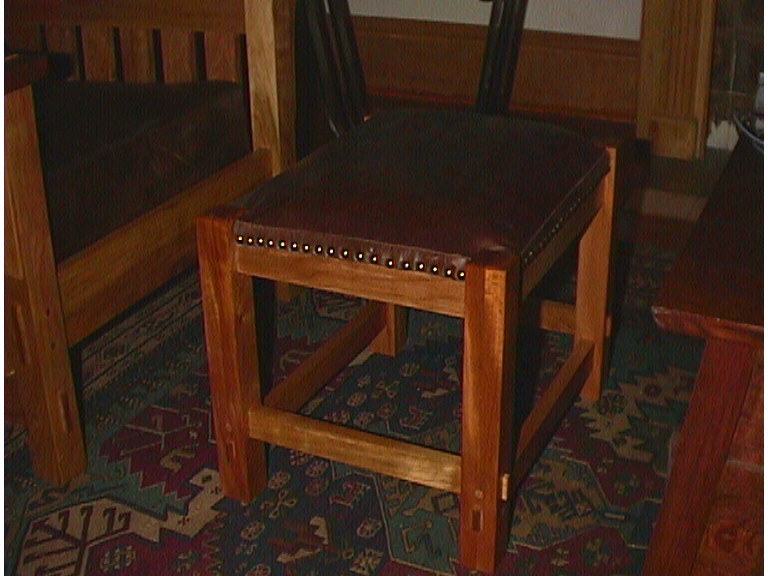
| I designed this footrest/ottoman based on the dimensions from the book "Stickley's Style". I used mahogany for legs and cherry for rails. The two long top rails are curly maple as you may notice from the picture below. I was out of cherry at that point. Cedar was used at the bottom support the cushion. First I made a removable cushion to on top. Later I changed my mind and disassembled it. Used only top and tacked on the side rails. |
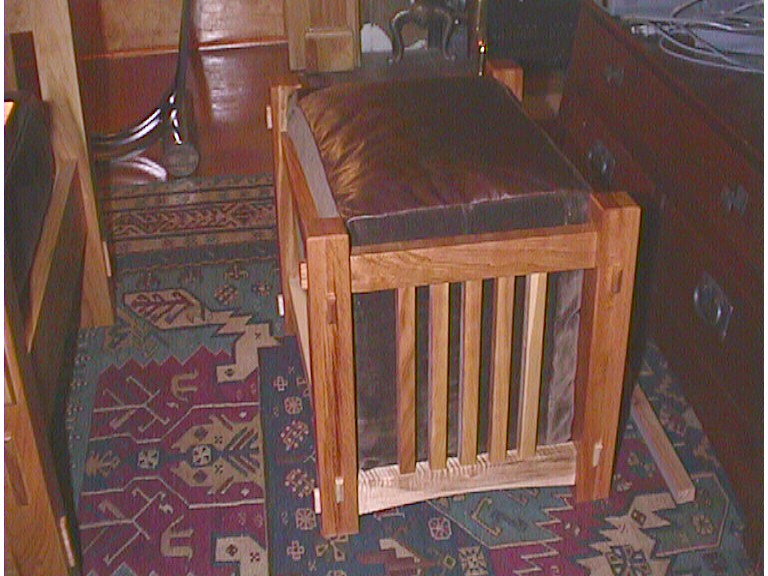
| I changed my design for the second ottoman after I saw the Sundance catalog. I moved the cedar support to the lower rails and added spindles to the two narrow sides. All rails have through tenons. The cushion is removable and sit all the way down the ottoman. It feels softer than the first one and looks different from a regular footrest. |