 |
| Well, I started out 2001 with only some ideas for remodeling the master bedroom. But it turned out to be the biggest project we ever had since we moved into this house two and half years ago. As you can see in some the home improvement pages, we did everything in the master bedroom. Laid new floor. Did whole stair well. That took us right to the late August. So we took a break, then I made a couple of pieces for the radiators. While going into 2002, I started the Morris chairs project. |
|
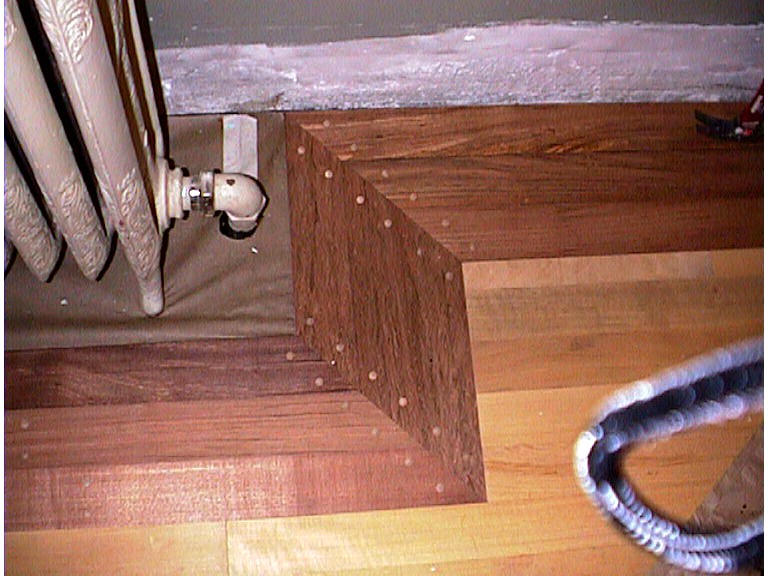
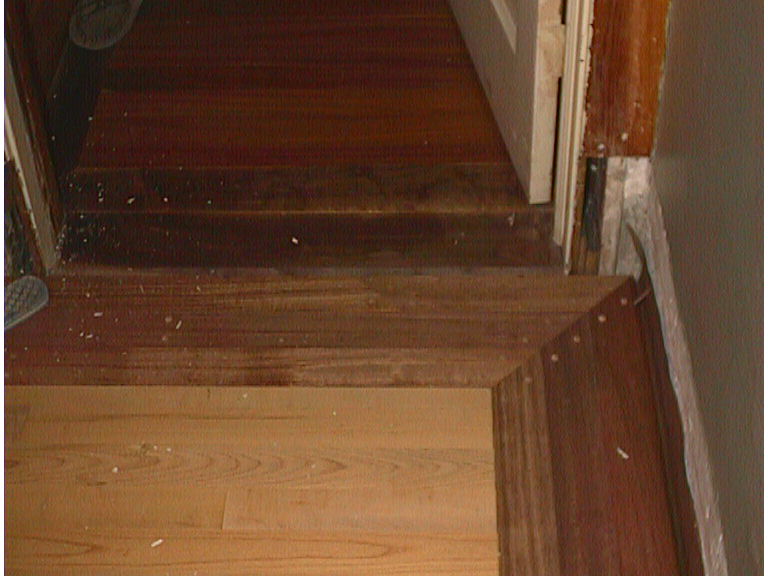
| I came cross a pretty good deal on clear grade Brazilian maple floor (3" wide) while I still had a few bundles of Brazilian cherry left from the hallway and master bedroom project, I decided to put new floor in a small bedroom. I did something different - miter jointed borders. It looks nice. We will finish it in the coming spring. Check back on that. |
 |
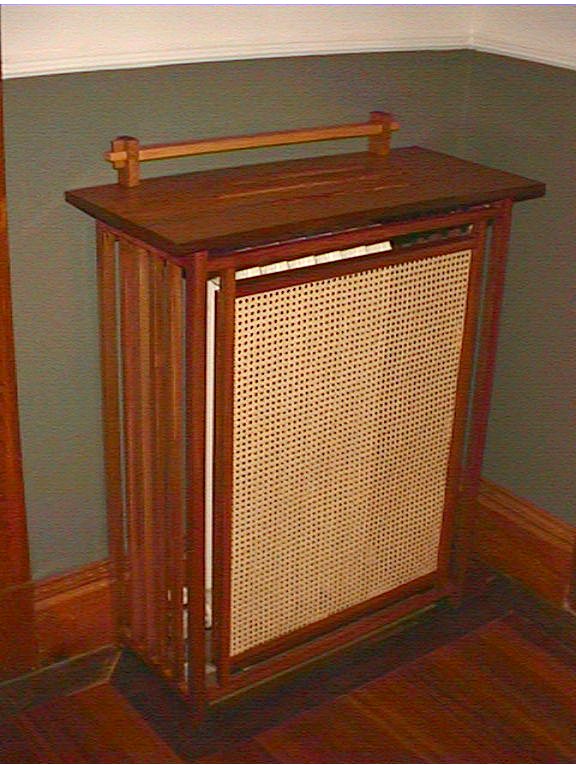
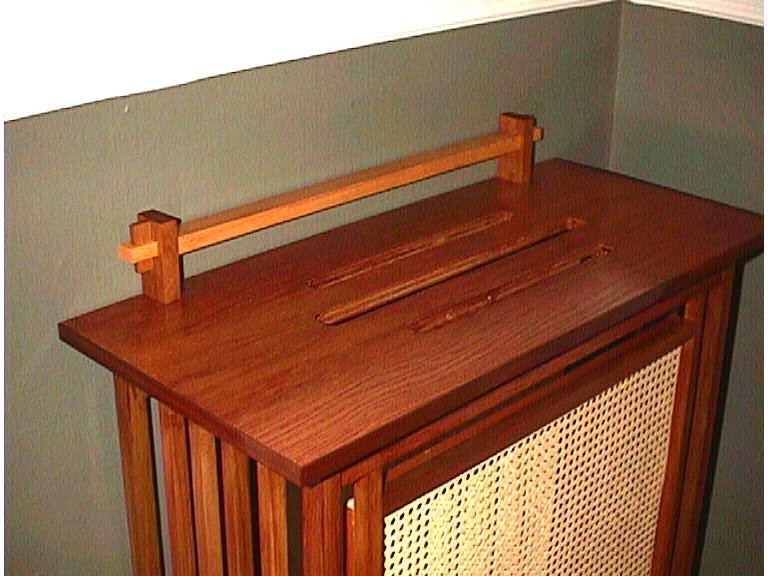
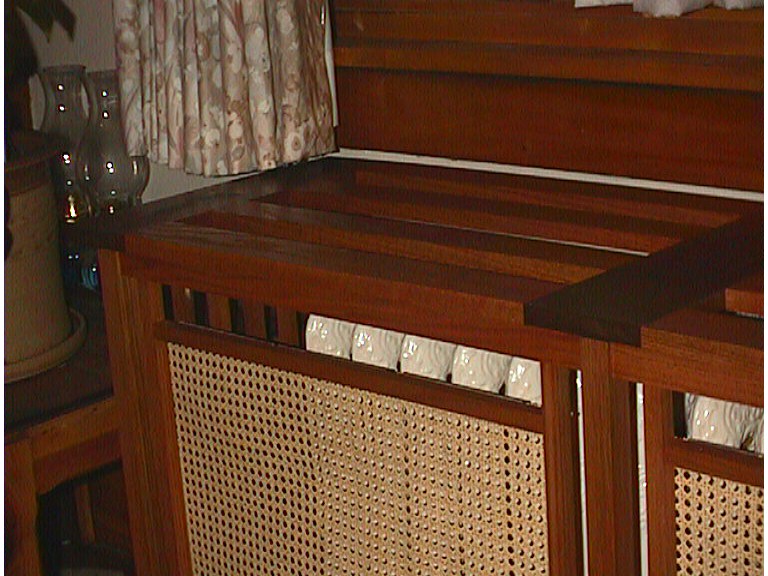
| I was tired of looking at white paint all over the place in this house. We stripped as much as we can off the wood trims. But there is no way to get the white paint off the radiator. So I drew up a plan and made this cover. The top is removable so the valve can be accessed. The frame is made of red oak with woven cane as the grill. The top is 3/4" plywood with walnut edges. The pegged piece on top is just from some mahogany scrap in the shop. |
 |
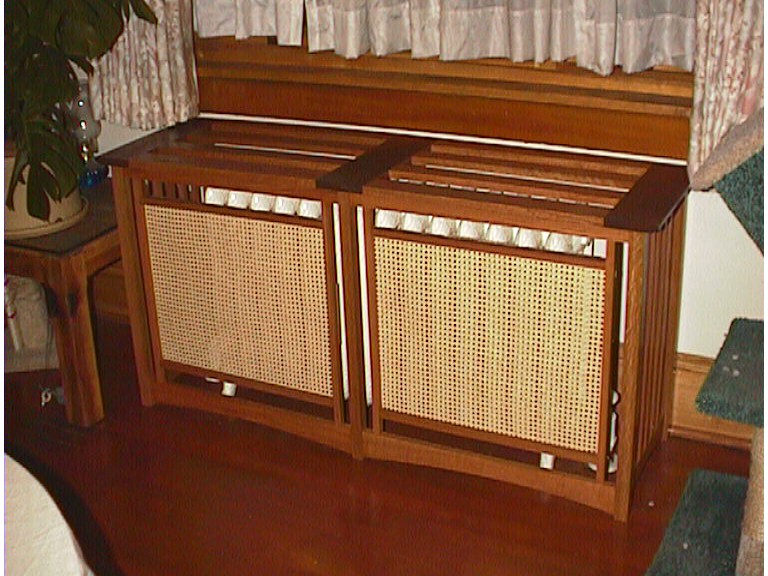 |
| She liked the idea of this radiator cover and asked me to make one for the dinning room. Here it is - double panel radiator cover. Red oak with dark walnut. I even did curved rails at bottom to make it better looking. |
 |
| I did these two radiator covers after I got this pocket hole jig. I used only pocket hole screws when constructed these two pieces. |
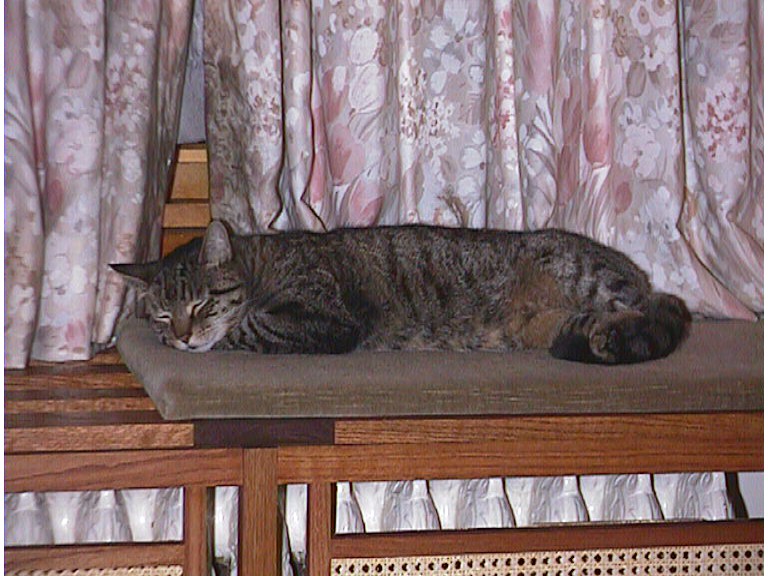 |
| Now I know what was really in her mind about the radiator cover. The cushion is from her piano bench. |
 |
 |
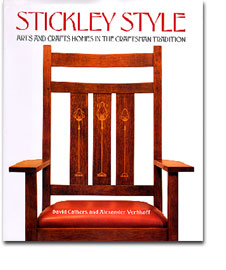
| I was inspired by the furniture in this book - "Stickley Style". Lots of pictures of Arts and Crafts houses and furniture. I saw many variations of Morris chair. Short after my neighbor got me a pretty good deal of some cherry lumber, then I really started thinking of making one of the Morris chairs. After a few people showed their Morris chair at Badge Pond forum. I bought a plan book - "The furniture of Gustav Stickley". First, I wanted to make a spindle side. But I thought it was too many spindles and mortises for two chairs, so I made it slat side. |
 |
 |