|
|
|
Welcome to my February PSP SLP Lessons
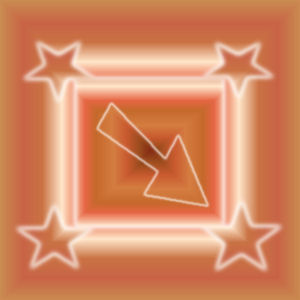
Tutorial 1: Tools: The Selection Tool
In this tutorial we explored making selections with the Selection Tool. In the image on the left, a square was created using the "Custom Selection" button. Stars were then drawn directly at each corner and the arrow was removed from the foreground. In the image on the right, the square was drawn directly and feather values were used.
|
|
|
Tutorial 2: Tools: The Freehand Selection Tool
This tutorial explored using the Freehand and Point to Point Selection options of the Selection Tool. Using the freehand option, I created two images using my initials. The first image is without feathering, while the second image was feathered.
|
|
|
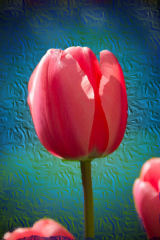
Using the point to point option, I created the following images. The first one is just a design I created. The flag was cut from a photo using the point to point option and pasted into a new image with a gradient background. The tulip was cut from a photo and a textured transparent gradient was layered between the tulip and the background from the photo.
|
|
|
|
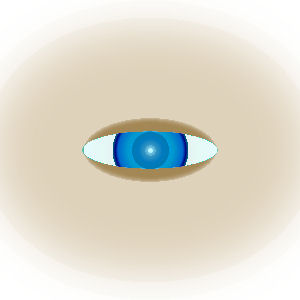
Tutorial 3: Tools: The Flood Fill Tool
In this tutorial we learned how the match mode, tolerance, sample merged, blend mode, and opacity effected the outcome of our graphic when using the flood fill tool. We also learned to set various options in the materials pallet and created the image of an eye, which is pictured below. I just couldn't get the eyelashes to do what I wanted them to do, so I left them off for the time being.
Tutorial 4: Note Cards
In this tutorial we learned how to make note cards. Since I could not figure a way to save my print template so that I could display it, I made an image using the images I created for my Valentine's Day card.
Tutorial 5: Italian Blown Glass Candy Dish
This tutorial was fascinating! We learned how to make a candy dish using textures, geometric effects, and preset shapes.

Tutorial 6: Quick Sparkle Tube
In this turotial we learned how to make sparkles and save them as tubes so they can be used later. The pink sparkle was saved at 50% and the blue sparkle at 75%.
|
|
|
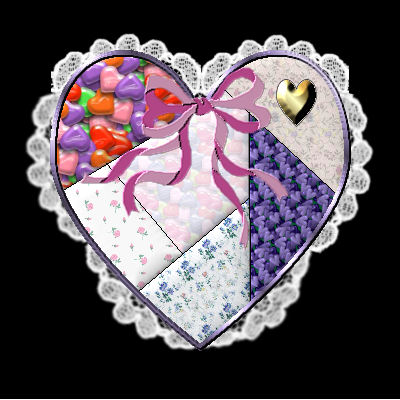
Tutorial 7: Patchwork Heart
With this tutorial, we used many of the tools we have been studying for the last couple of months and some, like inner bevel, that we haven't used so much. It was a really fun tutorial and since it was almost Valentine's Day when I made it, I went with hearts and flowers for my patches. I got these wallpapers at Jane's Wallpapers, Fills & More
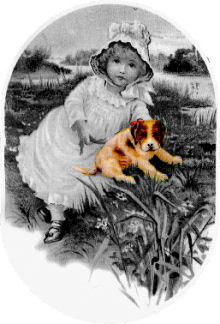
Tutorial 8: Greyscale Image with a Spot of Colour
In using this tutorial, we used both the freehand and point to point optios of the selection tool to select the dog and colorize him.
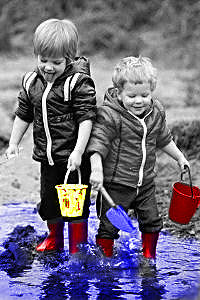
Tutorial 9: Adding Color Accents to a Black and White Photo
In using this tutorial we learned to use the Color to Target tool. In doing so, we colored the boys' boots, sand buckets, shovels, and the water.
Tutorial 10: Challenge Tutorial - Elegant Ribbon
This turotial was written by Dizzinz Studio and taught one to make ribbon, both flat and curled, using dingbats. She has a lot of interesting tutorials, websets, tubes, and other things for PSP on her website. The tutorial was well written and easy to follow. The first image is of all the ribbons I made, which I saved as tubes so I could use them later. The two on the left are flat ribbons and the two on the right are curled ribbons. The second image is a name tag I created using one of the ribbon tubes.
|
|
|
My Awards
|
|
|
|