|
|
|
|
|
Welcome to my March PSP SLP Lessons
Tutorial 1: Oval Button with Text
This tutorial expanded our knowledge of the Selection Tool through our use of the ellipse. We also used the Text Tool. All of the buttons were created by using the ellipse option on the Selection Tool and adding noise to create the speckles. The button on the left, used a regular text option. In doing the next three buttons, I checked the Gaussian button when adding noise. The second and third buttons were created using two differnet cutout options from the Effects Tool, and I used the chisel option on the fourth button.
|
|
|
|
|
Tutorial 2: Creating Transpearent GIF Files
This tutorial explored how to make transparent GIFs, which allows a selected color of an image to appear invisible so that the color on the web page shows through the area where that color is.
|
|
|
Tutorial 3:The Text Tool
This tutorial covered how to use the text tool and what the different options of the tool did. The first buttom was created by flood filling the text. While creating the second button, we learned to edit the text, one letter at a time or as a group of letters. The third and fourth buttons were created using vector text, which allows one to do a lot more with the text, like moving each individual letter instead of the entire word.
|
|
|
|
|
|
Tutorial 4: Word Art" Text Effect with Mesh Warp
In this tutorial we learned how to create text on a curve and to use the Mesh Warp Tool. First I created a Bezier Curve then used the Mesh Warp Tool to pull the letters into place on the curve.

Tutorial 5: Using the Text Tool
In this tutorial we learned more about the Text Tool, using vectors, and the Color Replacer Tool. I created a sigtag. The butterfly tubes were created by Hypergurl.
Tutorial 6: Creating a Cupcake
I had a little bit of trouble trying to figure this tutorial out, but once I did I had a lot of fun with it! We learned more about Preset Shapes, the Pen Tool, Object Selection Tool, the Blinds Effect, the Deform Tool, and the Warp Mesh Tool. The first image is just the cupcake with a candle. Then I made the cupcake and the Pooh party favors into tubes, and created the second image from those tubes.
|
|
|
Tutorial 7: Working with the Background Eraser
In this turotial we learned how to use the Background Eraser. We also used a filter called Mura's Meister Cloud Filter to create the new background for the image.
Tutorial 8: Tools: The Eraser Tool
With this tutorial, we explored using the Background Eraser Tool and the regular Eraser Tool. I used the regular Eraser Tool to get close to the flag and then used the Background Eraser Tool to finish erasing the background. I then copied the flag to a background I created.

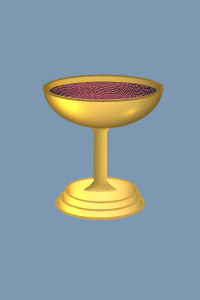
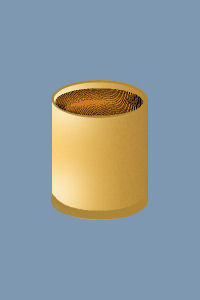
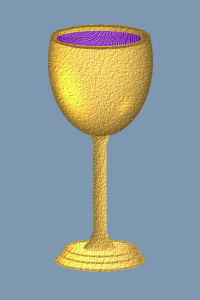
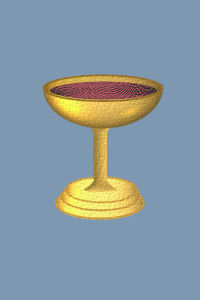
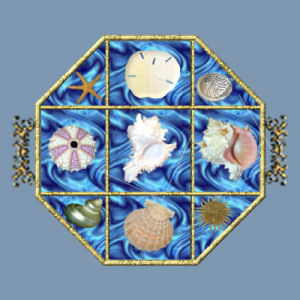
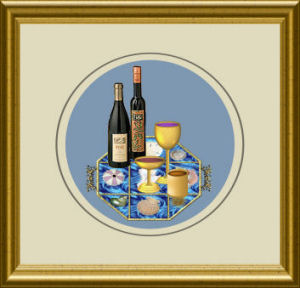
Tutorial 9: A Golden Goblet
This tutorial caused me a real headache! I never did figure out how to make the stem of the goblet the way the tutorial instructed. However, I improvised by finding the picture of a goblet and making a tube of the stem. I wound up making the golden goblet, a champanye glass, and a cocktail glass. I did a plain version and a frosted version.
|
|
|
|
|
|
|
|
I then made the goblets into tubes, made tubes of some seashells and wine bottles, and completed a tutorial by Dani's Graphics of a serving tray. Then, I made a tube of the tray and did a tube painting using the tubes I created while doing this tutorial.
|
|
|
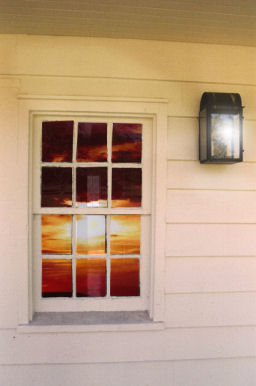
Tutorial 10: Window Reflections
In this tutorial we learned to use some of the tools offered within PSP to make "natural" looking reflections in a window.
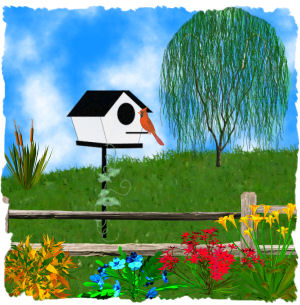
Tutorial 11: Bird House
This tutorial was fun! We built a bird house from scratch. Then I created a tube painting using the bird house. The tree and plant tubes came from PSP Tubes.
|
|
|
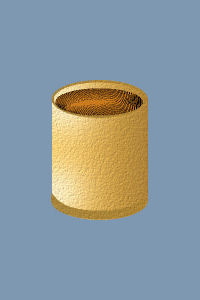
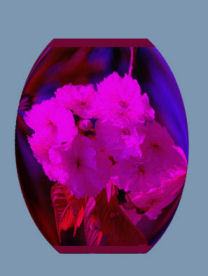
Tutorial 12: User Defined Filters
This tutorial taught us how to use the User Defined Filter function provided with PSP. We also got to use the Warp Mesh Tool some more. We used these tools to create a vase. I did three different vases. The first vase was done with the files that were included with the tutorial, at the setting specified in the tutorial. The other two were from different photos at settings I created. It was a lot of fun!
|
|
|
|
Tutorial 13: Spilled Paint Effect
This tutorial taught us to create an image the the shape of something spilled. The first image is a photo of Kudzoo that I took in NC. They say it is the North's revenge on the South! lol No, believe it or not, it came from Japan, but as you can see, it covers everything. The second image is a photo our pastor took while he and his wife were on vacation last year at Fall's Creek.
|
|
|
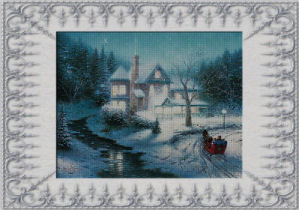
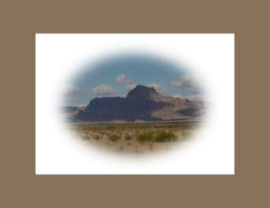
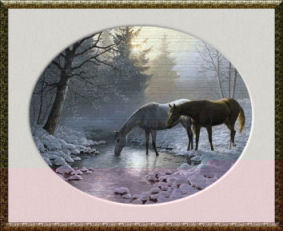
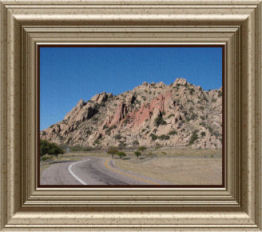
Tutorial 14: Painting on Canvas Effect
This tutorial taught us make our images look like they have been painted on a canvas. The first image is the one provided by the tutorial and used a fine linen texture. The second image is a photo I took in Wyoming and uses a canvas texture. The third image is a photo I took in Oregon and uses a tinfoil texture.
|
|
|
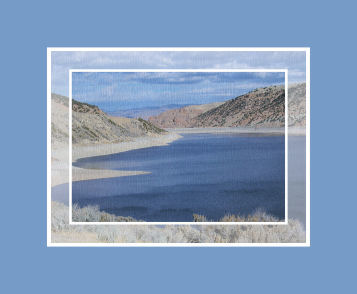
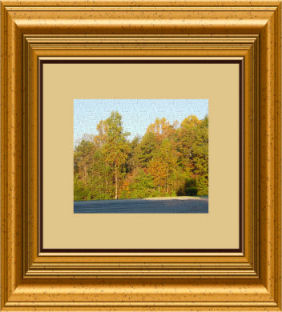
Tutorial 15: Texture Effects
This tutorial explored ways to use textures to enhance our images or photos. The first image is the one provided by the tutorial and used a woodgrain texture. The second image is a photo I took in Utah and uses a denium texture. The third image is a photo I took in North Carolina of the beautiful fall colors and uses a brush stroke texture. The last image is a painting created from textures and tubes. The tree and plant tubes came from PSP Tubes. The dolphin was a picture tube created by Hypergurl. I created the seagull tube.
|
|
|
|
|
|
|
Tutorial 16: Brushed Metal Effect
In this tutorial we learned to apply a brushed metal effect.
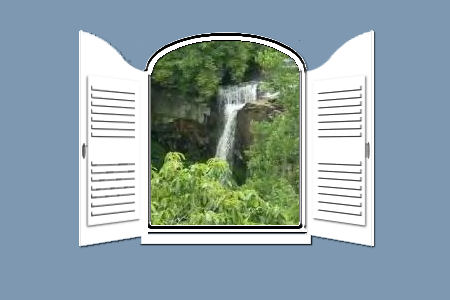
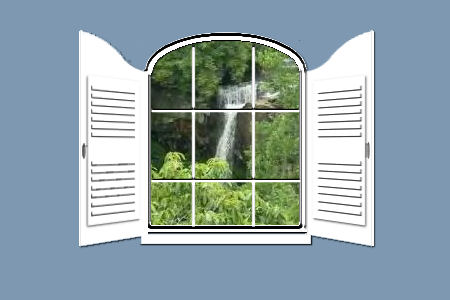
This month's Challenge Tutorial: Shuttered Window
This turotial was written by Dizzinz Studio. It reenforced the use of the Bezier Curve using the Pen Tool and instead of having a reflection in the window, you are on the inside looking out. She has a lot of interesting tutorials, websets, tubes, and other things for PSP on her website. The tutorial was well written and easy to follow. The first image is a solid glassed window. The second image is a window with panes of glass.
I also did three other tutorials just for the fun of it. The first one, called 'Cowhide', was created by Frdsnomr. The tutorial leads you through the steps to create a cowhide stretched between a wooden frame. You can then paint whatever you wish on the cowhide, which led to the second tutorial for fun. First let's look at the results of the cowhide tutorial.

The second tutorial taught you how to make a feather and was created by Patti Wavinak of Moon Designs. After we look at the feathers I made, we'll take a look at the third tutorial (the cause of the first two! lol).
|
|
|
|
|
|
|
|
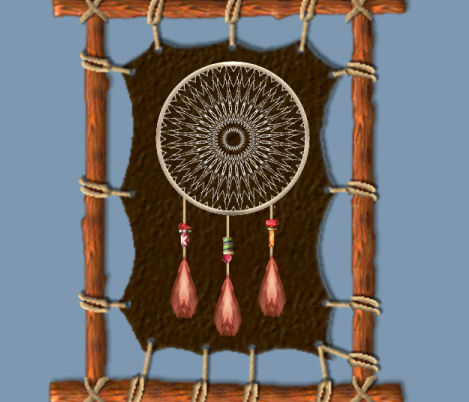
Now we come to the last tutorial, a Dream Catcher tutorial created by Patti Wavinak of Moon Designs. As you can see, I had to have feathers for my dream catcher and I thought the cowhide would be the perfect frame for it, though I did have to alter the size of the hide and change it's color. I also made the tubes of the beads used on the dream catcher.
My Awards
|
|
|