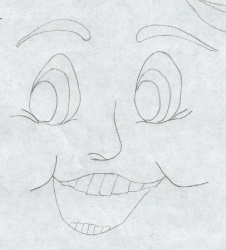
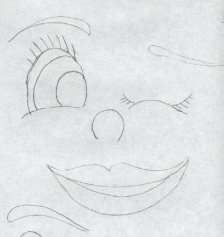
Step 1
With the black you will need to paint your basic lines in first, as well as filling in the mouth and the inside section of the eyes. (you can use the two drawings to the left for ideas on how to draw the facial features)
Step 2)
Using the green or blue paint (for the eyes) paint in the middle section of the eyes. Then with the white paint fill in the teeth and the outer portion of the eyes.
Step 3)
Now brush on the circles for cheeks and fill in the top part of the nose with the pink paint.
Step 4)
After you have waited for the paint to dry, you can now redo your first basic black lines (make the lines a little bolder this time)
Step 5)
The finishing touch, using the white paint add a dot to the black in the eyes and a little swoosh in the colored part of the eye (you will see your pumpkin face come alive with just these few strokes) also with the white add swooshes to the cheeks and nose.
Tip:
For the added touch.. you could add raffia bows or ribbons to the stem of the pumpkin, or paint little lady bugs on the pumpkins too! |