 |
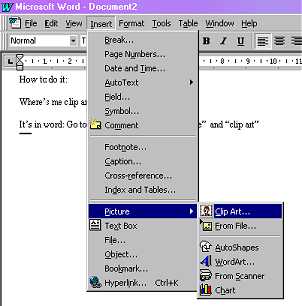
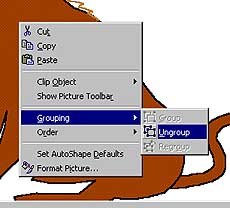
| CLIP ART Where's me clip art? - It's in Microsoft Word. Within Word, go to the Insert menu, then Picture>Clip Art You can now choose multiple clip-art images, and layer them on top of eachother to make a picture and later add a caption / speech bubbles etc. See diagram below. WORD ART Lets you do fancy text. Click Insert>Picture>Word Art See diagram above. AUTO SHAPES Various shapes such as circles, stars, squares, speech bubbles etc you can use. The most useful of these is probably the scribble tool. You can use it to draw freehand. See diagram above. DRAWING TOOLS If you can't see them go into View>Toolbars>Draw and it should appear. This can be used to choose the colour of the fill (paint bucket) or outline (brush) you have just put in with the AutoShapes. You can also control the thickness of the line / outline too. See diagram below LAYER ORDER Each consecutive image will layer up on top of the next. To control if you want an image at the front, the back, or in-between others etc. right-click on it and then select "order". Now click the option you want, such as "send to back" or "move back" etc. See diagram below GROUPING To control numerous clips, and keep them all moving / sizing together, shift-click the ones you want to keep together. Now right-click them and select "Grouping" and then "Group" or "Ungroup". These are particularly useful when you want to, for example, bind some features you've drawn onto someone's face so that they move and size together. Like, Duh! Still at a loss? Why not post a question on the message board : when you get there look for the Help section. How do I send you a finished picture if I don't want to send a Word Document? CLICK HERE |
|
 |
 |