|
|
|
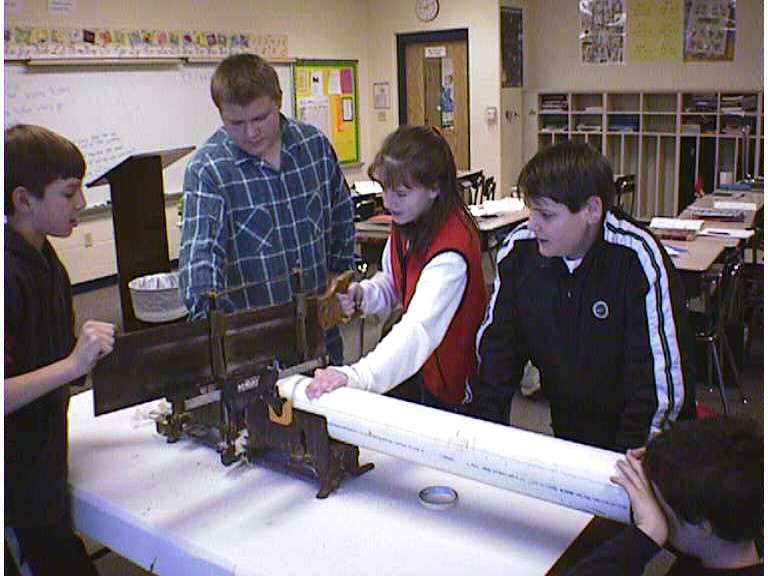
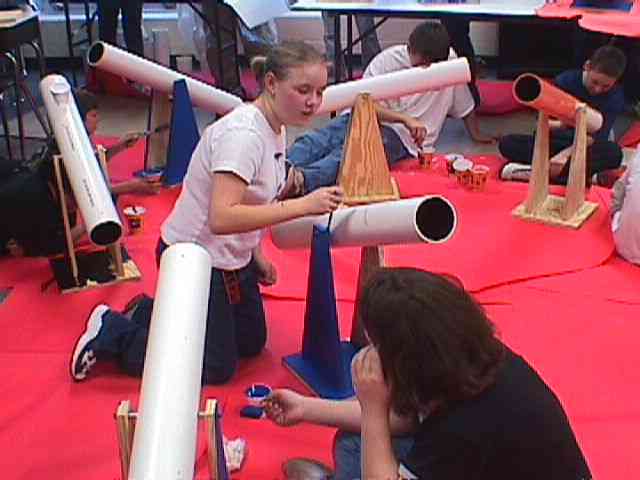
| These pictures tell the story of how we made our telescopes. Click on any picture shown below to see it in full size. Use your browser's back button to return to this page.
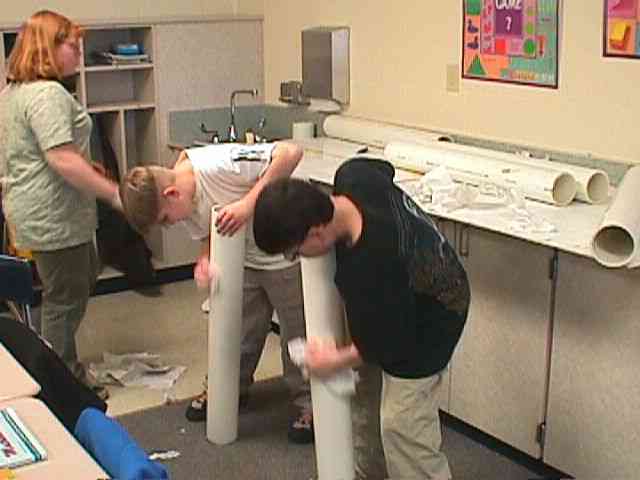
PVC drain pipe is used for the telescope tubes. A miter saw is used to ensure a precise cut.
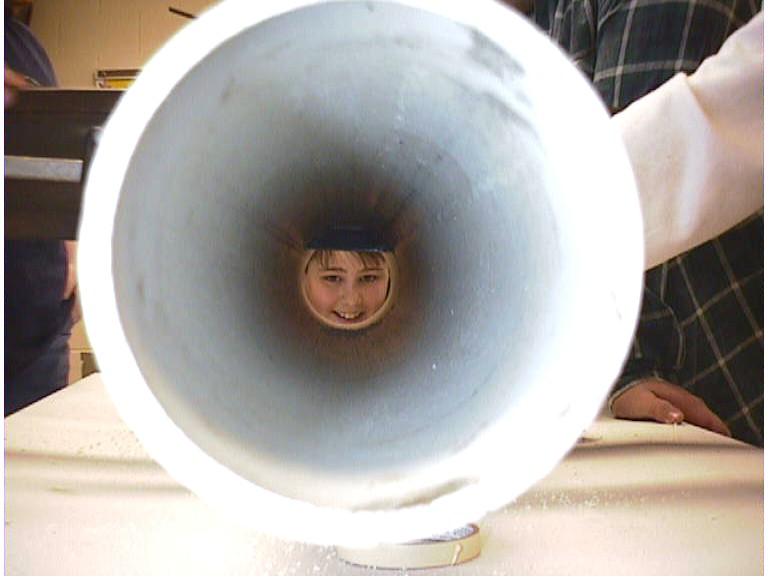
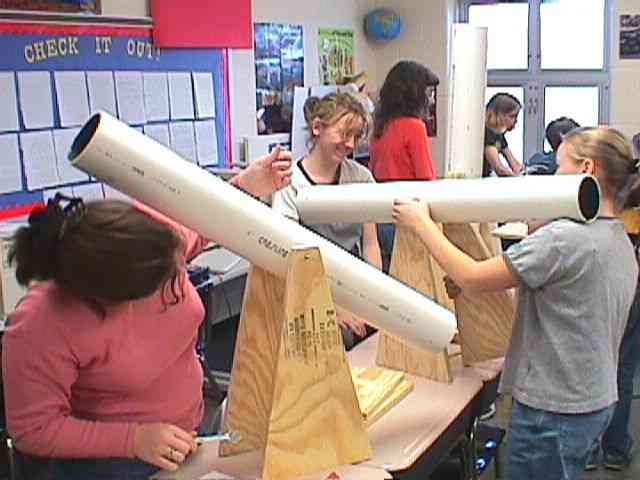
Looking through a drain pipe, or a portal to the stars?
A template is wrapped around tube and secured.
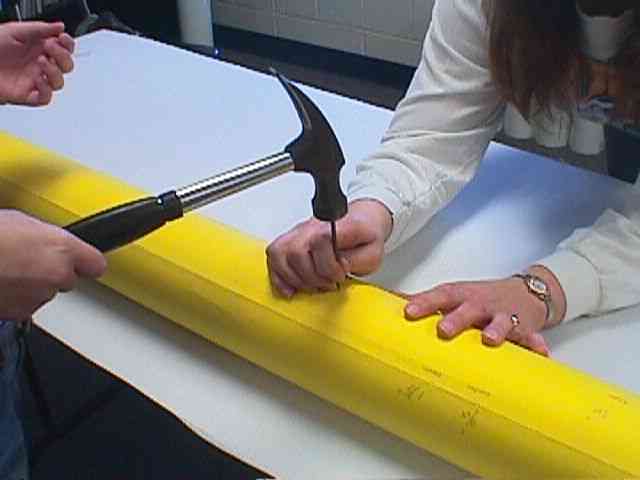
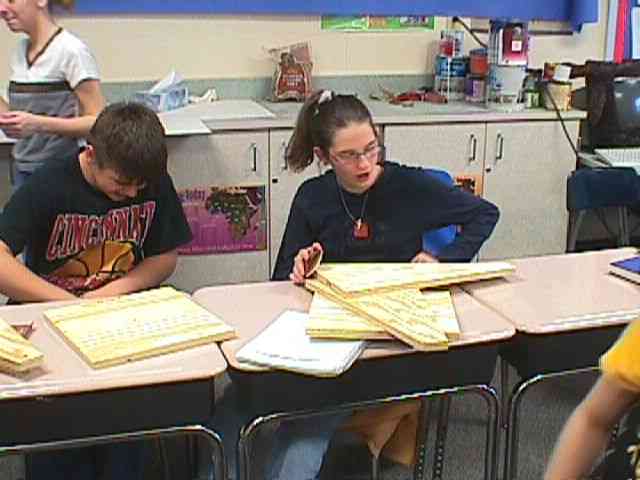
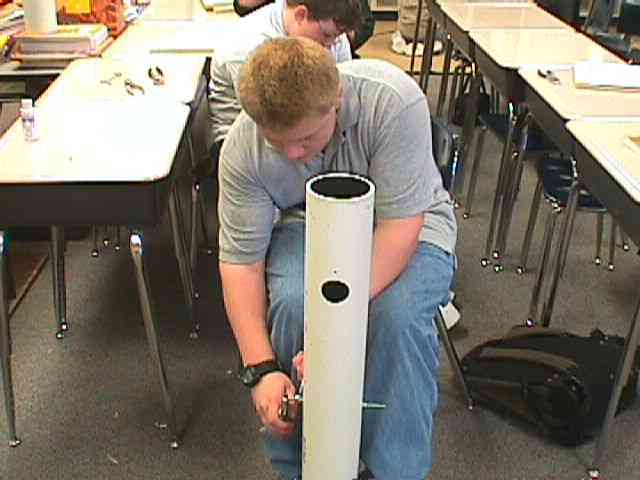
Hole locations are center-punched before drilling.
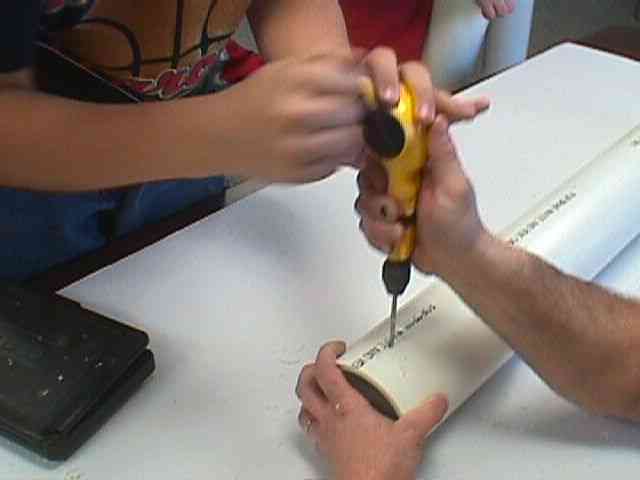
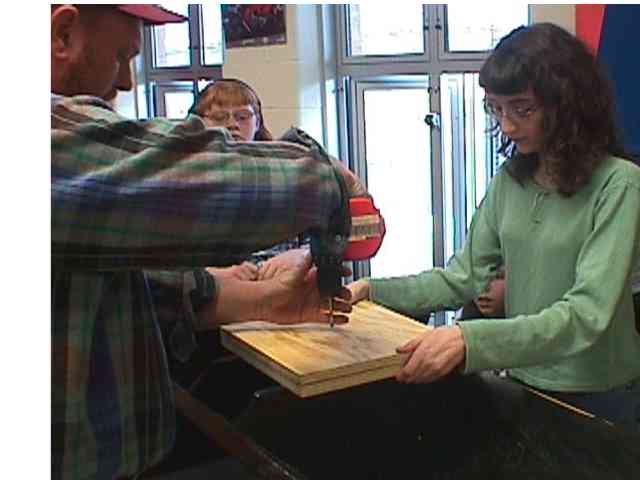
Student using "cordless" drill to drill holes for mirrors, sights, and mounts.
Rough edges have been sanded and tubes are cleaned before painting.
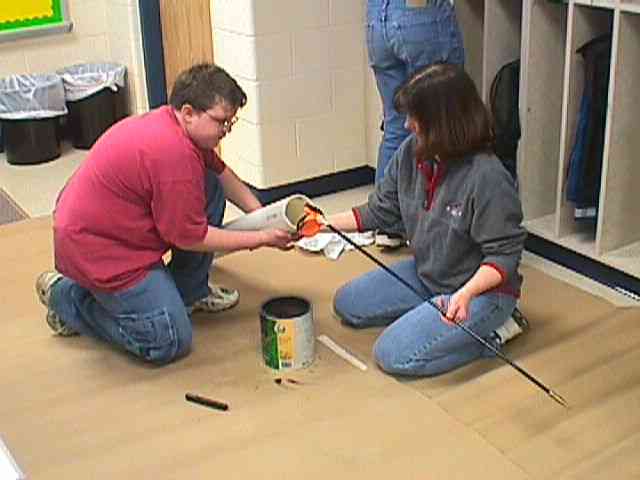
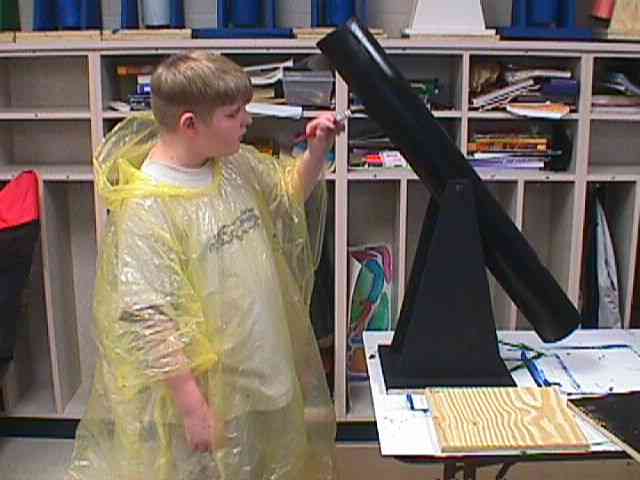
Painting inside of tubes with flat black paint.
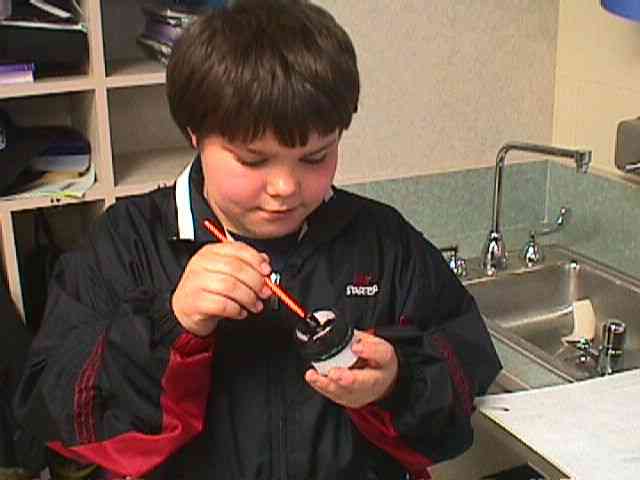
Painting inside of focuser.
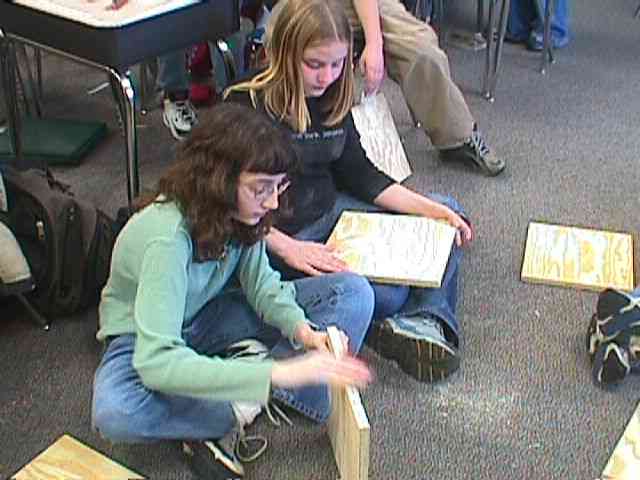
Sanding mount bottom boards.
Holes are drilled in bottom boards.
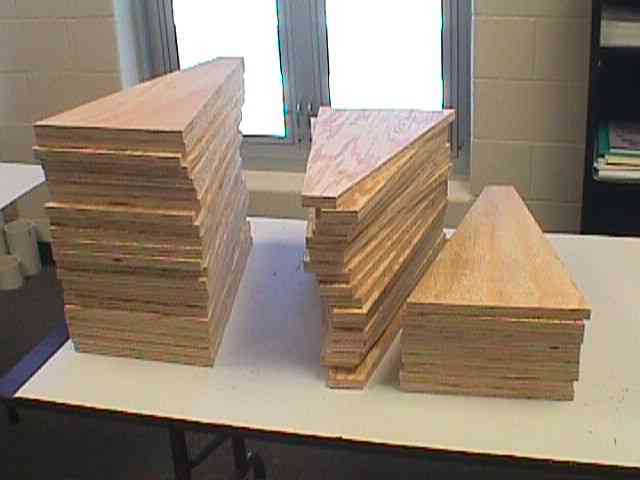
48 mount sides await drilling, sanding, and assembly.
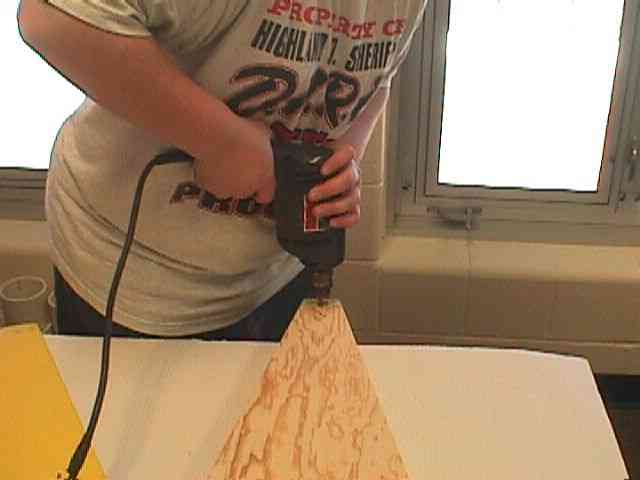
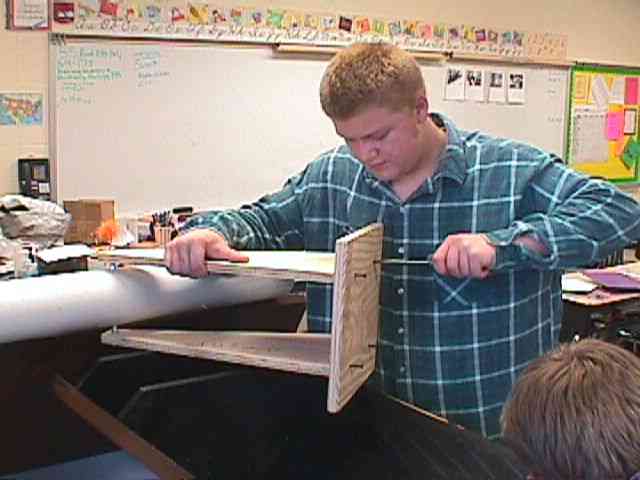
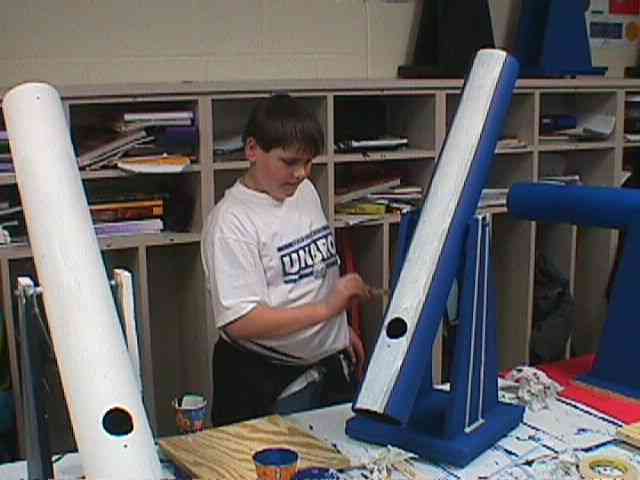
Student drills hole for tube mount.
More sanding fun.
Tube pivot bolts are inserted from the inside and secured with locknuts.
Side plates are bolted onto pivot bolts and secured with locknuts.
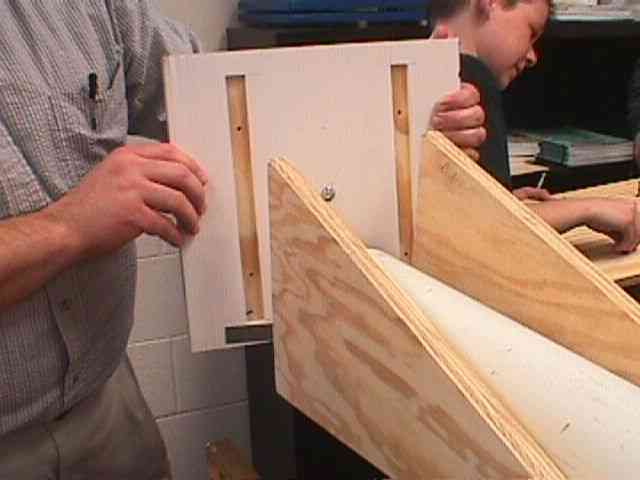
A corrugated plastic template is used to properly position the mount bottom.
Mount bottom attached to side plates and secured with wood screws and glue.
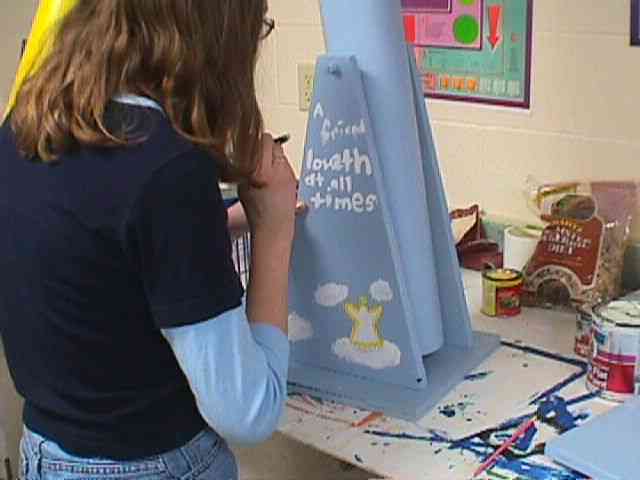
Let the painting begin...
Splatter proof.
From angels...
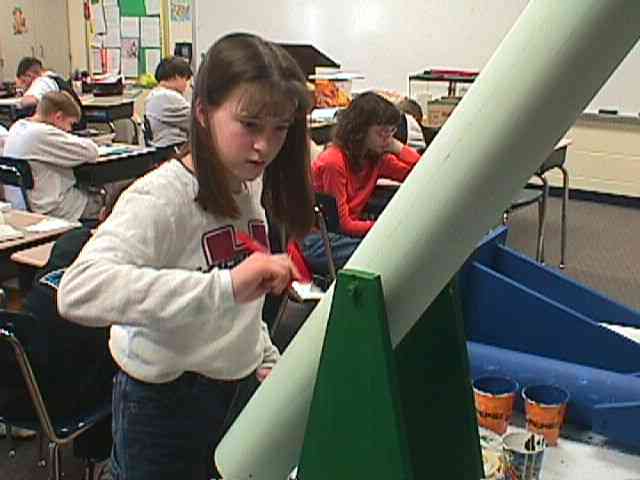
... to racing stripes...
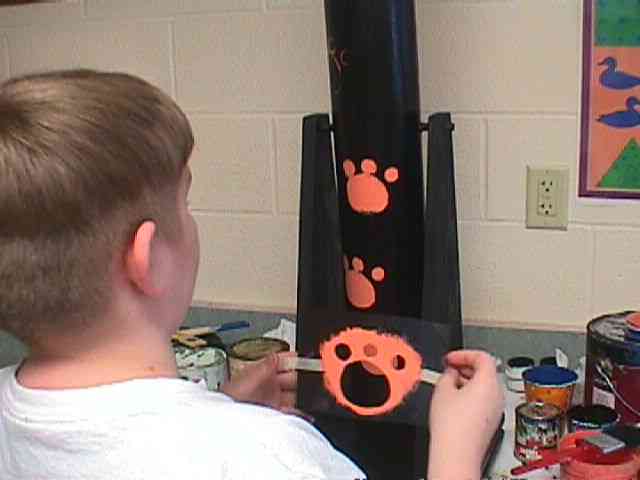
...to paw prints...
...to solids.
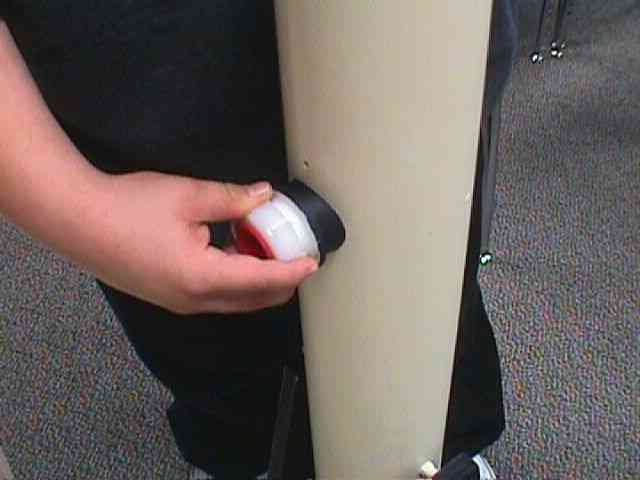
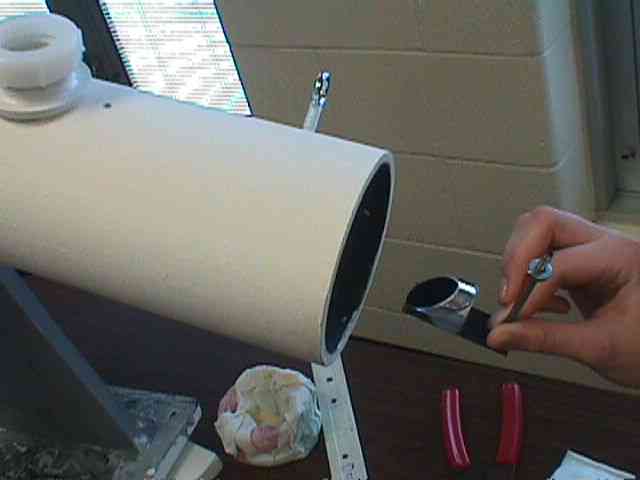
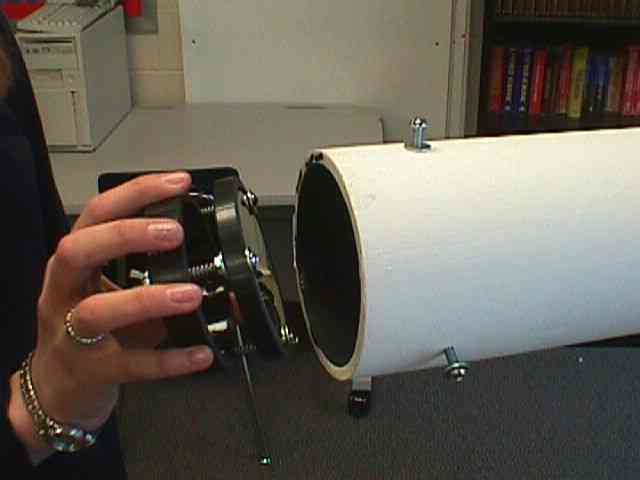
Installing the focuser.
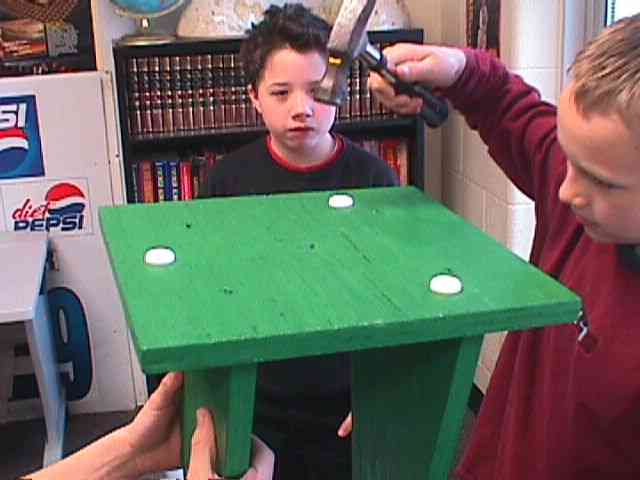
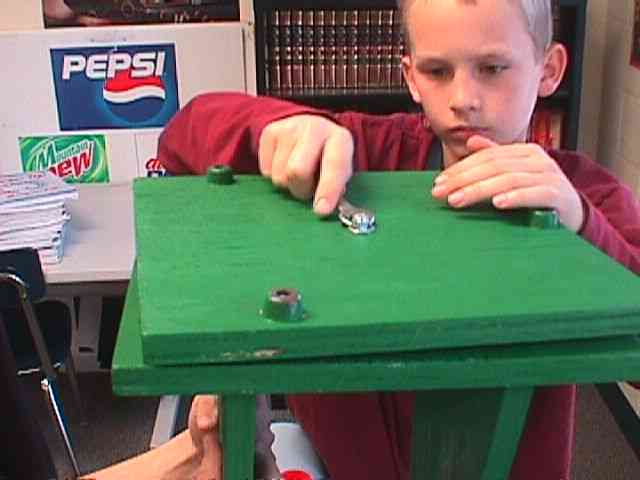
Nylon furniture glides are hammered into place.
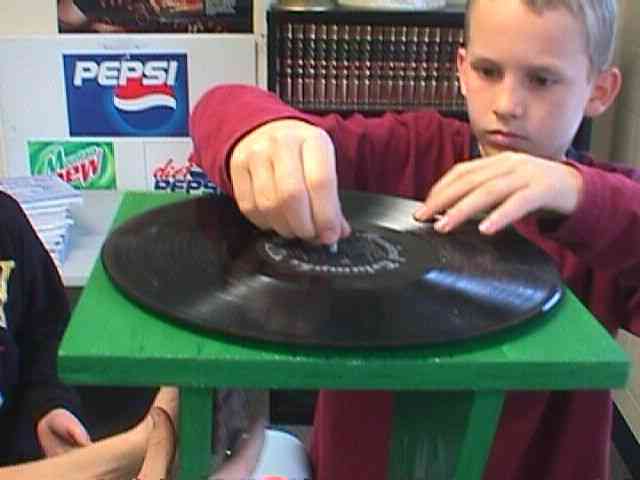
A record is placed over nylon furniture glides. This allows the telescope to turn smoothly.
Installing bottom board.
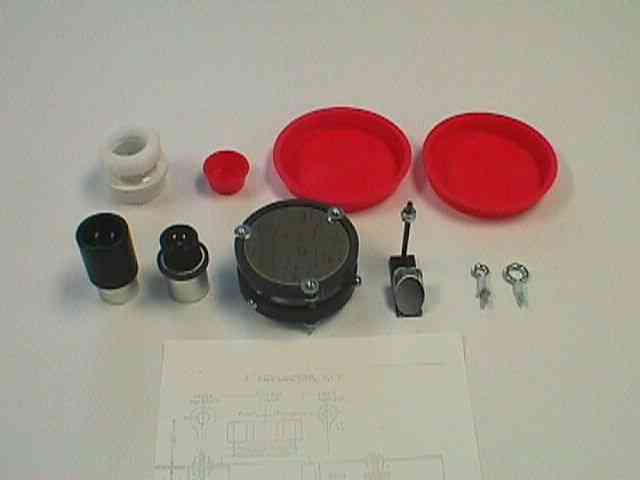
The optics kit with two eyepieces.
In goes the secondary mirror...
...followed by the primary mirror.
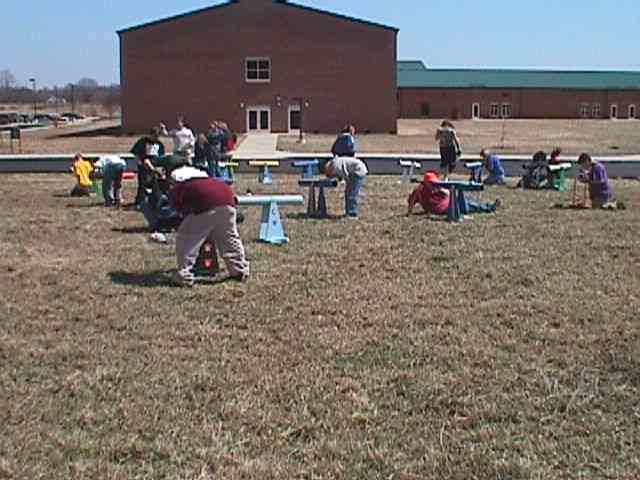
Checking out the finished scopes and waiting for a clear night. |