Tool Reference
Click on a tool to get its description!
![]()
|
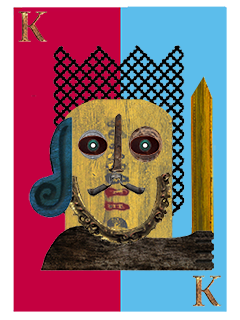
Knight
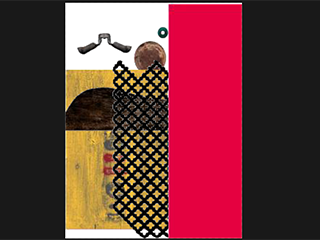
In this activity we will be using various parts to create a picture of a knight.
Sample Output
Steps
- Open Photoshop.
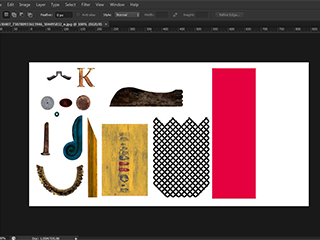
- The first thing we will do is remove the background. With the Magic Wand, set the Contiguous to unchecked. Click the white background.
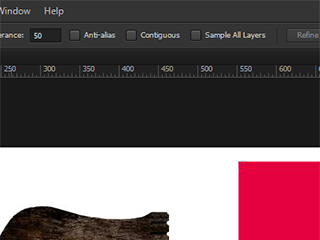 
- With the Magic Wand again, set Contiguous to checked, and set it to subtraction (the square overlapping part of a square). Click the space in the middle of the eyeball.
 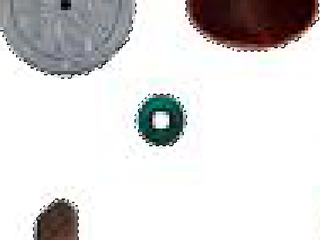
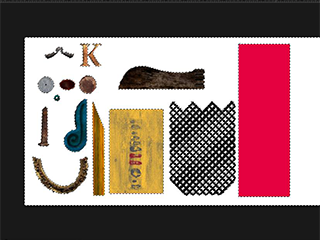
- Press Ctrl+Shift+I to invert the selection, selecing only the parts to be used.
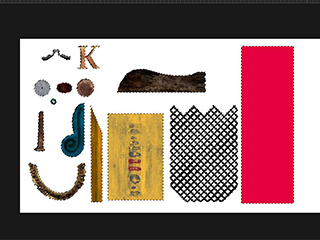
- Press Ctrl+J to duplicate the selection on a new layer.
- Place the layers on your new canvas by dragging it into a new canvas, similar to the Vegeman.
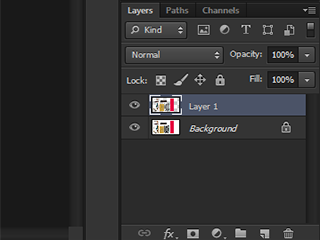
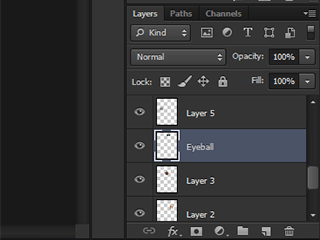
- Merge (Ctrl+E) the eye and eyeball together by selecting both layers and selecting Merge.
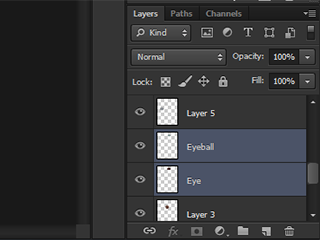 
- Duplicate (Ctrl+J) the combined layer of the eye and eyeball, along with the K and the background rectangle.
- We're going to recolor one of the background rectangles to blue. Select one of the background rectangles. Make sure your foreground color is set to #66CCFF, and use the Paint Bucket Tool and click on the rectangle.
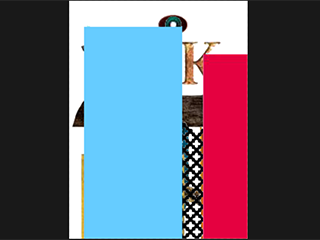
- Transform (Ctrl+T) each layer into its proper position, similar to the Vegeman.
|


