Tool Reference
Click on a tool to get its description!
![]()
|
Clone Stamp
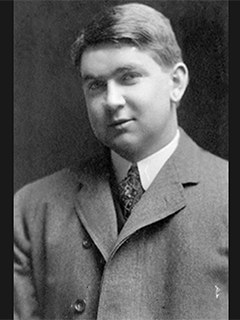
In this activity we will be using the clone stamp to restore an old photo.
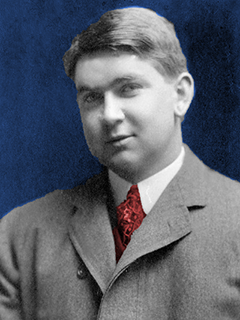
Sample Output
Steps
- Open Photoshop and get the Clone Stamp. It works similar to the Healing Brush: press and hold the Alt key on your keyboard, and click on a clean spot.
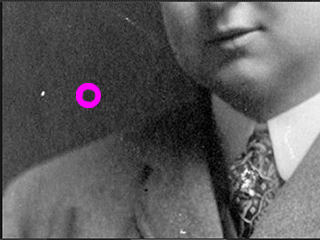
- Release the Alt key. Click on a scratch.

- And the clean part is cloned on the scratch. Like the Healing Brush, you can click and drag instead of just clicking after selecting with the Alt key.
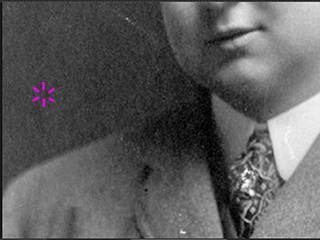
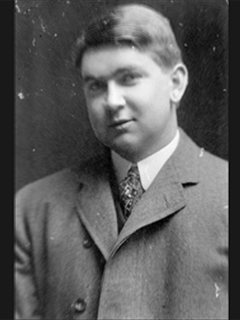
- We're going to repeat steps 1 to 3 on each scratch. Here's my before and after for the photo.
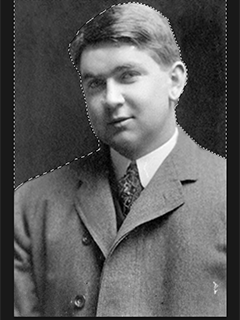
- We're going to use Hue/Saturation to add some color. First we select the background. (I used the Polygonal Lasso, use whatever suits you.)
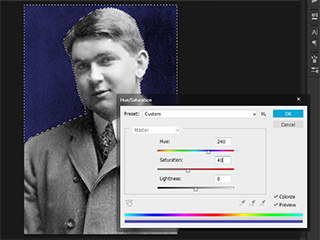
- Then open up Hue/Saturation (Ctrl+U). Set the Hue to 240, Saturation to 40, and Lightness to 0. Press Enter.
- We'll do the same thing with the tie. Select the tie. (I used the Polygonal Lasso as well.)
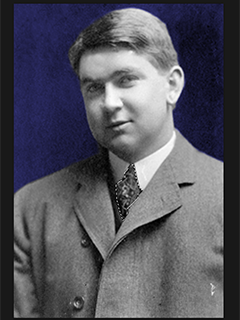
- Hue/Saturation settings are 0 for Hue, 50 for Saturation and 0 for Lightness. And you're done!
|


