 |
 |
 |
 |
 |
 |
 |
 |
| PART 1 - PREPARATION |
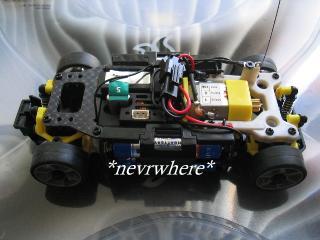
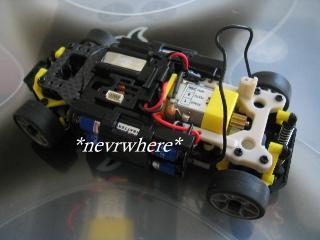
| Make sure your car is off and the batteries are removed. It is important that anytime you work on your car you remove the batteries. Before we begin lets point the car so that the front end is pointing to the left. Your car should now be pointing in the same direction as the car in the photo. |
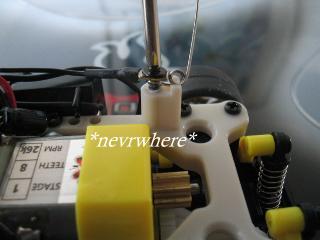
| Next, remove the antenna so that you can move the antenna wire out of the way while you are working |
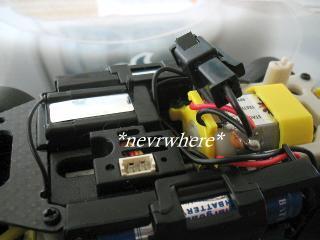
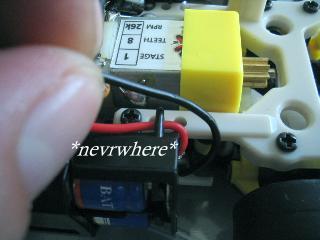
| Lift the motor connector out of it's compartment located behind the motor. |
| Now look at the battery holder nearest to you. You will see 2 solder joints on the side. The top solder joint has a red wire running from it. The bottom solder joint has a black wire running from it. The black wire is what we are working with from this point. |
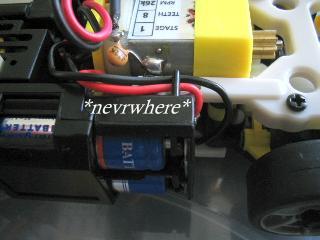
| The black wire runs along the side of the motor. You will see that it runs through a small retaining slot. |
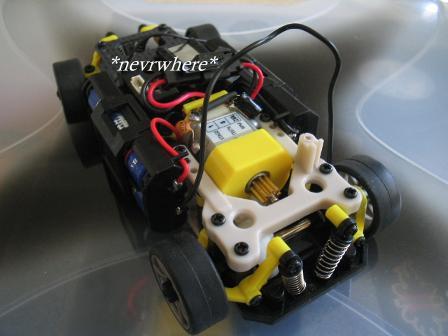
| Slide the black wire out of the retaining slot and follow it to the back of the motor. You will see that it runs around the back of the motor and leads to the bottom solder joint on the battery holder on the other side of the car. |
| Lift the wire out from behind the motor. After doing that, you can place the motor connector back in its compartment to get it out of the way. |
| Now that the black wire is exposed we can start the installation process. |

|
| ORIGINAL 5th & 6th CELL HOP-UP: PART 1 |
| Before getting started, I recommend reviewing the entire tutorial so that you understand the steps involved. |