 |
|
|
|
|
|
|
|
|
|
|
|
|
|
|
|
|
|
|
|
|
|
|
|
|
|
|
|
|
|
|
|
|
|
|
|
|
|
|
|
|
|
|
|
|
|
|
|
|
|
|
|
|
|
|
|
|
|
|
|
|
|
|
|
|
|
|
|
|
|
|
|
|
|
|
|
|
|
|
|
|
|
 |
|
|
|
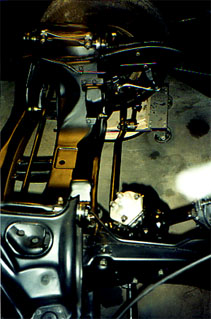
Suspension |
|
|
|
 |
|
|
|
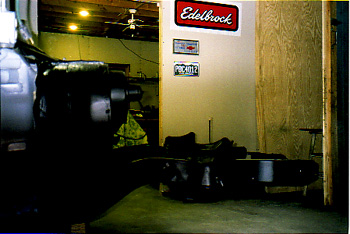
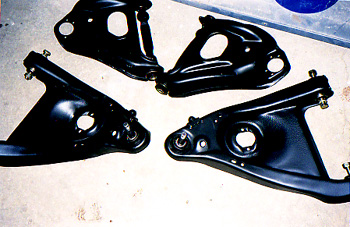
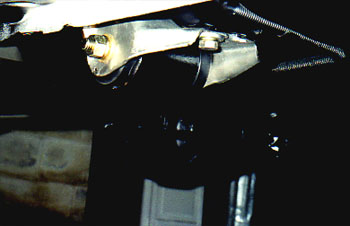
First thing is to support the dlip with jackstands. We used wooden blocks, to me they are more dependable than jacks. Take the entire suspension apart and remove everything off the firewall. Then I cleaned the A-arms and sanded off all the rust. Then it's time to paint everything. We used Rustoleum Satin Black. |
|
|
Engine |
|
|
|
|
|
|
|
Suspension |
|
|
|
|
|
|
|
Body |
|
|
|
|
|
|
|
Interior |
|
|
|
|
|
|
|
Links |
|
|
|
|
|
|
|
|
|
|
 |
|
|
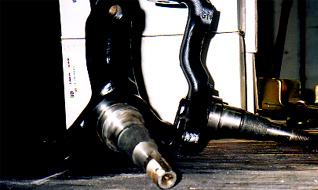
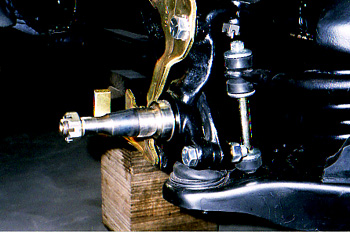
Now that the A-arms are clean and painted it's time to install some new bushings. I used the polygraphite frnt end kit form PST. The local machine shop pressed the bushings and lower ball joints in for about $50. |
|
|
|
|
|
|
 |
|
|
|
 |
|
|
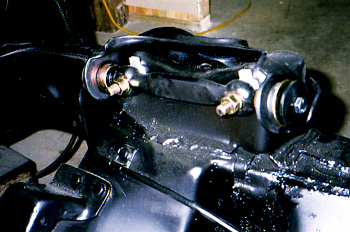
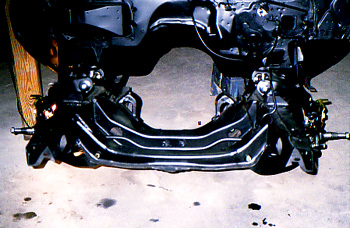
The ony problem we ran into with rebuilding the front suspension was with the coil springs. Just couldn't find the right compressor anywhere. The strut compressors will not work. So make sure you get the right one for you. |
|
|
|
|
|
|
 |
|
|
|
The new polyurethane leaf spring bushings came from Energy Suspension, and after 2 afternoons worth of fighting and cussing we finally got them. Be sure to use plenty of lube when unstalling, they are a very tight fit. We used a threaded rod with washers and nuts on either side and stuck it through antightened in order to get the bushings in their propper holes. |
|
|
|
 |
|
|
|
 |
|
|
|
|
The polyurethane body mount bushings are |
|
|
|
also from Energy Suspension. They went in surprisingly easy. It is one of the first things to go together with out a set back. Just use a 2x4 and floor jack to jack up the body and replace them one at a time. |
|
|
|
Brakes |
|
|
|
 |
|
|
|
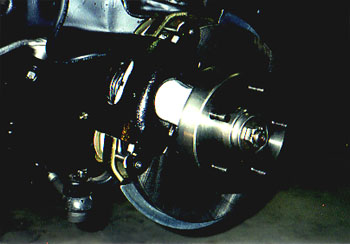
I knew that I wanted disc brakes up front but ran into a plroblem with the drum spindles. The upper mounting boss is shorter on disc spindles. So rther than buying new ones we decied to alter the ones we had. I managed to get a caliper bracket which was used as a template. Just bolt it to the lower hole and swing it over to the upper boss and scribe a line. Use a salljaw to cut off the bulk of it and |
|
|
|
|
|
a belt sander to finish it up, checking frequently so not to cut too much off. |
|
|
|
 |
|
|
|
 |
|
|
|
They turned ou pretty well, I think. We got the dust sheilds at a swap meet for $80. The rotors and calipers are new from a 70 chevelle. New bearings, nuts along with Thermo-Quiet brake pads complete the disc brake conversion. We got out for about $500 - $600. Pretty good compared to some of the kts today, which can run as much as $1200. |
|
|
|
|
|
 |
|
|
|
 |
|
|
|
|
|
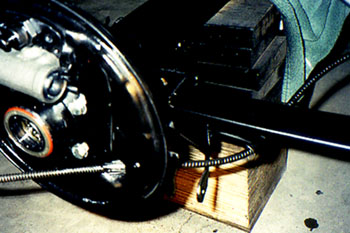
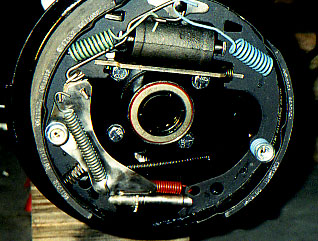
Rebult the rear drums with new wheel cylinders, springs and shoes. The old drum was ckeaned and painted with some black Engine Enamel. We bent our own rear brake lines and painted them as well, hooked up to a new hoes with T-splitter. |
|
|
|
 |
|
|
|
Steering Box |
|
|
|
 |
|
 |
|
|
|
|
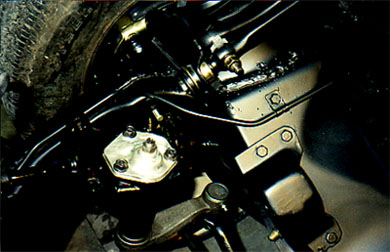
The steering box is stock. It was in excellent shape. Painted it withe same black Engine Enamel and adjusted it a little, packed it full if grease and stuch it back in, along with tierods, pitman and idler arm. |
|
|
|
|
 |
 |
 |
 |
 |
 |
 |
 |
|
|
|
|
|
|
|
|
|
|
|
|
|
|
|
|
|
|
|
|
|
|
|
|
|
 |
 |
 |
 |
 |
 |
 |
|
|
|
|
|
|
|
|
|
|
|
|
|
|
|
|
|