
Notice the notch in the corner. This was added to clear the opening in the chassis (for wires)
| Power Supply Capacitor | |||||||||||||||||||||||||||||
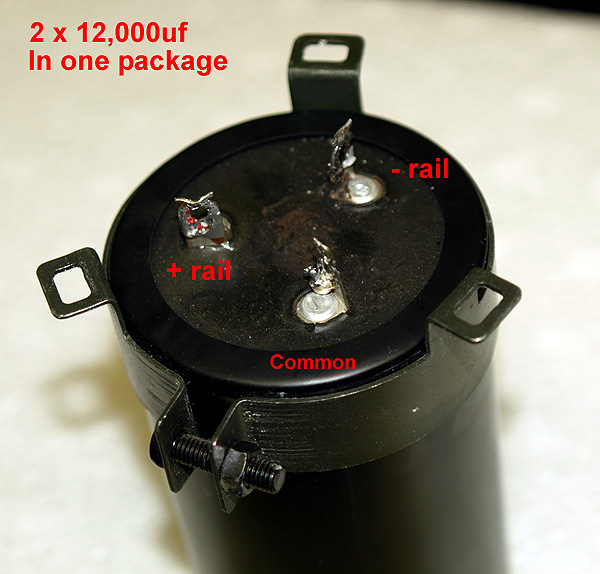
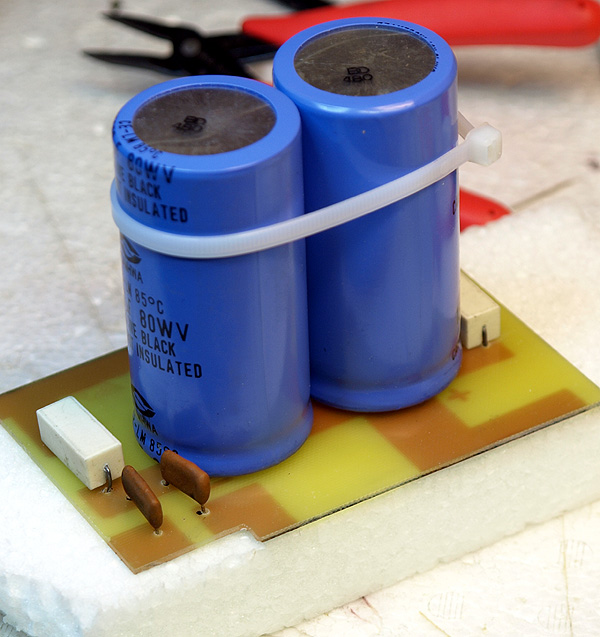
| This Cap was shot. It was not supplying the needed voltage to one side (too much interanl resistance). Seems easy enough... but this is a special cap. It is actually two capacitors in one package. The solution is to mount two standard capacitors in its place, without butchering the unit. My goal was to create a PC board that would mount into the same screw holes used by the origanl capacitor clamp. Also, the setup must hold the replacement cap's so that the posts aligned exactly as the original capacitor posts. The idea is to elminate any rewiring... a drop-in solution as they say. | |||||||||||||||||||||||||||||
|
|||||||||||||||||||||||||||||
|
|||||||||||||||||||||||||||||
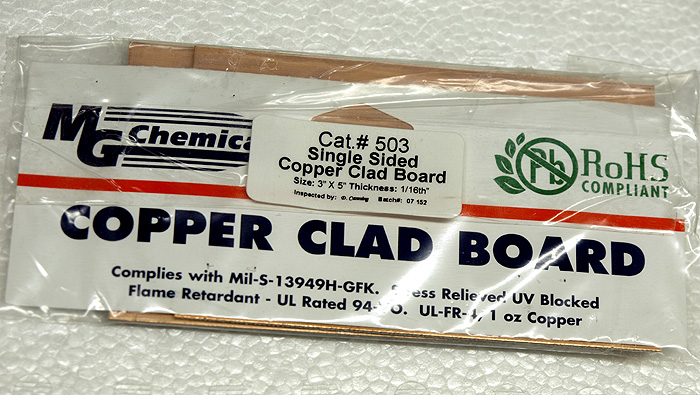
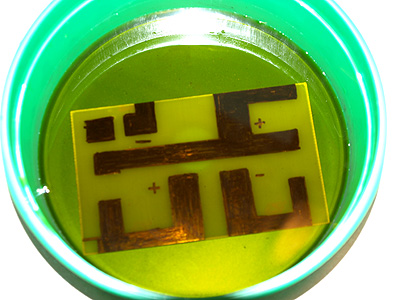
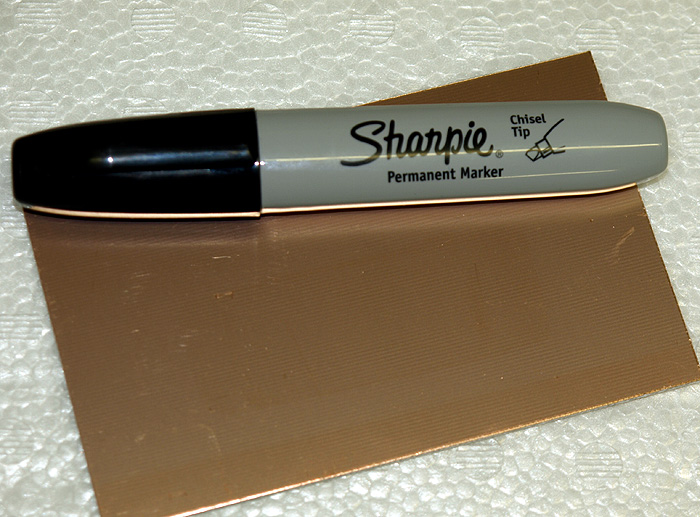
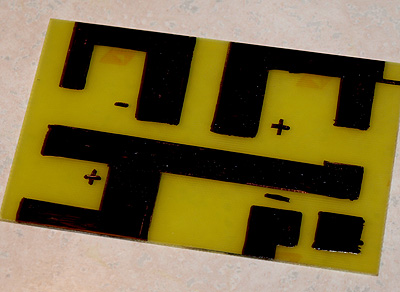
| I used a heavy clad (1oz) comercial board and spent several days designing the board layout. I shortened the board by 1" in lengh and 1/4" in width, so that is had the proper footprint to fit in the space of the oringal capacitor. Once masked with the ever-handy Sharpie marker, it was ready to be etched in a solution of ferric chloride. | |||||||||||||||||||||||||||||
|
|||||||||||||||||||||||||||||
|
|||||||||||||||||||||||||||||
|
|||||||||||||||||||||||||||||
|
|||||||||||||||||||||||||||||
| New mounting hardware to space the board 1/4 inch above the chassis. | |||||||||||||||||||||||||||||
|
|||||||||||||||||||||||||||||
| Bread board layout... Notice the notch in the corner. This was added to clear the opening in the chassis (for wires) |
|||||||||||||||||||||||||||||
|
|||||||||||||||||||||||||||||
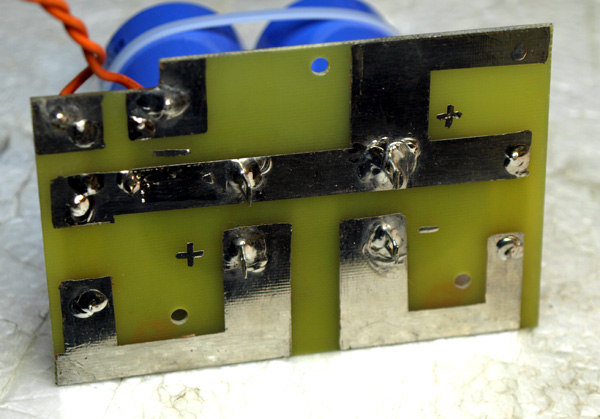
| Soldering completed and traces "tinned", it is ready for the unit... | |||||||||||||||||||||||||||||
| Next -> | |||||||||||||||||||||||||||||