| And Still More Things To Do.. |
 |
| The next major project was finishing the install of the air conditioning. I bought the Surefit kit from Vintage air. For the most part it's a good setup, but it's anything but a "sure fit". And the installation instructions are lame at best. Pay no attention to their wiring diagram for the fan switch. I gave up on their tech help trying to get the fan to run at all three speeds. I finally got it to work through trial and error. This picture gives you some idea of what the evap/heat/air handler unit looks like and where it has to go. |
| Ahhhh! the worms are eating my truck! |
 |
| Here's the Vinage Air unit installed. It uses up a lot of glove box space and they provide a nice plastic replacement for the old cardboard one. Unfortunately you are required to drill your own mounting holes in it. |
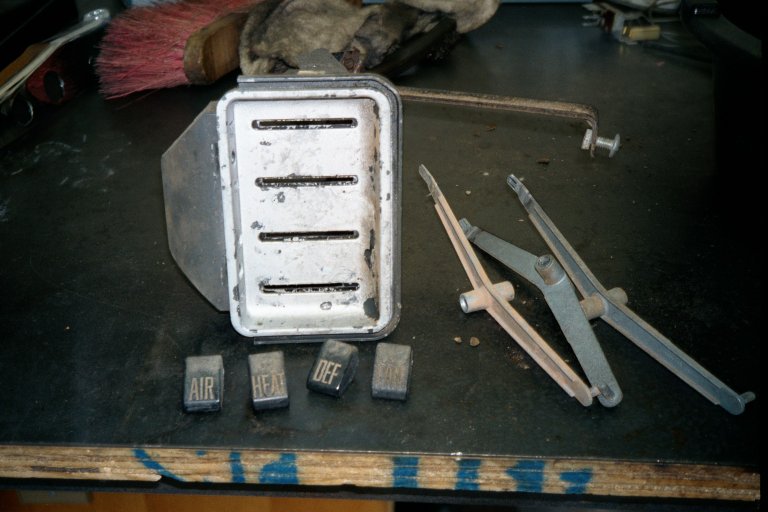 |
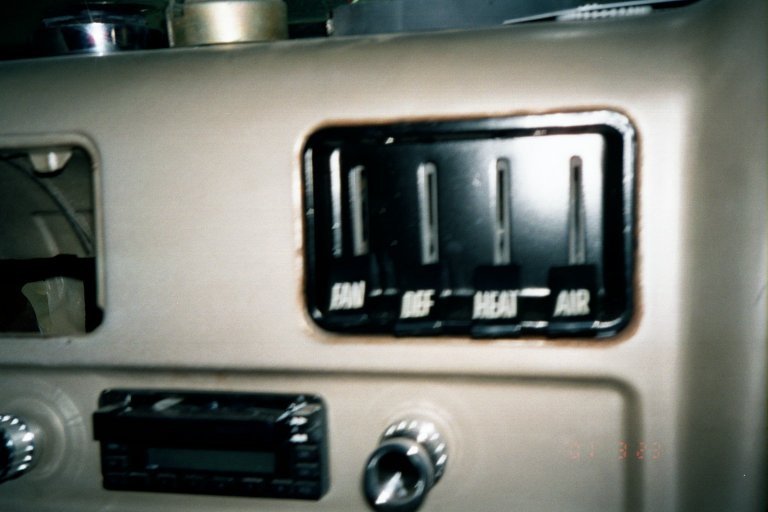
| Unfortunately, this truck didn't come with the deluxe heater option. And without that option the heater controls consist of two levers. One for the fan and one to direct air. The Vintage Air unit is designed to be operated by the Deluxe 4 lever control panel. So I had to scrounge one up. I managed to find enough pieces from two boneyard trucks to make a complete unit. After sandblasting and re painting plus a set of new knobs I had good piece to install in the dash. |
 |
 |
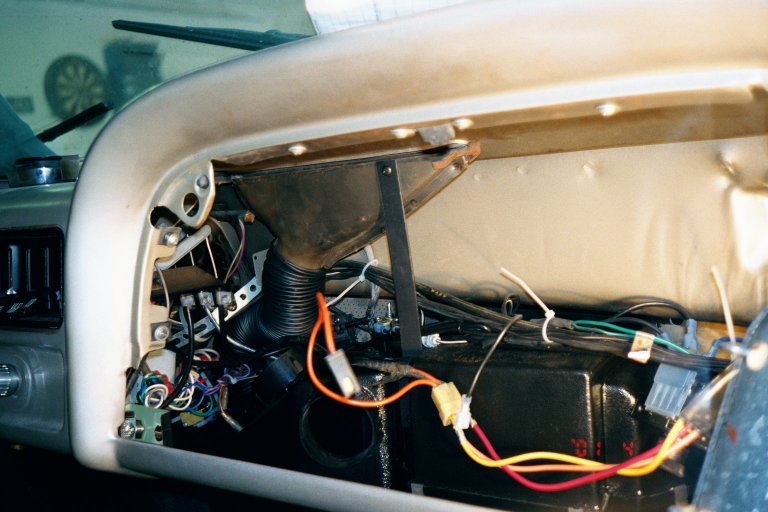
| Here is the somewhat less than sure part of the "Sure Fit" system from Vintage Air. You can see that in order for the plumbing connections to pass through the firewall I had to take some considerable bites out of the upper and lower edges of the stock opening. I mentioned this to them over the phone but they offered no explanation or solution. Fortunately the cover plate that comes with the kit hides this. Of course you must not use the grommets they send with it and cut a corner off to clear the inner fender well. The cover is also void of mounting holes, so drill your own. I wish I could have made use of the existing stock cover mounting holes. Oh well. You can also see where I had to block off the old air conditioning and heater holes. The local Ace hardware had plenty of plastic and metal hole plugs to choose from. |
 |
 |
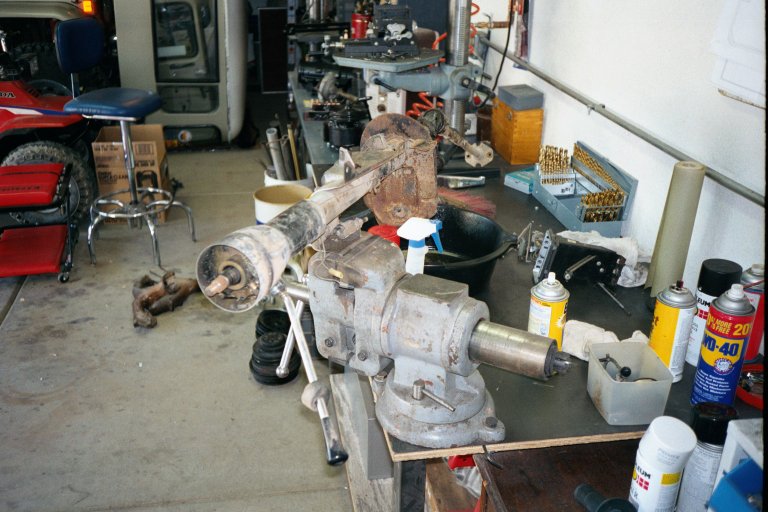 |
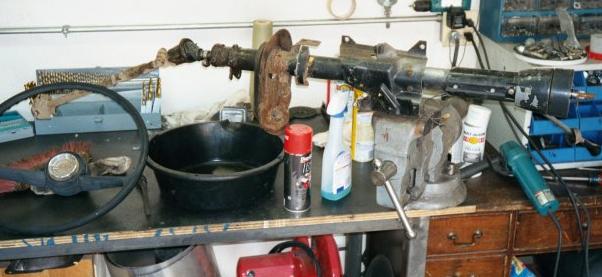
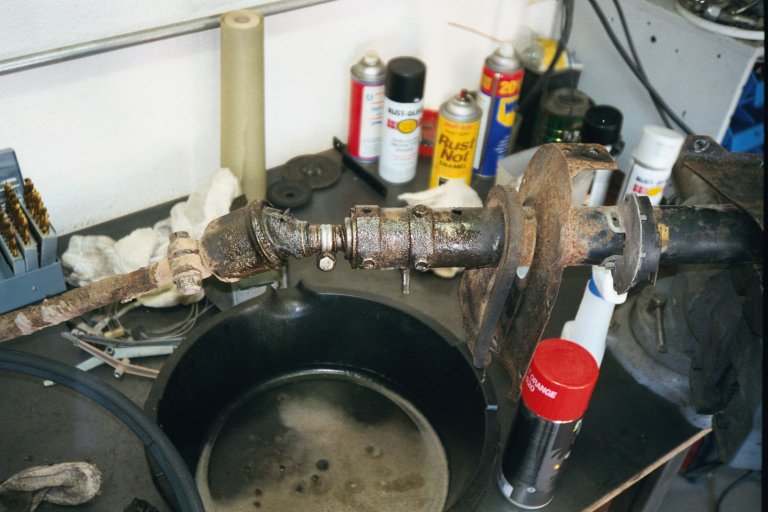
| In order to shift my new 700R4 I had to find a new steering column. All of the custom ones available were nice but very expensive. Late model donor vehicles were a consideration but I really wanted to keep that stock look in the cab. The solution was a factory piece from a 1961 truck. I found it after wandering through what must have been 40 different trucks in 2 different boneyards. Needless to say it required a complete overhaul before being worthy of installation. After a total disassembly and painting, all new bearings and switches, it looked and worked great. |
 |
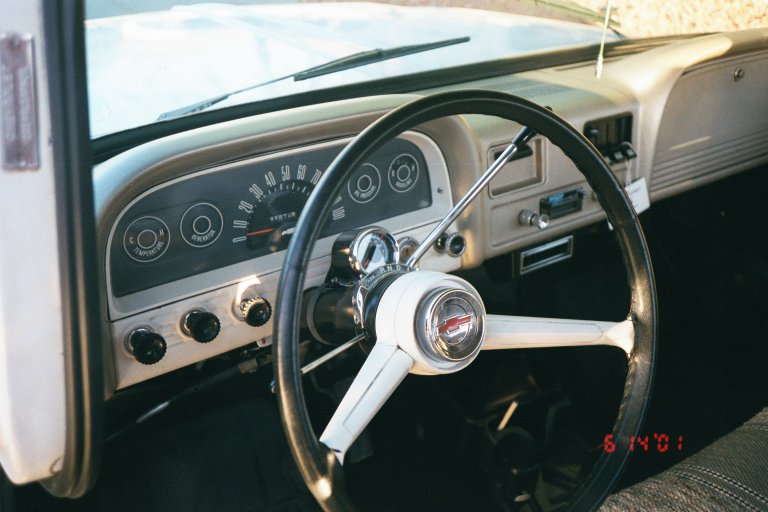 |
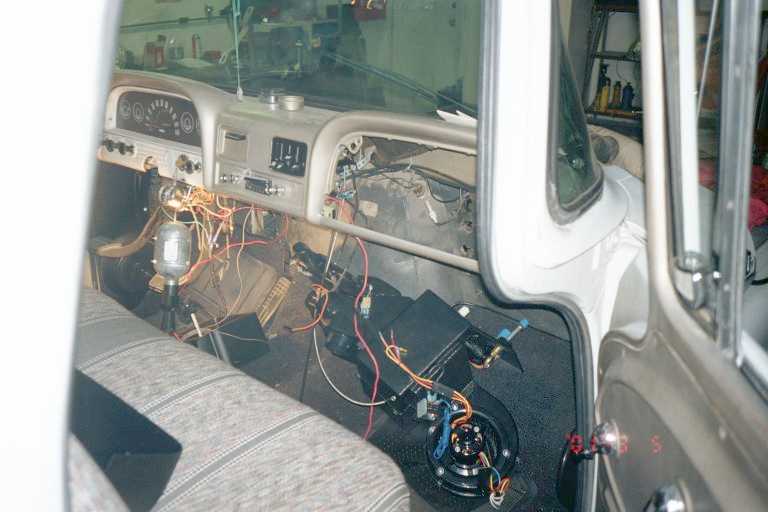
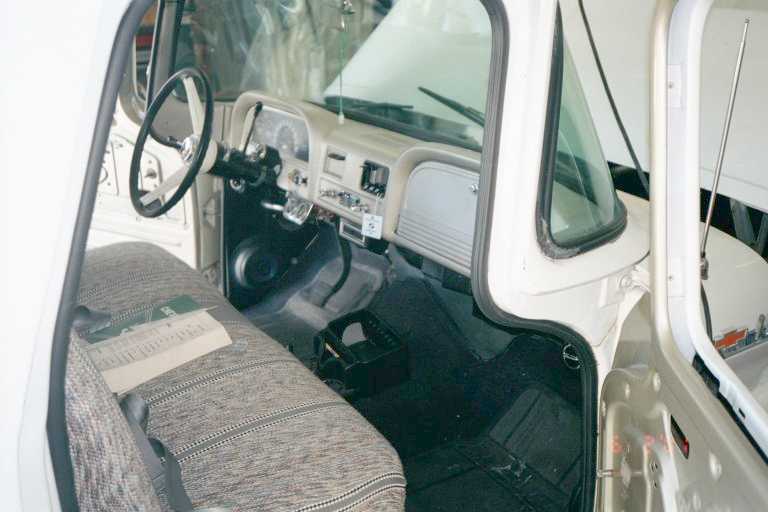
| After all was said and done on the inside of the cab, I think it was worth the effort. The interior is clean, neat and still nostalgic. The A/C system is unobtrusive unlike the the original after market unit. The column and shifter look like they belong, even though the shift indicator is a bit off with the 700R4. I put a torque converter lock up switch in the dash in the old choke location and reused the old choke knob. I have 2 small L.E.D's mounted below the dash and to the left of the column. One is for the converter lock and the other for the brake warning light. The tach is a bargain mini Sun unit that doesn't obscure the dash at all. The original oil warning light is still functional in case I'm not paying enough attention the the real gauges. |
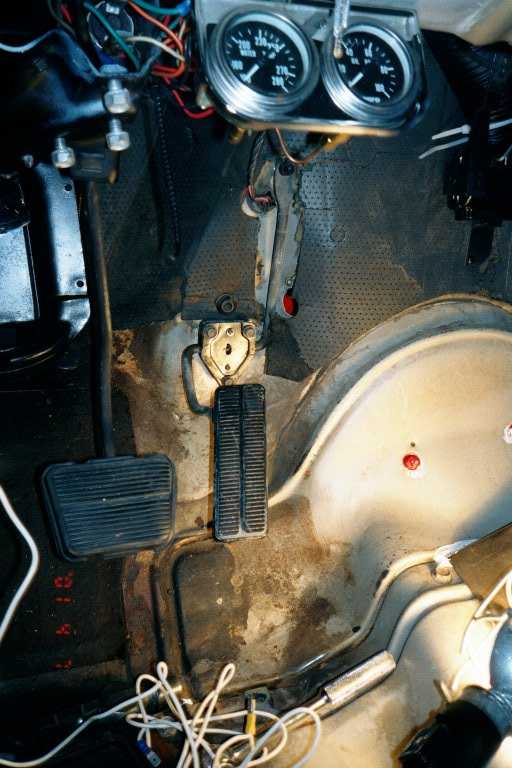
| I had to adapt a late model (1987) truck throttle pedal to convert from mechanical to cable linkage. This shot shows it in place and my add on temp and oil pressure gauges. The pedal is attached to the carb with a Lokar universal cut to fit cable. The same donor truck provided the shifter linkage for the transmission. |
 |

|