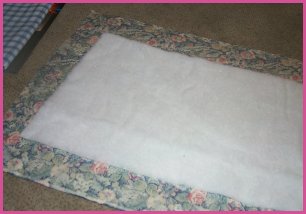
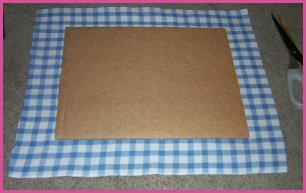
When you are placing
the inside, feel for the bend, and place it in the
middle of the two pieces of board. hold it in place
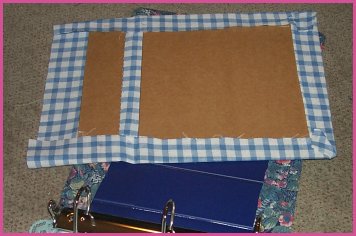
and lift the larger side to a vertical position, rest
it against the hand holding things in place.
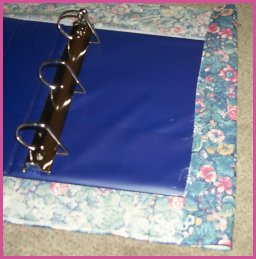
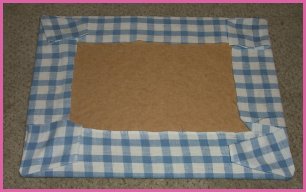
Glue where the big
piece will go and lay it down. Press down on it,
securing it in place.
now glue down the
other side.
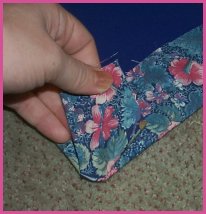
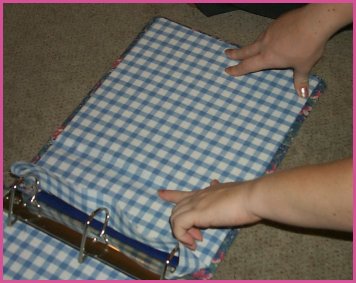
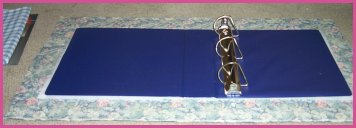
The remainer of the
fabric should be long enough to glue and tuck under
the metal.
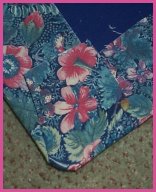
Start at the center,
put a little glue, and press the fabric under the
metal. Work towards the edges. Sometimes a butter
knife makes this easier.

What you will need: