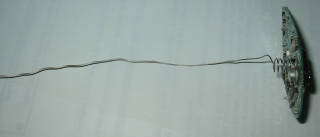
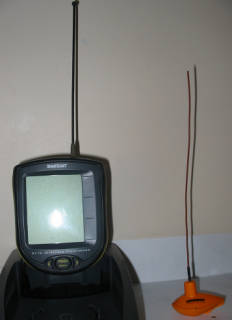
My probe is finished! , as of tomorrow I will test at the edge of water
history to see the gaint of distance!

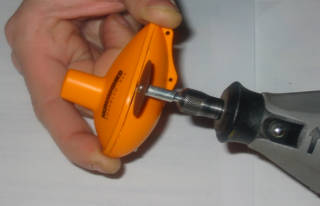
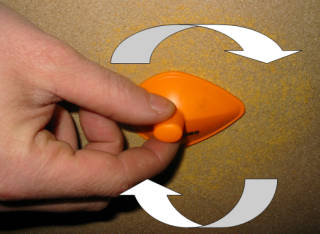
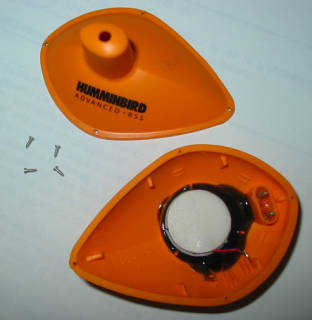
To start, it is necessary to cut out the probe in 2 parts, I used for
that Dremel!
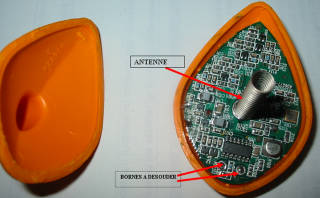
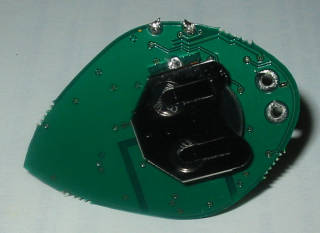
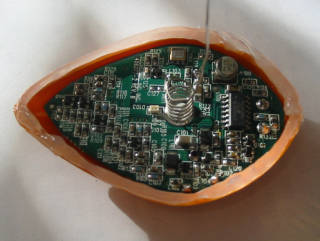
Once cut out, one notices the antenna of the emmetor immediately, to
remove the printed circuit of his housing, it is necessary to unsolder
the two pins of the contactors of the probe!
Then, it is necessary to unsolder two wire of the probe of the printed
circuit!
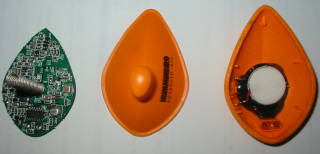
One obtains the three pieces separate!
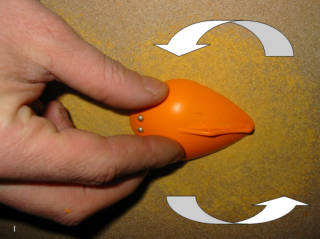
With abrasive paper forter the superior part and the inferior part of
the probe by making circular motions, it is to smooth the two parts
perfectly!
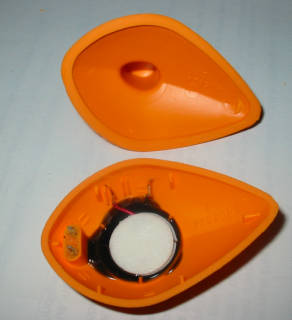
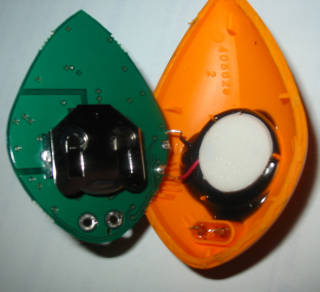
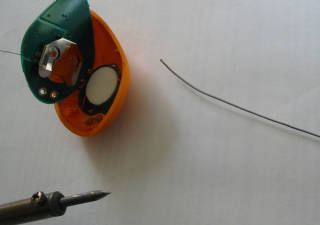
With the passage, one can see that under the inferior part of the
printed circuit the pile is, it is one 3 volts ref.: 2035!
To slacken the whorls within the competence of antenna, is necessary to
gently go there nevertheless for nothing to break, and one tries to
obtain something of about right!
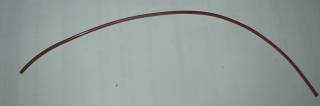
To take a small piece of 3 cm rigid anti-emmeleur tube and a piece of
anti-emmeleur sheath flexible (wire kind with scoubidou) of the longor
of the antenna!
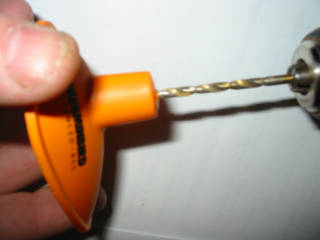
With a of the same drill diameter than the piece of sheath rigid, to
bore the end of the hull!
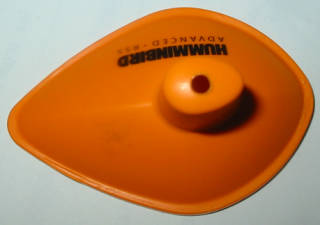
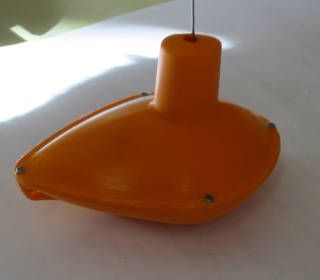
With part from there, one is goes up the unit and one sticks the hull of
the probe with araldite and one will need recommancer the brico after
400 hours of use, me, I chose another way in order to be able to
dismount the probe to be able to change the pile!
I recovered 4 small screws of 0,8mm of diameter and 2mm length inside an
old cellphone!
One bores 4 hole on the superior part of the hull with a drill of 0,7!
one also bores the interior of the lower part of the hull with the same
drill!
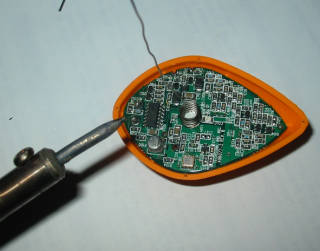
Maintenand, it any more but does not remain to go up the whole of the
probe, one welds two wire onto the printed circuit!
One welds the two pins of the contator of the probe!
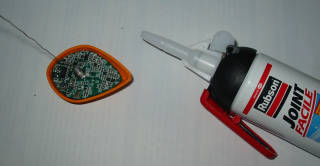
With silicone of bathroom, one applies a good layer to the hull of the
probe!
One screw the two pieces of the hull together and one passes with the
finger of silicone on the poutour of the probe to perfect the sealing, I
also put some a little on the heads of screw!
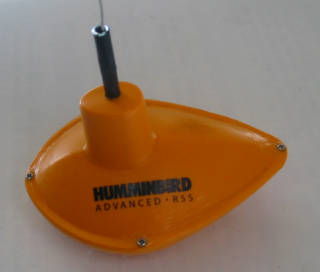
One passes the small piece of anti-emmeleur tube rigid and one sticks it
on the hull!
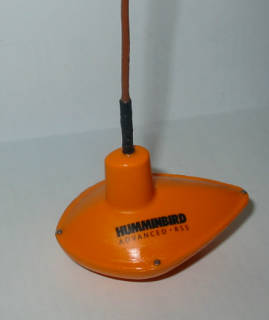
One threads the flexible sheath on the antenna and one sticks the unit.
to perfect the etencheity, one can put silicone around the sheath at the
base of the hull!
Here, it is finished, it does not remain more that to letting well dry,
not to forget to stop the end of the antenna with a little silicone and
it left for more 100m of range!
Back to