I am a freshman at Boston University currently studying Computer Science. I absolutely love what I do. This blog is for me to personally keep track of my progress as I learn and work on personal coding projects. This webpage is hand coded in HTML and CSS. I am only just learning it. And yeah, I realize the page is pretty empty. I'm getting there.
Today is my 19th birthday. Today was also the day I had my first ever job interview. Well, it was more of a phone screen. It wasn't particularly exciting. I think I did okay. There isn't much about it to talk about. It wasn't technical. If they're interested in me I'll be called back in to have a more technical interview. It was still a good experience for me to have though.
Decided to go through the Beginner Editor tutorials posted on Unity's website. Linked Here.
I knew most of this stuff from playing through the Roll-A-Ball tutorial earlier, but it was a nice review. Helpful to follow along in your own editor.
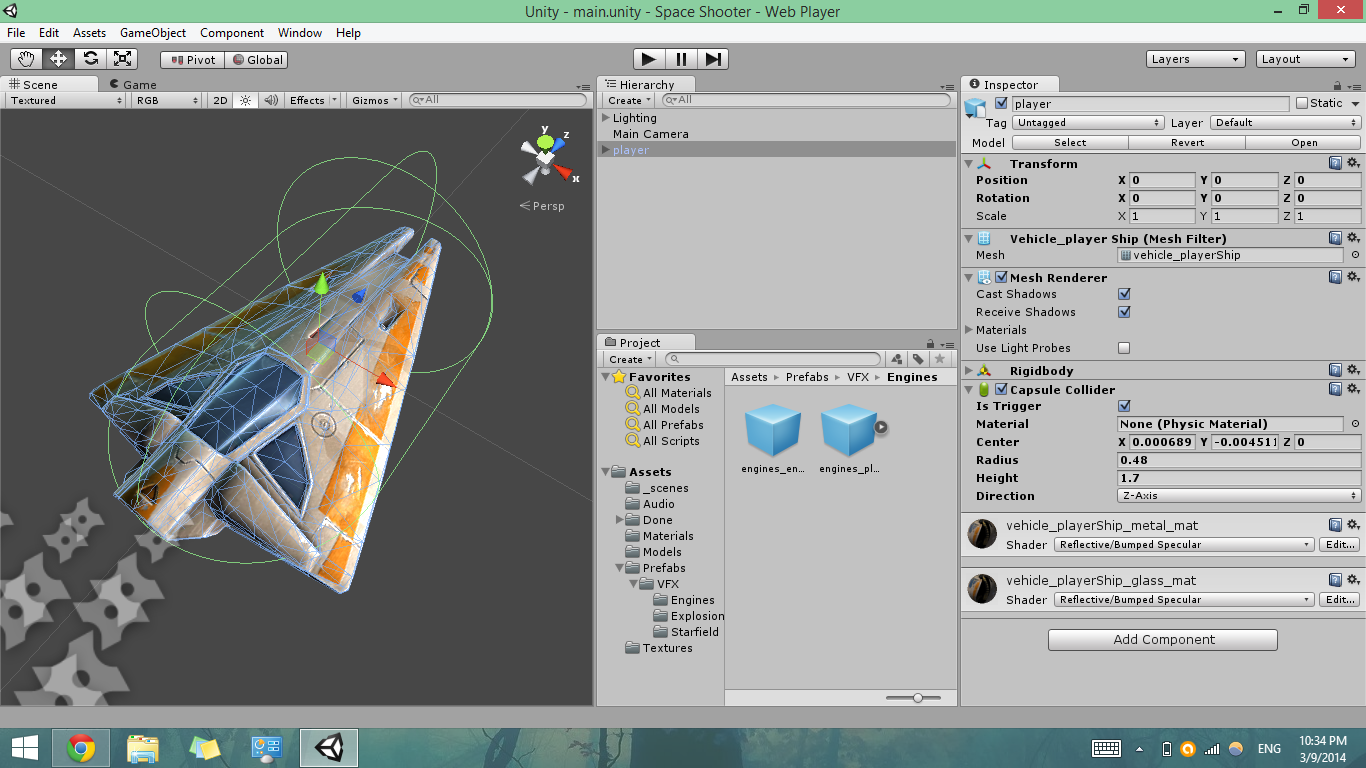
I also started following through the Unity Space Shooter Project Tutorial. I'm up to the 5th section which is adding a background to the game scene. So far we have created the player, which is a spaceship, and created the lighting and camera. I feel like I'm learning a lot more about Unity running through this tutorial than just watching the videos. Just working alongside them is helpful for learning. I'd probably still have a lot of trouble if I tried to make something like this without guidance, however.
It does feel pretty badass to have this open on your desktop, I must say:
As a side project to work on in my free time I want to make a game using the free Unity game engine. I downloaded the free version of the engine a couple months ago but didn't have too much time to learn how to use it. I'd walked through this basic project tutorial: Unity Roll-A-Ball Tutorial but that was all the work I did to learn it.
Today I decided to get back to learning Unity. I wasn't exactly sure how to start learning the system, but I decided it couldn't hurt to walk through some of the tutorials on Unity's website. I decided to watch the Physics ones first. Unity Physics Tutorials I thought they were pretty helpful, but it's hard for me to learn when I'm just watching and not doing. I think it was useful for me to watch them, anyway though, because now I have a better sense of how the engine works.
Here are some notes I took while watching the videos:
Colliders are a component attached to a game object. They allow the object to react to other colliders if one of them has a rigidbody component. Primitive objects (such as spheres, capsules, etc.) have collider components that can be attached to them. More complex shapes made up of a variety of different simpler shaped pieces can have a collider attached to each of its pieces. A mesh collider could also be used. This is a collider that wraps around the shape of the whole object. However, breaking the shape into its simpler pieces to use multiple colliders is usually better because the mesh collider can be too detailed and cause performance issues. When two objects with collider components touch, the method OnCollisionEnter is called. OnCollisionStay is called as the two objects continue to touch. OnCollisionExit is called when they stop touching.
You can turn a collider into a trigger by checking the box “is Trigger” in the inspector. This is also known as a “Trigger Zone.” This means that objects will no longer bump into it, but pass through it. Effects that you want to have happen to the entering object can be coded in the methods: OnTriggerEnter, OnTriggerStay, or OnTriggerExit.
Rigidbody is a component that can be applied to game objects. It allows objects to be affected by physics. Forces and torque can be applied to the object and the rigidbody will make the object react realistically. Gravity will affect the rigidbody object. And having a rigidbody will allow the object to interact with other objects via colliders. There are many properties of Rigidbody objects.
Properties:
Mass – the mass of the object (arbitrary units). Matters only in relation to other objects.
Drag –air resistance the object has when forces are applied to it.
Angular drag—how much resistance the object has when being rotated by torque.
Use Gravity—pretty self-explanatory.
Is Kinematic—if enabled, the object cannot be affected by the physics engine, but only by its transform.
Interpolate—used to smooth motion of the object.
Interpolate—smooth based on transform of previous frame.
Extrapolate—smooth based on estimated next frame.
Collision Detection—used to allow fast moving objects to detect collisions.
Discrete –tests if colliding with all colliders in the scene. Default. Don’t set to the other values unless you’re having issues.
The AddForce function is used to make a physics object move, or change the speed or direction or its movement. It takes a vector that represents the direction and magnitude of the force as a parameter. The second parameter is the mode of force being used. This defaults to Force, which is used for continuous changes that are affected by mass. Acceleration is used for continuous changes that are not affected by mass. Impulse is for an instant change that is affected by mass. VelocityChange is for an instant change that is not affected by mass. Remember that forces are affected by the drag property.
The AddTorque function is similar to the AddForce function, but the force rotates the object around a specified axis. It has two components but the second is optional. The first component is the vector that defines the axis around which the torque will be applied, and the magnitude of the torque applied. Remember that the angular drag component of the rigidbody will affect the effectiveness of the torque. The second component is the ForceMode, which affects the type of force applied. I discussed these different types in AddForce.
Physic materials affect the way a game object reacts to the physics engine. Such as making the object more bouncy, or have more friction. Dynamic friction is how much friction exists as the object is moving. Static friction is how much force is required in order to move the object. The Friction Combine settings affect how the object will interact with another object with a certain material. There is a slot for material within the collider settings. Friction Direction allows you to control friction in a particular axis. The Dynamic Friction 2 and Static Friction 2 properties will allow you control over those three axes.
Joints added in Unity work like joints on objects in real life. Examples they gave were a door, and a wrecking ball. There are fixed joints and spring joints and hinge joints. A fixed joint locks a game object to a point in the world, or to a connected rigidbody. Spring objects work on the principle that the game object is trying to reach a target position set in the scene view. Other objects will pull it away from this target position. There are Break Force and Break Torque values that can be set; these are the minimum values required to break the joint. Hinge joints are like the joints on a door. The object rotates around the axis of the hinge. You can add a velocity to a joint using a motor. You can also add limits to constrain the motion of the joint.
Raycasting is shooting an invisible ray from a point in the game world, to test if there are any colliders in the path of the ray. This is useful for shooting a gun, or testing how close a falling object is from the ground. The basic syntax of a raycast will have the basic setup as follows:
Physics.Raycase(Vector3 origin, Vector3 direction, RaycastHit hitInfo, float distance, int LayerMask);.
A collision can be detected and something can happen during a collision if one of the two colliding objects has a function called OnCollisionEnter. The function takes a parameter of type collision. You can write code inside the function that you want to have happen during a collision. For example, you can have the object destroy what it collides with.