During this phase you'll see yet more stripping, prepping and priming of the chassis, including the engine compartment and a 'dry run' of the newly purchased center panel.
I decided to turn the car around so took a picture while it was outside...
Here's the same angle shot several months and 'many coats of paint' ago...
since this picture, I've removed the spring plates and torsion bars...
here's a shot from the rear...
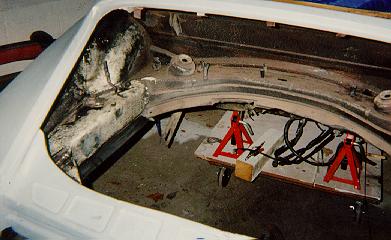
I decided to concentrate on the engine compartment next...
Here, you can see that I've got a lot of glue and dirt that must be all cleaned out...
I removed the bumper support brackets that are attached to longitudinals...(It appears that some chemical stripper dropped on this area...)
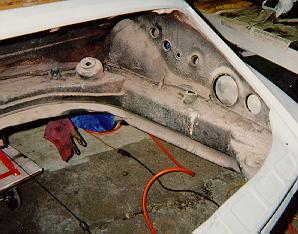
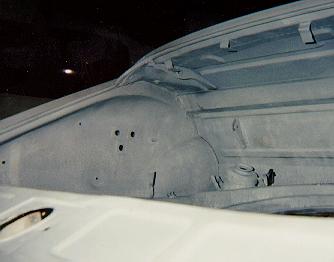
Once I 'pressure washed' this whole area I used a wire brush to remove all the old glue and loose paint. (This is a picture, once I primed the engine compartment.)
I want to keep things as original as possible, and the condition of the sheet metal in this area, is in impeccable condition.
The engine compartment completely primed. The rubber seal that goes around the lower edge can come off after you release a "pinch" point that squeezes the rubber seal in a channel. The seal can be slid right out without and ripping or tearing. Unfortunately, this seal was previously torn and will need replacement. (Possibly from the donor car in Phase 11)
During this time I purchased a new/used center panel from a fellow 'Porschelist' member, and decided to check it for fit.
It looks good from the 3/4 view...
However, the view from directly behind shows that I'm going to have adjust the bottom, as it's been bent up...(Just a little!!)
I decided to see how outa whack they are by putting those new 'bumperettes' on...
This picture doesn't show it very well but you can tell what shape the panel should have by the contour of the bumperettes...