
| DIY Music Equipment | Echo (Rebote Delay) |
|
p i c t u r e s 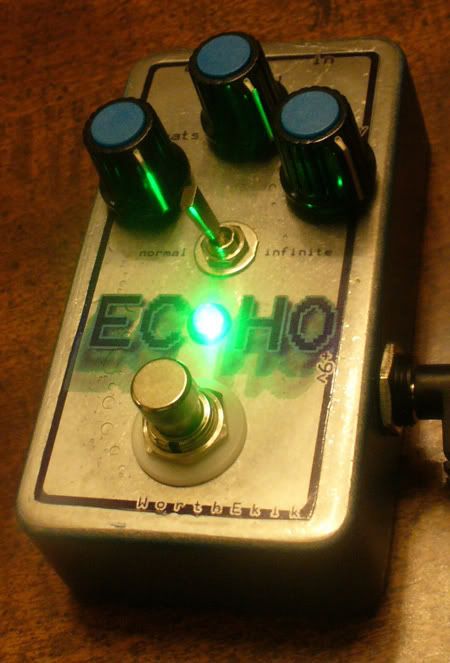
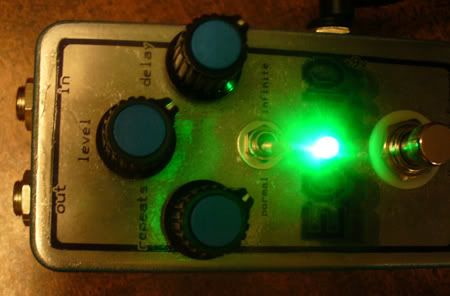
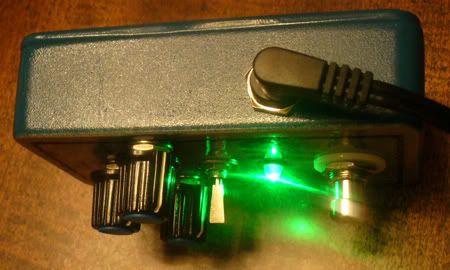
4, 5, 6, 7, 8, 9, 10, 11, 12, 13, 14, 15, 16, 17, 18, 19, 20 p r o c e s s i used the layout from Tonepad for this Rebote 2.5.I started with the regular layout and made a couple mods (pic 4, pic 5). I used a 20K pot for the "Repeats" control, and a 100K for the "Delay" control. The 100K allowed me to get twice the delay times, even though it gets a little distorted with longer ones. I also added a switch in place of the "15K" resistor that switches between a 15K and a 10K (pic 6). The 10K position allows me to get infinite repeats with the "Repeats" pot maxed. Then I prepared the enclosure. I planned where the panel components would go, then drilled holes. I put the parts in the enlosure, put knobs on the pots, then traced around them with a pencil (pic 7). Then I scanned the bare enclosure to work with it in designing the lettering (pic 8). I made the lettering in Photoshop (pic 9), then printed it out on a transparency sheet for projectors (pic 10). I cut out the sheet and its holes. Then I wet-sanded the top of the box a little to get out some imperfections. I painted the sides and bottom a nice blue color (pic 11). Then I put a clear-coat on both the box and the bottom of the transparency sheet. Right away, I carefully placed the sheet on the box and weighted it. I used wax paper throughout this entire process so the paint wouldn't adhere to anything. Then one final clear-coat finished it off (pic 12). Then for the final wiring/placement. I first placed the LED/resistor arrangement, and slopped it with epoxy to hold it (pic 13). After that, I carefully wired the rest of the 3PDT switch (pic 14), then everything else (pic 15). I then put some double-sided foam tape on the PCB to ensure nothing shorts to the enclosure (pic 16). And its done, and I took my time, so it worked first try perfectly. v i d e o c l i p View/Comment on YouTube |
| all content ©2007 WorthEkik unless noted otherwise. |