Decorative Balls / Boules déco
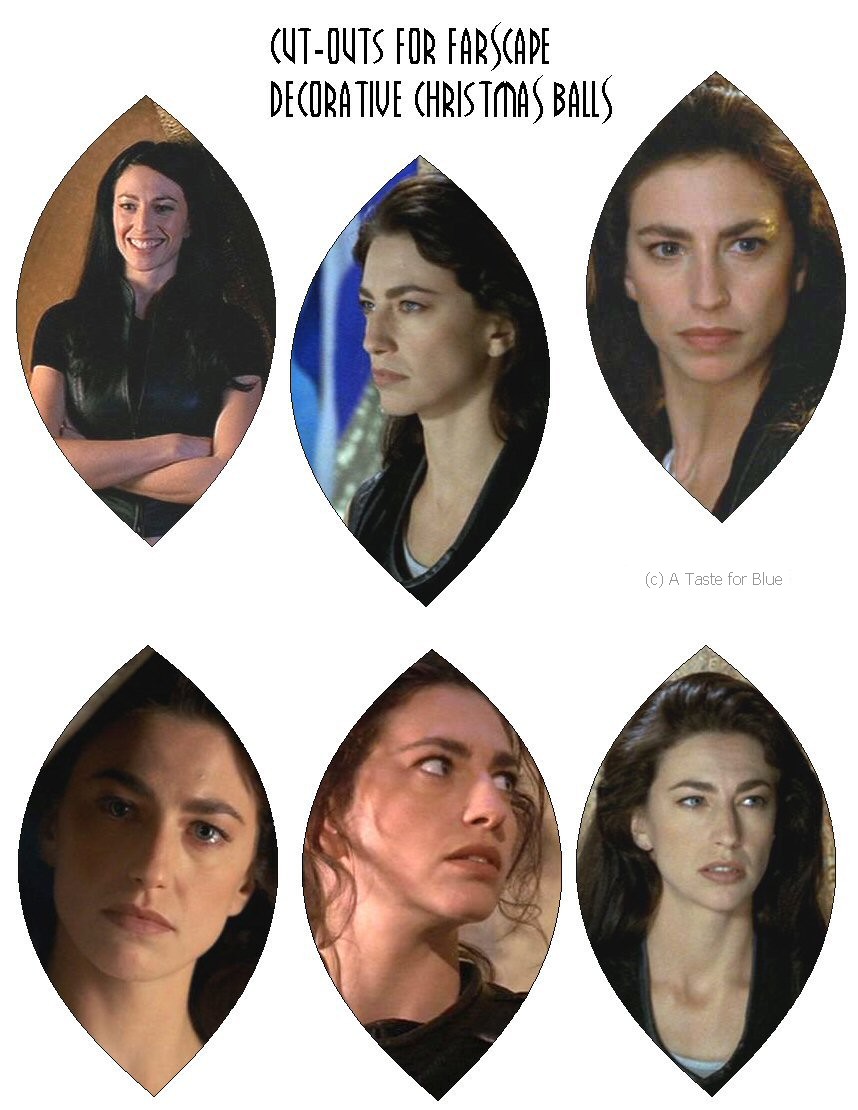
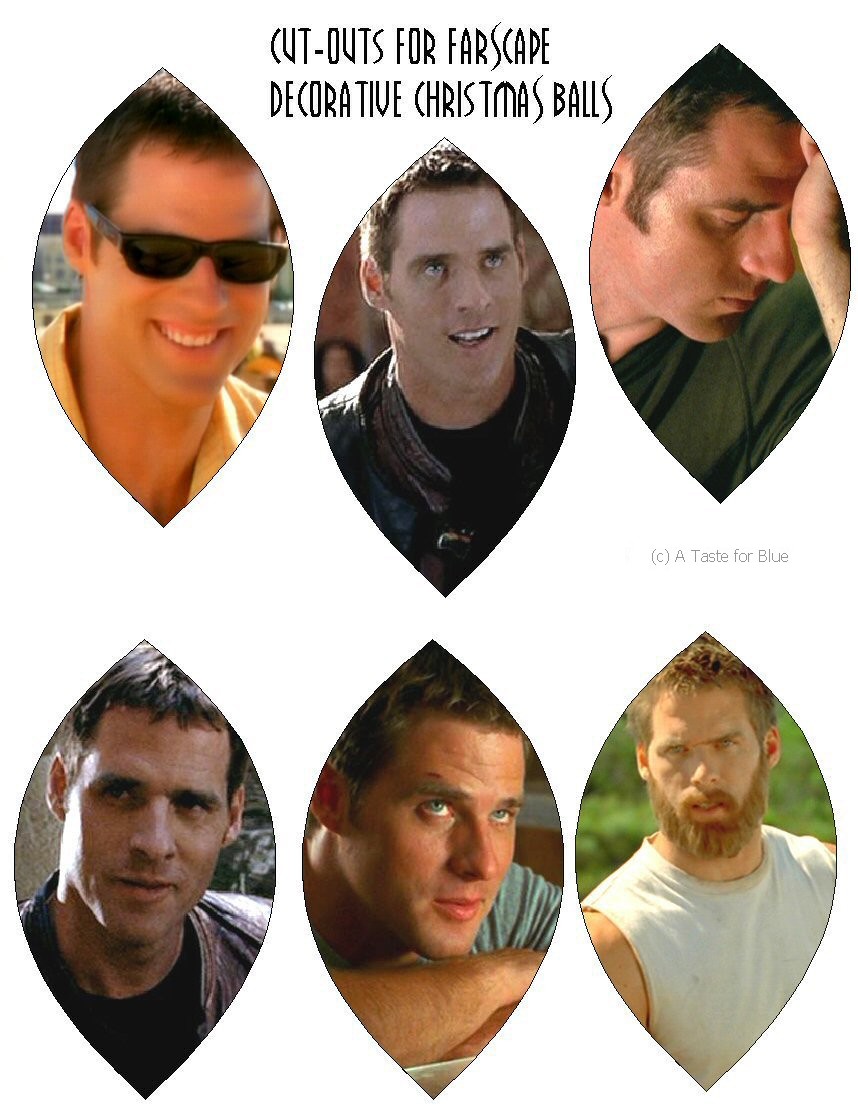
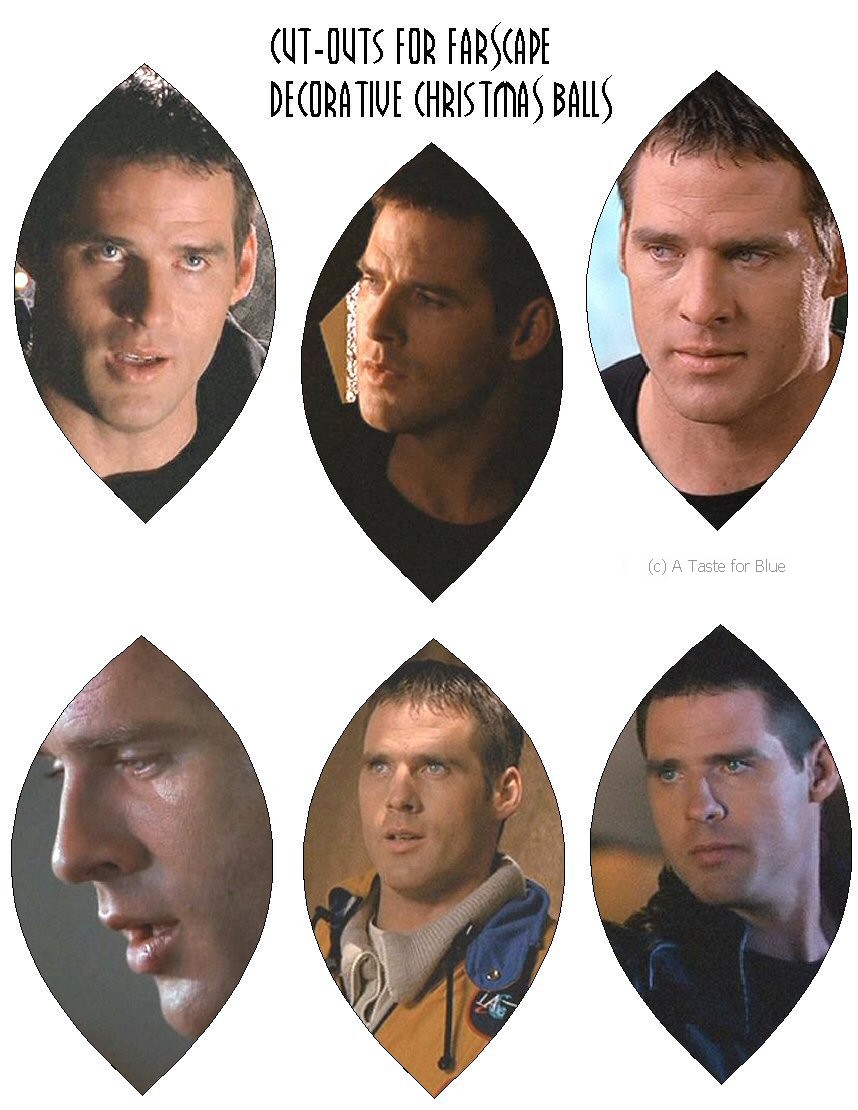
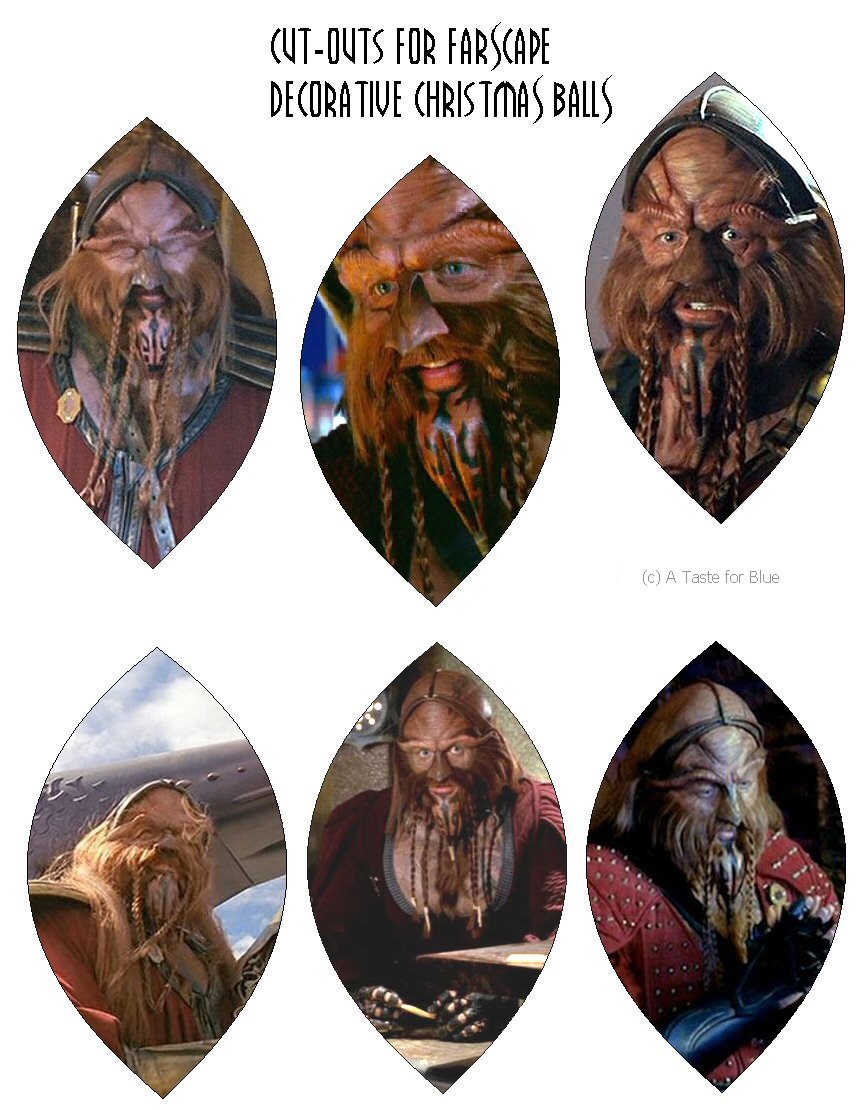
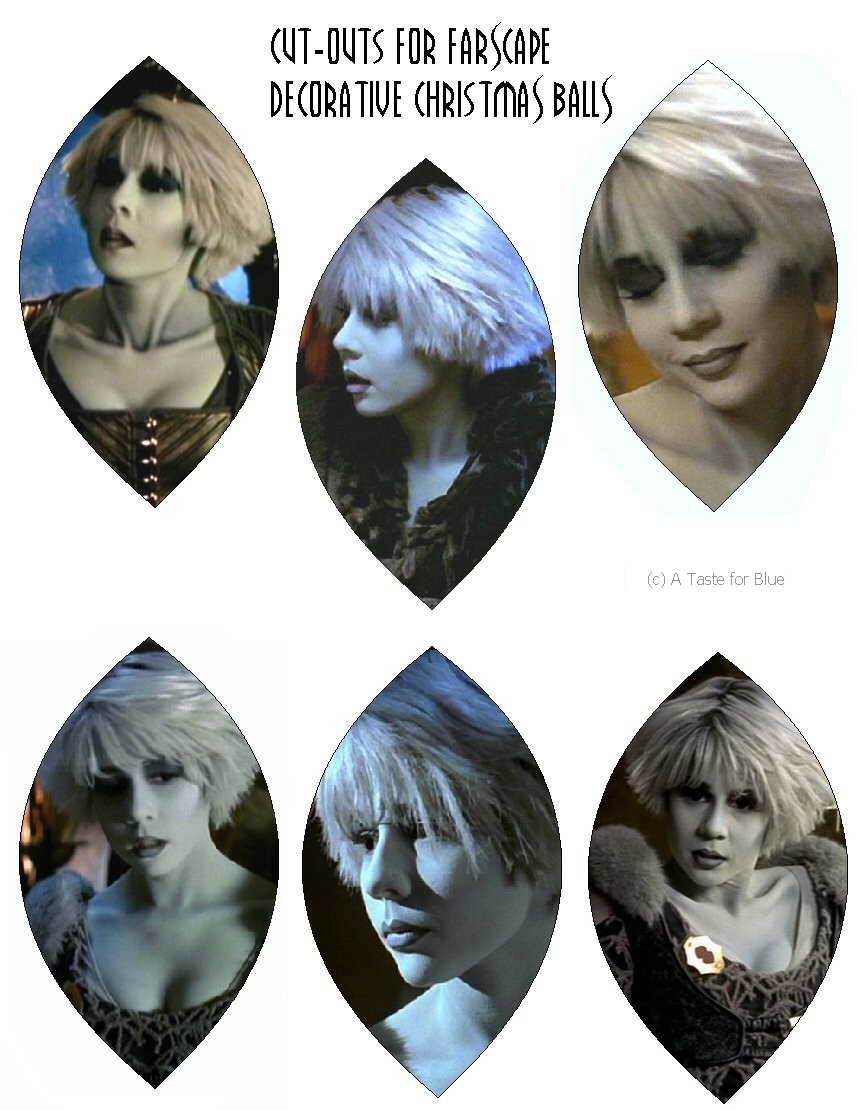
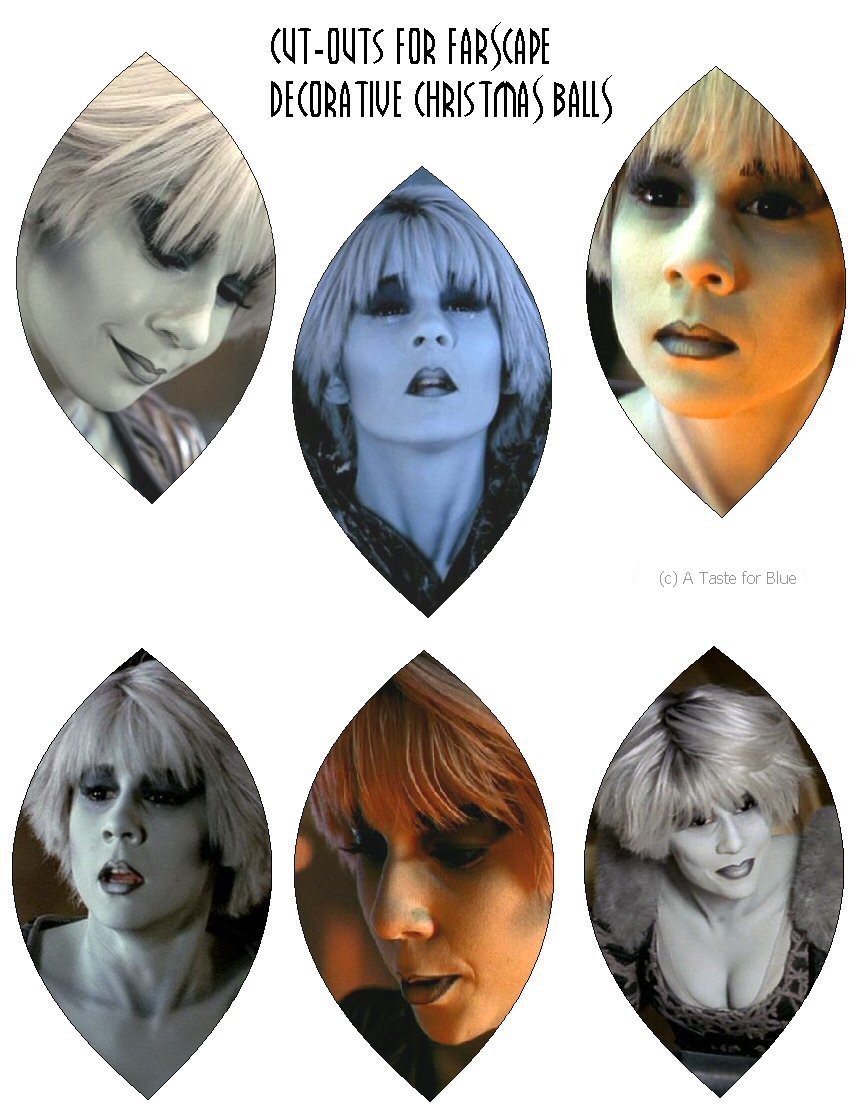
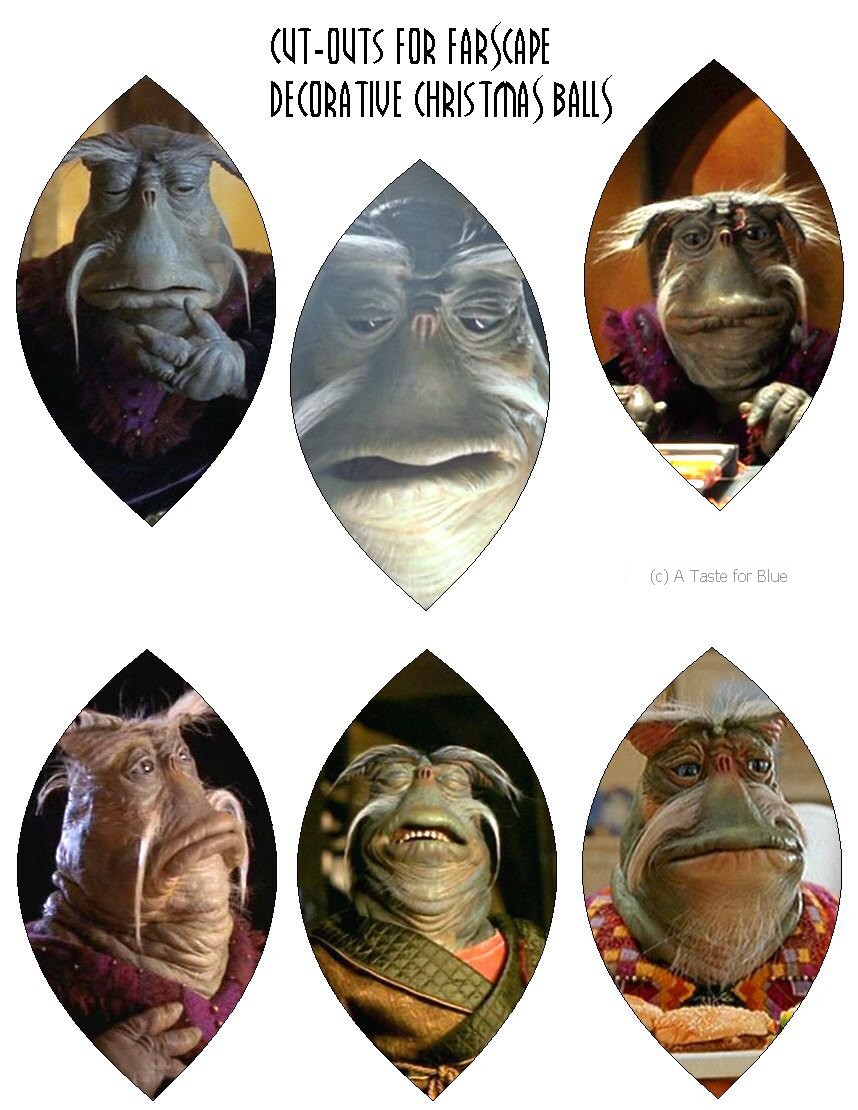
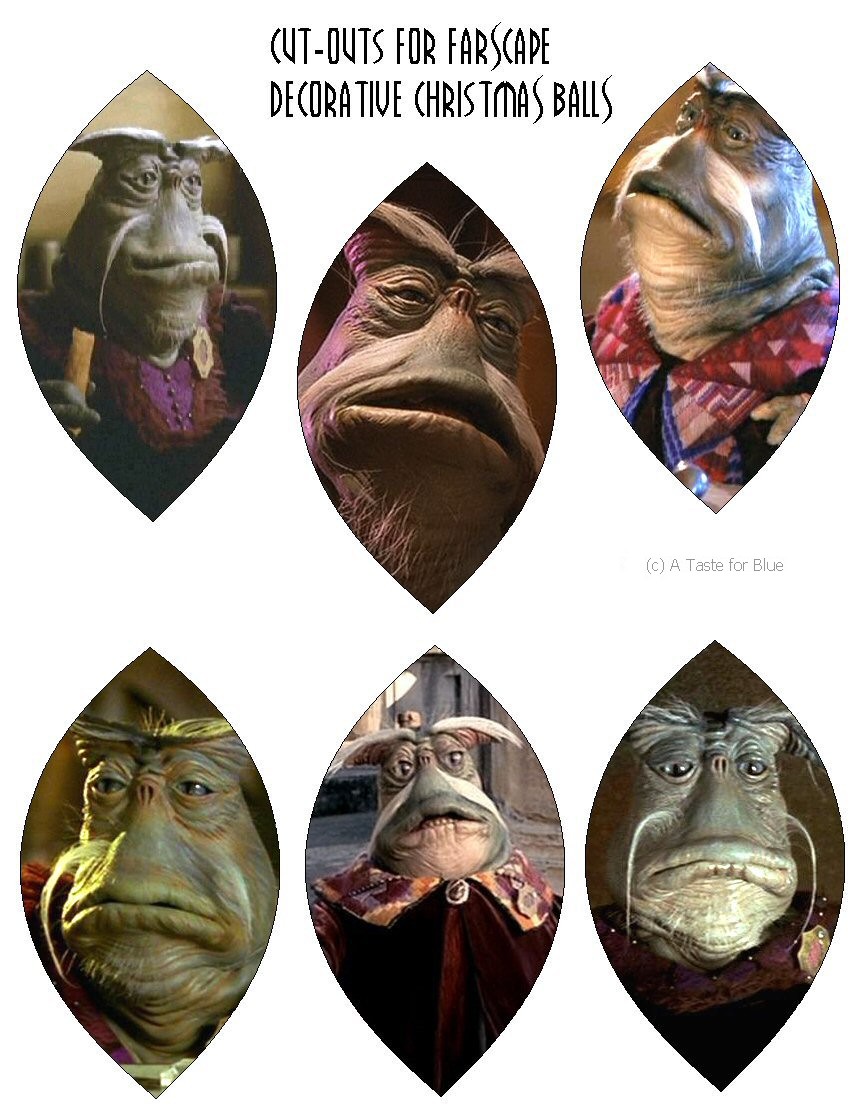
These images are made to fit a 4 inch diameter styrofoam ball. Use 4 images for each ball; either from the same character or 2 or 4 different.
Les images conviennent pour des boules de 10 cm de diamètre, en polystyrène. Utilisez 4 images par boule, soit du même personnage, ou de 2 ou 4 personnages différents.
| |

Material:- Styrofoam or plastic balls, 4 in. diameter (10 cm)
- Printed images on thin paper
- Satin ribbon
- Vinyl Glue
- Cutter and compas
- Knife
How to (styrofoam ball):
- With a compas, divide the ball in four equal segments by tracing with a compas two circles crossing each other perpendicularly. By following the lines with a pencil, cut a little slit 1/8 inch (3 mm) deep.
- Click on the image or the name to get the full size printable image. Print and cut up 4 images.
- Put a line of glue inside the slits then press in the border of one image with a knife. Begin at the top and go down half an inch at the time, doing both side simultaneously. Do the same for the three remaining images.
- Hide the seams with a thin satin ribbon, in gold or copper (Moya's colours), or red for PK colours.
- Press in an attache parisienne at the top of the ball for hanging.
|
Fournitures- Des boules de 10 cm de diamètre en polystyrène (ou plastique)
- Les images imprimées sur du papier mince
- Ruban de satin
- Colle vinylique
- Stylet et compas
- Couteau
- Attache parisienne
Réalisation (boule en polystyrène):
- Avec un compas, divisez la boule en 4 parties égales en traçant avec un compas 2 cercles se croisant perpendiculairement. En suivant les traits avec un crayon, entaillez le polystyrène avec le stylet, sur 3 mm de profondeur.
- Imprimez et découpez soigneusement 4 illustrations.
- Posez un filet de colle à l'intérieur des entailles puis enfoncer légèrement le bord d'une image avec le couteau. Commencez par le haut et progressez des 2 côtés à la fois par segment de 2 cm. Faites de même pour chaque image.
- Cachez les raccords avec un galon doré ou cuivré (les couleurs de Moya).
- Insérez une attache parisienne au haut de la boule pour l'attache.
|
DISCLAIMER
FARSCAPE and all related characters and elements are trademarks of The Jim Henson Company,
Hallmark Entertainment, Nine Network (Australia) and the Sci-Fi Channel.
"A Taste for Blue" is a fan run site, done strictly for fun and is in no way affiliated with any of the above.
I don't have anything to sell or exchange. I don't get paid for it and none of the advertisement on this site comes from me, but from the free webspace provider. I don't get any benefits from it. |
COPYRIGHT
FARSCAPE et tous ses personnages et éléments sont la propriété de la Jim Henson Company, Hallmark Entertainment, Nine Network (Australie) et le Sci-Fi Channel.
"A Taste for Blue" est un site de fan, sans aucun lien avec les organismes mentionnés ci-haut. Je n'ai rien à vendre ni à échanger. Les publicités proviennent uniquement de l'hébergeur gratuit. Je n'en retire aucun profit. |
(C) Bluey / Siubhan
|