CANADIAN & VINTAGE LIGHTWEIGHT BICYCLE
MEASURE TWICE, CUT ONCE
e-mail [email protected]
Restoration involves considerably more time, effort and resource allocation. More simply put, it takes longer and costs more to restore a bicycle.
Restoration involves a complete rebuild, at both the cosmetic and mechanical levels. Bearings, cables, brake pads � you name it � are not reused. Everything must be replaced to achieve �as new� condition. And this includes paint and decal work.
Refurbishment, on the other hand, allows for considerable departure from achieving perfect results. Many items can be reused on a bicycle and costs, both short and long term, will be drastically reduced, if the refurbishment process is followed.
It is also important to remain focused on what the bicycle will be used for. If you intend to place the bicycle on a pedestal, and view it only, then you can feel comfortable with a full-blown restoration. However, if you intend to ride the bicycle, going all the way with a restoration will probably not be the best way to go.
Keep in mind that the focus here is to fix up quality old bicycles, ensuring that they are both safe and dependable to ride and to do so with minimal cash outlay. We would all like to have a top of the line, rare and/or exotic racing bicycle but is such a machine really practical? This is something that the individual must decide.
DO NOT SKIP THE TEST RIDE!
Hopefully, you have been very careful in selecting a bicycle to restore. If so, and you are satisfied that you have made a good choice, the next step in your project is to get the bicycle ready for a test ride. The test ride is VERY important. It is a true shame to invest a good deal of time and resources into a project, only to discover that there is a major problem associated with the bicycle.
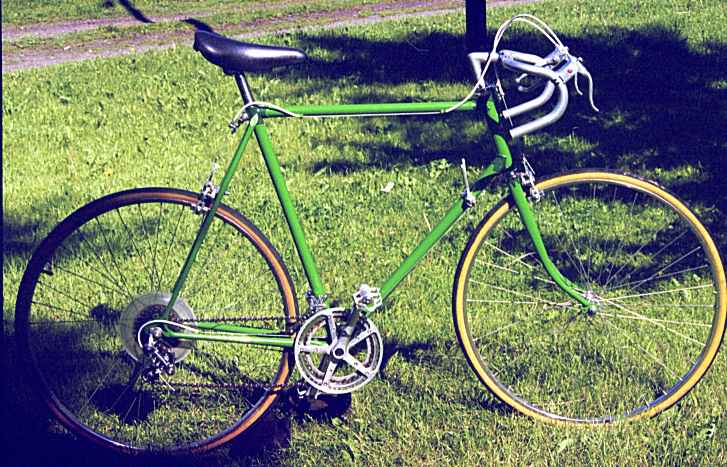
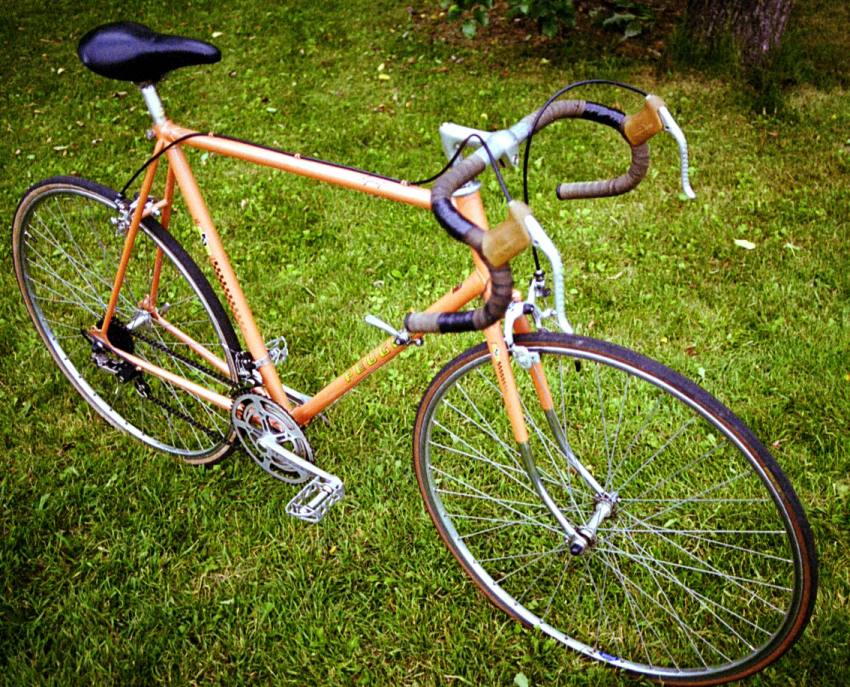
A major problem? The Sekine �Medialle� shown above, a middle of the line model, was fully refurbished, both cosmetically and mechanically, before it was ever ridden. The first ride in the spring of the year proved to be a big disappointment. The bicycle pulled violently to the right. Closer inspection revealed that the front forks were bent. The first restoration attempt now hangs from a rafter in the shed, waiting for a new set of forks, if and when a set is found.
Before going any further, consider your options if you think that something is bent. If the bicycle is not something really special, you might deep six the project. Bent forks might indicate a problem with the frame also and bent frames are very difficult to straighten. Some frame materials will lend themselves to a straightening process, while others (aluminum) will not. As a general rule, if a frame�s integrity is compromised, the project is terminated. The choice, of course, is yours.
IS IT BENT?
Begin by looking CAREFULLY at the bicycle and do so from all angles. Look at it up-close! Step back and get a good look from a distance. Get down on you hands and knees, viewing the bicycle from the both sides, front and rear. Look down from the top if possible. Ask someone else to assist, remembering that two heads are better than one. What exactly are you looking for? Symmetry!
Symmetry? Do the front fork legs seem to curve exactly the same when viewed from the side? Does it look like the front forks are symmetrical but leaning backward slightly? Is the evidence of paint cracking and/or peeling? Run you hands, slowly and carefully, over every inch of the forks. Can you feel any bumps or hollows? If any of these situations present themselves, chances are you have a problem. Ask a friend to assist in this investigation.
With the front wheel properly sitting in the front fork drop-outs, does the wheel look as if it is perfectly centered or does it seem to hug one fork or the other? Rotate the wheel and repeat this test several times. The front wheel might be bent, and/or out of true, offering a false visual reading. If the wheel looks off-center, in several rotational positions, then consider the possibility that all is not well.
Turn you visual attention to the frame. Looking down from the top, does it look as if the chain stays are equal distance from an imaginary center-line for the entire bicycle? Does single tube seem to have any kind of a curve to it? Does anything look at all unusual? Once again, ask for the opinions of others.
As with the forks, slowly and carefully, run you hands over the entire frame�s surface, feeling for any bumps or hollows. Is the paint peeling or cracked? Does the rear wheel sit centered in the chain stays? Does the wheel look as if its vertical position matches the plumb line of the seat tube? If not, there might be a problem. Check to ensure that the wheel is set properly in the rear dropouts and then observe the situation from several different wheel rotation positions. If the wheel still looks out, you might consider moving on.
Once you have completed visual inspection, hang the bicycle up-side-down from a rafter or some other horizontal purchase. Use ropes, threaded through the wheels, to do this. Ensure the ropes are hanging as close to plumb (perfectly vertical) as possible. Now, step back and take a look.
If the forks are twisted, even a little, the front wheel will not lay in a parallel plane with the rear wheel. It will become immediately obvious. If the front wheel does turn one way or the other, then something is probably bent. This is not rocket science but it is one more piece of investigative information to add to your appraisal of the bicycle frame�s condition.
More information pertaining to things to look for can be found at the Park Tool web site. Refer to the Links Page for a access to their excellent web site.
So far, it has cost nothing to check for frame and fork integrity. If all seems to check out this far, it is time to prepare the bicycle for its test ride. This will take a bit of time and effort but it is not that difficult to do.
Before you get started, take the time to write down the name and model number of all components that you examine and refurbish. This recorded information will prove to be invaluable later when trying to locate any parts that you might need to complete your project. And remember this! You can probably get a lot of what you need at the dump, for next to nothing, however; this will be all but impossible if you don�t know exactly what you are looking for. Write it down! Make measurements! Even, and this is a very good suggestion, take photographs of the bicycle before you go searching.
If satisfied that all is reasonably well, you can now begin to prepare your bicycle for a test ride.
TIME TO REFURBISH!
Start with the tires. Do they appear to be sound? Are there any visible cracks in the side walls? Does the rubber look to be rotting? Are they badly worn? Any of these conditions suggest that the tires should NOT be used at all! A blow out on the front tire might well put you on the pavement, resulting in, what could be, serious damage to you and even the bicycle. Once again, if the tires do not look good, get another set. This does not mean that you have to go out and buy a brand new set of tires. Yep, go back to the landfill site and hunt away. It is surprising how many bicycles are thrown away with new tires on them.
If the tires look good, try adding air. Look carefully at the side walls of the tires. Maximum tire pressure will be indicated. Check both tires for the defined pressures. Do not assume that pressures are the same for both. Do not exceed the recommended pressure(s). If the air escapes, you will need, at a minimum, to patch the inner tube or perhaps even simply buy a new tube or tubes. Once again, of course, inner tubes in good shape are often available at the local landfill site.
Time now to check the wheels themselves. Somehow, support the entire bicycle so that you can spin each wheel. Does the wheel wobble? A small wobble is nothing to get too upset about and you might well be able to test ride the bicycle anyway. If the wheel wobbles a lot, the test ride is out of the question until the wheel is trued up. Seriously out of true wheels will render your brakes all but useless and will make it impossible to determine if the bike rides well. Wheel truing is not a difficult thing to do but some practice and skill is required. So is a spoke wrench. Sheldon Brown�s web site, listed on the Links Page, offers an excellent article on how to build and true wheels.
Before attempting to true the wheels, check the feel of the wheel bearings. Rotate each wheel axle with your fingers, feeling for two things � play and roughness. Either of these findings will mean at least adjustment, and/or wheel bearing rebuild, is required. Once again, Park Tool comes to the information rescue.
Once the wheel bearings are checked and repaired as necessary, turn you attention to the only other thing that goes round and round -�the bottom bracket spindle. As was the case with the wheels, does the spindle rotate freely without a gritty feel to it? Can you wiggle the spindle about? Both of these situations indicate that the bottom bracket bearings should be opened up for inspection and/or rebuild. Keep in mind, however, that you are preparing the bicycle for a test ride. You can run a sloppy contaminated bottom bracket assembly for a very short while and do so safely. All you are trying to do at this point in your project is determine if the bicycle will ride properly. Do not, however, ride the bicycle much with contaminated or improperly adjusted bottom bracket bearings. If you do, you will probably do damage to either the bearing cones, or worse yet, the bearing cups. Some bottom bracket bearing cups are becoming all but impossible to replace.
Next check the condition of the bicycle�s brakes. All they need to do at this time is stop the bicycle from rolling. Look at the brake pads. Are they even there? Are they badly worn? Are they lined up properly with the wheel rims? Do they actually close when you pull on the brake lever control(s)? DO NOT ride the bicycle, even a little bit, if the brakes are not working!
So, let�s get them working. As you have probably guessed already, Park Tool can come to the information rescue again. Review their procedure(s) for servicing brakes, remembering that often times, parts can be reused or found at the local landfill site.
It is not too important that you be able to shift the bicycle for test ride purposes, however; it is nice to have this option. Setting up a transmission is not a difficult thing to do and the process falls outside the scope of this article. However, as you might imagine, the Park Tool site will once again prove to be your friend.
You will, however, need to ensure that the drive chain is properly serviced. One can and usually reuse the original chain and refurbishment instructions are easy to follow and can be found here.
Now you have a bicycle with a frame/fork combination that seems reasonably straight, is capable of rolling without major risk and will even stop when asked to do so. However, before jumping on the bike and going for that first ride, check all the fasteners. Fasteners are nuts and bolts, for the most part. Ensure that everything is tight. You do not want the handlebars to roll forward on your first time out of the gate. The same holds true for brake controls and can you even begin to imagine how much it would hurt if your front wheel fell off? Exercise care and caution with your first few rides.
At last you are just about ready to ride. Do NOT tie yourself to the bicycle on the test ride(s). Remove any toe straps for the time being. Adjust the saddle height a bit low for now, just in case you need to get your feet on the ground in a hurry.
That�s it! You have just finished refurbishing the bicycle and, if you have followed these instructions, it should be reasonable safe to test ride. But still exercise caution. Do not Cowboy mount the bike and take off into the sunset.
THE TEST RIDE
With the bicycle stationary, swing your leg over the top bar and place one foot one the proper pedal. With your hands on the brake controls, push off with the other foot, stay out of the saddle and coast a short ways. Test the brakes as you do this. If you are satisfied that the brakes will actually slow the bike down, drop your but in the saddle and give pedaling a try. Do not go too fast. Test the brakes again and repeat this until you begin to feel confident that all is well. Don�t get impatient, you will get to go fast later.
Now go for a ride around the block. Do not get too far from home since something could still fail and leave you walking. After riding for a few minutes, take the bike home and check it over again for anything that might have come loose. If all appears to be well, do some more test riding.
Riding with no hands on the handlebars is a dangerous thing to do. Do NOT do it! However, a bike that can be ridden with no hands is usually a bicycle whose frame and forks are straight. Get up a bit of speed and then begin to gently and slowly relax your grip on the bars. If they start to pull or if you feel any instability, get a grip. You will almost immediately feel things want to go wrong as you start to release control of the bars. Stay focused and be prepared to regain control at a moments notice. It is not necessary to actually let go of the bars. And remember � this test is dangerous!
When you are riding the bicycle, ask a friend to observe you from behind. He or she will be able to see if the bicycle seems to be tracking well (one wheel follows in the track of the other). Another way to determine if the bike tracks well is to ride it through a puddle of water and then look to see the tire tracks left on dry pavement. If things are off, the tracks (two of them) will make the problem known.
If the test ride checks out, and all seems to ride well, you can begin planning for a complete refurbishment and/or restoration.