| |
|
|
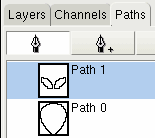
First you create an empty image, 41x48 pixels. Go to the Layers window, Paths, add two paths. As on the image on the left. Use the Bezier tool to draw the head edge and the eyes edge. I did mine based on the alien icons from http://largo.windowmaker.org/.
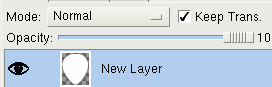
Now you create a new layer, named Head. click on the button "Path to selection" on the same Layers window. Fill this selection with white, and copy this layer. You will have now two head layers.
|
  |
Select the Head layer witch is above, Filters > Blur > Gaussian Blur (RLE). Blur it enough to make it looks like the image on the left. A value of 20 for both directions should be fine. Note that you may hide all other layers by Shift+click on the layer you are Bluring to see what you are doing. |
   |
Hide all layers, and select the Head layer witch is below. Use the Blend tool to make a gradient from white to black. Make sure to check "Keep Trans." button on layer window before blend it. Making both heads layer visible will let it as the picture below shows. |
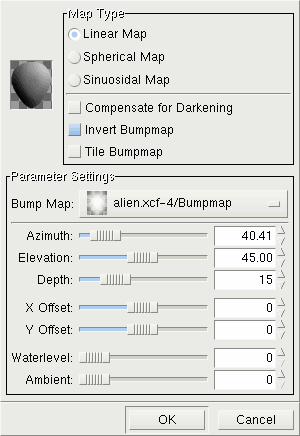 |
It is now time to make the 3D head effect. Select the blended head layer then go to Filters > Map > Bump Map..., select the head layer witch was blured and play with the values to find a good result. You can get he values as the picture show.
|
 
  |
Let's make the eyes. Create a layer above the head layers, select the Eye path and do again a "Path to selection", as you did before with the head. Using the Blend tool, you can make the gradient from border to the center of the eyes. Remember opening the Tool options box and selecting "Blend" to "FG to BG (RGB)" and "Gradient" to "Shapebrust"; try different Shapebrusts: angular, spherical or dimpled to find a good gradient. Play with different FG/BG colors, it is a bit difficult to find a color with makes the eyes look like they're "light powered" in the end.
With the eye selection still active, select the "Star Brush #4" and the white color to paint the reflex. |
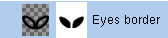 |
To make the eye edge, create an empty layer between the head and the eyes. Right click on this layer, "Add Layer Mask...", set it to White. do a Path to selection of the eyes again, and use the "Bucket Fill" tool to paint the layer mask black. Now select the layer itself (not the mask), Select > None, go to paths and do "Stroke Path" with a mid-size brush. |
   |
The final thing, is make the eyes look like they really belong to the head. To this, set the "Mode" on layers window, to "Overlay" for the eyes. It now really is on the head surface, but it is a bit dark on the left side. To fix this, duplicate this layer, set it to "Screen" and adjust its transparency aroundund 50%. And... |
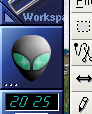 The final work.
You can get the XCF file here.
|
|
|