|
Main Index Buy LED lights Introduction Walkthroughs Forums  Contributors
Links Guestbook Home Tech Index Version Guide Progress Reviews Submissions LED info News Archive 
|
|
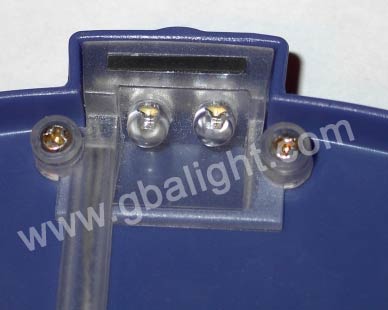
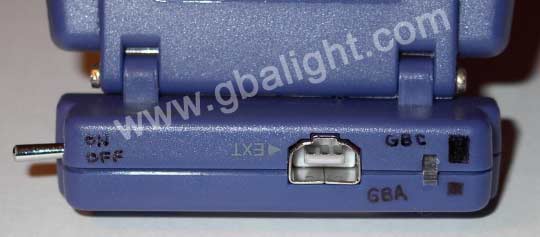
Here's a great message with some very useful information for anyone who might be experimenting on their own with variations on the modification. Great work Andy! I built the GBA LED light mod per your web instructions, and it worked great. Those instructions were awesome. I've tested both 20-degree angle (bought over the web) and 100-degree (Radio Shack) LEDs. The Radio Shack ones have the problem that they have a blue ring pattern. The 20-degree bulbs don't illuminate all of the GBA screen, because their pattern is too small. I think you mention this either on your web site, or in one of your postings. I took photos and measured the angles, and it looks like the GBA screen is about 30 degrees wide, so a 45-degree or 50-degree bulb may be the best tradeoff in terms of brightness and good full-screen coverage. I'm going to try 45 or 50-degree white LEDs next. I've also been looking into better power supply circuits. It appears that the Maxim MAX1698 is the ultimate DC-to-DC boost converter for running LEDs from low voltages. It is specifically designed to drive LED strings (e.g. two to 4 LEDs in series) with 2.7 to 5.5 Volts input. It requires an external NMOSFET, shotky diode, inductor, 20-ohm resistor, and couple of capacitors. If you care to add a 500K-ohm potentiometer, you can also have full dimming capability. It is 90% efficient. Unfortunately, the potentiometer in the Pelican Light has the wrong resistance to work with the dimming circuit in the Maxim power converter. Oh well. The beauty of it is that the output current will be the same independant of what game you are playing. By the way, I found a great way to test modified Pelican lights without risking damage to the GBA console. I attach the Pelican light to a wood mock-up of the GBA. I bought a multi-player cable, cut off the end and strip the wires, and plug it in the back of the Pelican light. I can then run a variable power supply into the modified Pelican light and easily take current measurements. On the cable I disassembled, the black wire is ground, and the white wire is VCC. Feel free to post any portion of this note, and/or the accompanying pictures if you think it would be of interest. I'm going back to the lab. -Andy |