
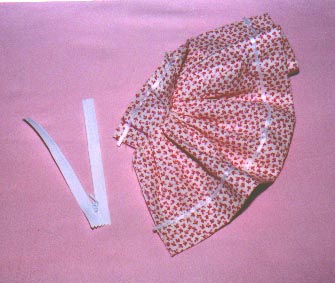
| 1) Sew your dress, all but the back seam. | 2). Put the dress on a doll, right side out. Mark the center back seam with a fabric marking pen. (This assumes you are using a pattern which calls for snaps or velcro, and you must determine where to align the back seam and where to place the zipper.) |
 |
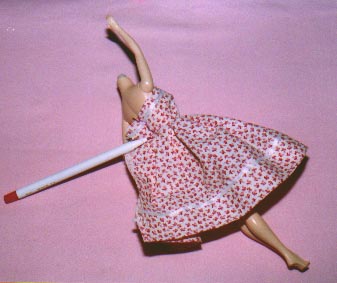 |
| 3). With the zipper unzipped, line up the zipper teeth (front side of zipper to right side of dress)to the back seam. In the picture, the arrows are pointing to the teeth. Sew that side of zipper to dress, do the seam in the middle of the zipper tape (not close to the teeth). | 4). Now, line up the other side of the zipper (front side of zipper to right side of dress) to the other side of the back of the dress. This will entail a bit of twisting of the zipper. In the picture, the arrows are pointing to the zipper teeth. Sew this side zipper to the dress |
 |
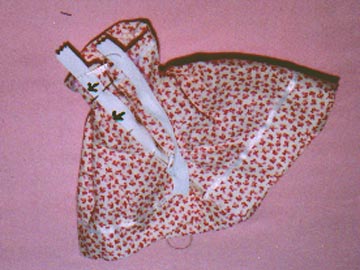 |
| 5.) Now that both sides of the zipper are sewed to to the 2 sides of the back of the dress, this is what you have, with the zipper zipped up. This process is very similar to doing an "invisible zipper". | 6.) With the zipper unzipped, pull the fabric of the dress over one side of the zipper, right up to the teeth of the zipper and press (iron) it down. In the picture, the arrow is pointing to the edge, after it is pressed. |
 |
 |
| 7.) At the very top of the zipper, you will need to attach the top stop (comes with the zipper!). You just squeeze them on with pliers. | 8.) Now, top stitch along side the zipper, 1/4 of an inch from the edge. (See picture, the black line.) Don't get the top stitching seam too close to the zipper teeth, or it will interfere with the zipper. Stitch from the top to the waistline. Repeat for the other side of the zipper/ back of dress. |
 |
 |
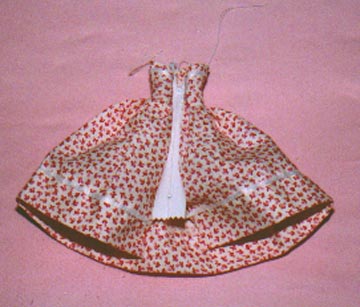
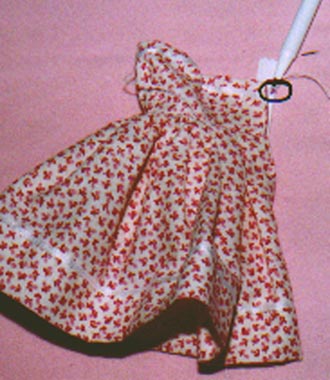
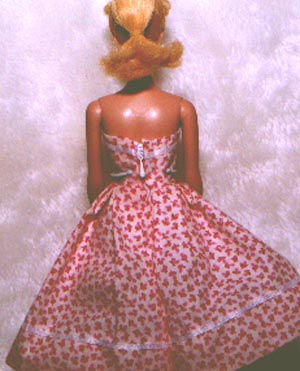
| 9.) Now, do the back seam of the dress. The top of the back seam must come higher than the bottom of the seam which holds the zipper in place. In the picture, the back seam is marked in black, and the top point is marked with a black pin. The zipper seam is marked in red, with a red pin marking the bottom of the zipper seam. Reinforce the back seam at the top. | 10.) Now, here's the back of the dress. All done! |
 |
 |
 |
 |
 |
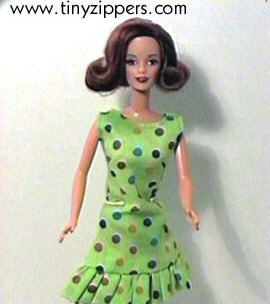
Here's the front - isn't she pretty?
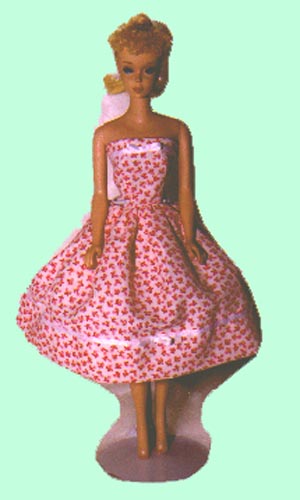
I used pattern pieces from McCall's P411. I've had my best luck with McCall's patterns.
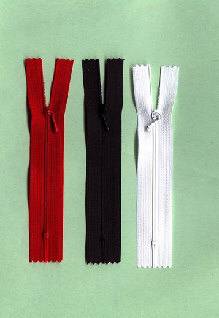
Here's a dress that was made from the pattern to the vintage Barbie® dress "Swirly Q". This pattern is available free with any zipper order! Visit the website for details!
Email Lisa with Sewing Ideas or Questions!
![]()
![]()
![]()
![]()
Barbie® is a registered trademark of Mattel®, Inc. Gene® is a registered trademark of Mel Odom and Ashton Drake. Candi® is a registered trademark of Hamilton Designs. Tyler Wentworth® is a registered trademark of the Robert Tonner Doll Company. Any other dolls mentioned are registered trademarks of their respective owners. This website and those who maintain it are in no way affiliated with the any above mentioned parties. The images of the dolls displayed are photos taken by the author(s) of the article and/or the designer featured. Please do not remove pictures and/or text from this website without permission of the webmaster and/or the photographer.