Sewing can be as simple as a straight line. If you can
sew a straight line, then you can sew this outfit. This column will
feature simple clothes for the beginner sewer. We will be creating
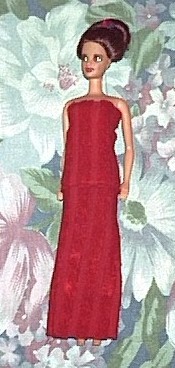
this easy but pretty 2 piece tube top and skirt with wrap. A 1 piece
sheath can also be made using the same technique. The design will fit
most 11-1/2" fashion dolls. The design requires no sewing machine and
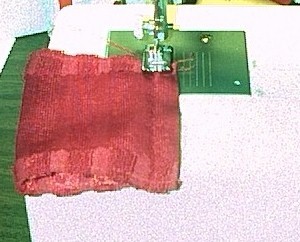
can be sewn by hand. A sewing machine was used to complete this
design. If you do not sew at all you can complete this design with
an iron-on hemming tape or stitch-witchery.
Fabric doesn't have to be expensive. This outfit was made from an existing skirt. There was an existing hem and side split which adds to the design and saves time.
Terms and definitions:
lengthwise - the long way
right sides together - fold with the outside of the fabric
touching. The part that shows after it is sewn.
| Materials: Ruler to measure the pattern pieces Rectangle pattern piece 4" x 2.5" for the top Rectangle pattern piece 8" x 2.5" for the skirt Beads, snap, clasp for wrap closure Scissors Straight pins Matching threads Fabrics: stretch fabric for the top and skirt Any favorite fabric for the wrap (black lace is used). Sewing machine with thread or, Needle and thread if hand sewing |
|
 |
 |
 |
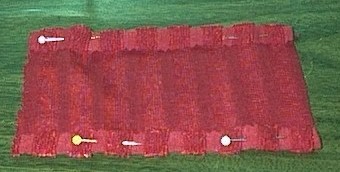
| Pin the tube top pattern piece on the fold of the material. Cut out the top on the 3 unfolded sides. | Do the same with the skirt. This piece of material is already hemmed so the skirt pattern is placed at the bottom of the piece of material. Only 2 sides of the material are cut out. The unfolded part and the unhemmed part.. | This is the outfit after it has been cut out. It has an optional
side split.
|
 |
 |
 |
| Measure the size for the wrap by putting the material around the doll. The size will depend on how tight or loose you want the wrap to fit and how long it will drape. Remember to add 1/2" to the size to allow for the hemmed edges. | Pin the top and bottom of the bodice. This will be the hem allowances.
|
This step is done to ensure the hems are even. Fold the top in half with the fabric's right sides together. Make sure the unfolded edges are even. If not remove the pins and make the necessary adjustments. Unfold the material and sew the top and bottom hem by hand or machine. |
|

|
|
| Fold the top again in half with right sides together.. Sew from
the top hem to the bottom hem.
|
Sew the top hem of the skirt. Fold the skirt in half with right sides
together. Sew from the top hem to the bottom hem.
Note: If a split is desired. Sew down to where you want the split to start. Do a couple of stitches in place without allowing the fabric to move in order to keep the end stitching tight. Fold the raw edges of the split back and sew either by hand or machine. |
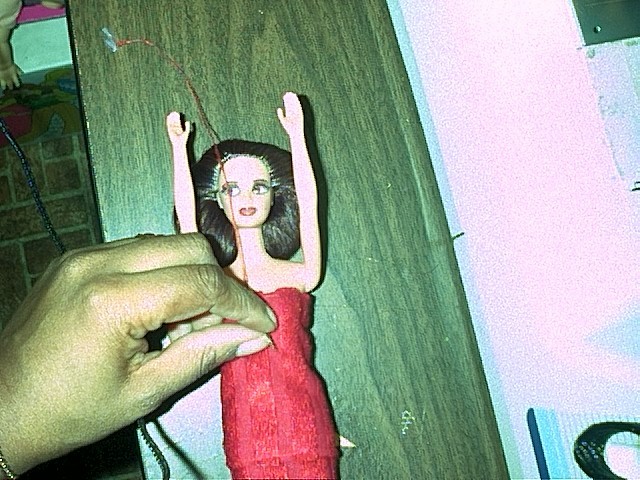
Put the outfit on the doll to test the fit. The split can be either
at the side, back or front of the design. If the design fits too loose,
restitch the seams or tie a belt around the waist. Straps can be added
using ribbon or beads. See sample designs below. |
|
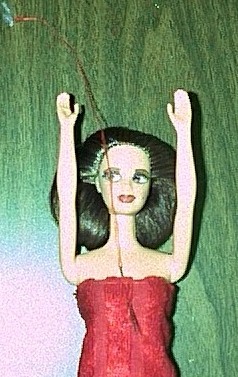
| Now we will gather the top to emphasize the cleavage. Thread a hand sewing needle and knot the end of the thread. Put the needle through the inside of the tube top and out throught the front about 1/4" from the top hem. Bring the needle up and back through the inside and out again, pull tight. Repeat this several times to gather the top. |
|
 |
|
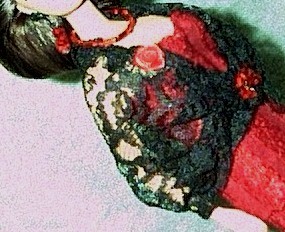
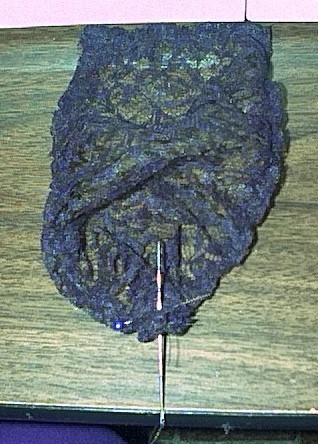
| Fold over one edge of the wrap. Sew a hem. Repeat for the other
3 edges. When making a lace wrap the material may crimp a little. This is alright. |
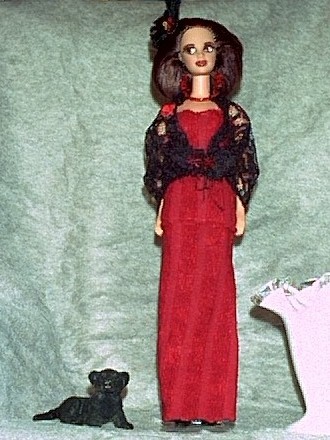
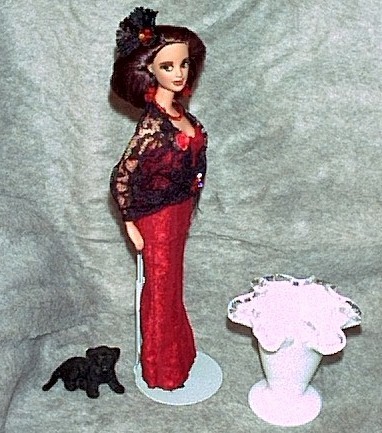
Now let's create the front closure. Gather in your hands one of the narrow edges of the wrap. Sew in-place. Place a bead on the front side. Repeat these steps for the other side. | Place the wrap around the doll. To close the front, wrap a thick piece of thread around each of the beads and tie a bow in the front. Add roses, beads and other embelishments. I used a single rose. |
 |
 |
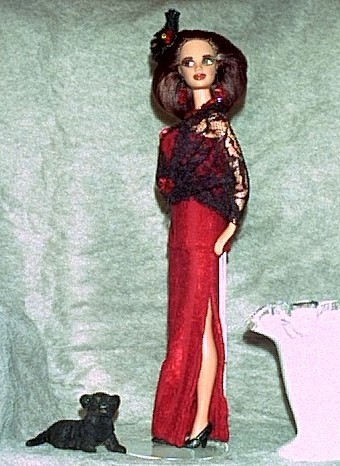 |
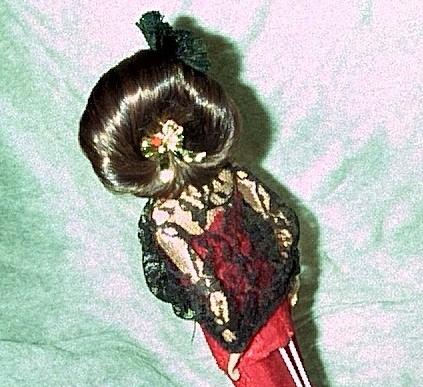
Add your favorite jewelry and hair accessories to personalize your designs. Many things can be done to enhance this design. Try some of these:
Add a belt |
||
Here are several other designs that use the same pattern or a part of the
same pattern.
 |
 |
 |
|
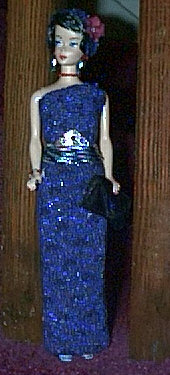
| Gevaughn has a beaded strap added to one shoulder of her fashion. She also wears a manufactured belt. |
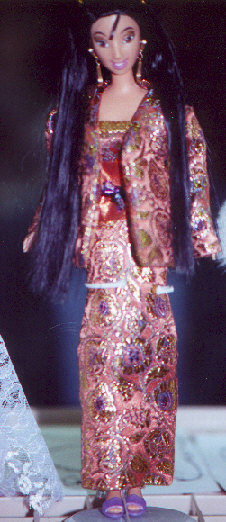
The belt and jacket that Copper and Gold wears adds a special touch. Non- stretch material needs to be cut a little larger.
|
Lyndsee wears a skirt with a jacket. Boots, a hat and a hat box purse is added. Watch for this jacket in a future issue. Add elastic to the top of the skirt or leave a small opening at the top when sewing the back seam. Sew on snaps for closure.
|
Precious Jewel has a piece of lace ribbon tied around the hip with
a bow in the back. A button is sewed to gather the front. Beads
and lace trim the botton. |
 |
 |
 |
| Mara - This fabric already had pleats. The pattern was cut a little larger
since the fabric doesn't stretch. Elastic was added inside the top hem and a ribbon tied around the top and waist. |
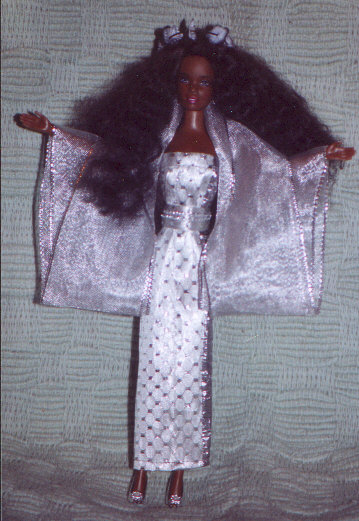
An angel wears this fashion. This wrap is a piece of ribbon stitched with right sides together at the back. Feathers and other accessories are included. This dress was made from the sleeve of a velvet top. The pattern was not placed on a fold therefore there is a front and rear seam.
|
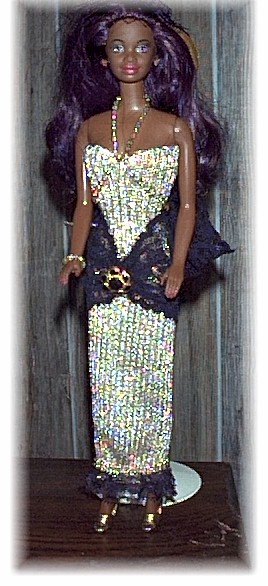
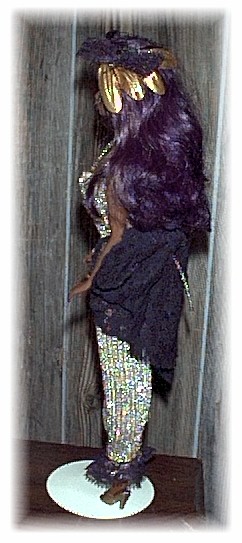
The complete design on this Millenium lady was made from ribbon. LET YOUR CREATIVE JUICES FLOW! |
Barbie® is a registered trademark of Mattel®, Inc. Gene® is a registered trademark of Mel Odom and Ashton Drake. Candi® is a registered trademark of Hamilton Designs. Tyler Wentworth® is a registered trademark of the Robert Tonner Doll Company. Any other dolls mentioned are registered trademarks of their respective owners. This website and those who maintain it are in no way affiliated with the any above mentioned parties. The images of the dolls displayed are photos taken by the author(s) of the article and/or the designer featured. Please do not remove pictures and/or text from this website without permission of the webmaster and/or the photographer.