The shutter release button was knocked off, and needed to be re-attached to the camera.
the shutter release button is attached to the top plate of the camera. it was somehow knocked off, and the top plate was also deformed a bit.
to access the top plate, the front plate needs to be removed first, and in order to do that, i chose to remove the self- timer lever first. the screw is a normal RH screw.
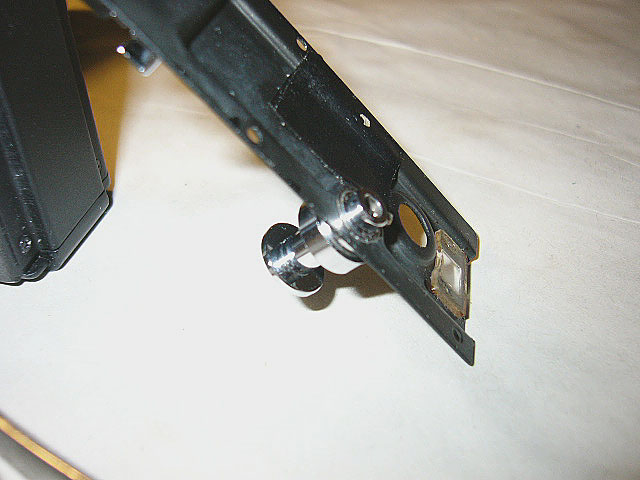
then the film rewind knob was removed. it was done with the usual way of putting a screwdriver in the fork, then twisting the knob off. its thread is RH'ed.
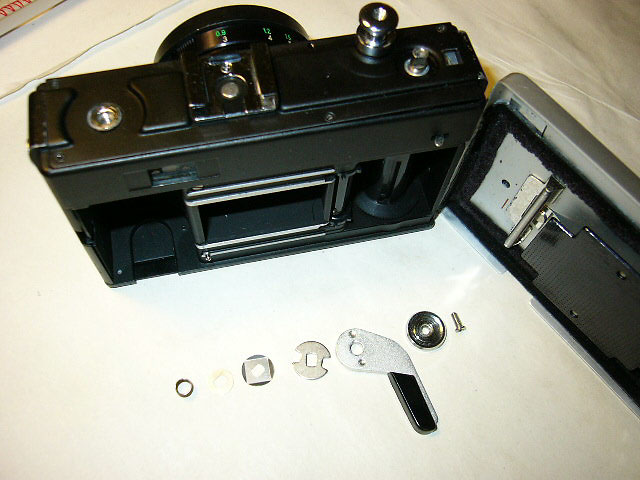
the film advance lever was the next removed. there was a small, round, thin, decorative metal plate glued onto the top of the lever, which i pried off, revealing the screw holding the lever in place. it is a RH'ed screw. there are some washers and a coil spring underneath the lever. a note was made about them, so that later i could put them back in the correct order.
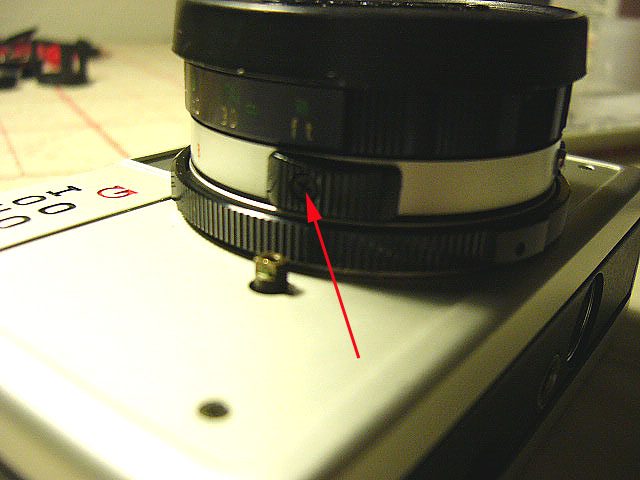
since the shutter speed "ring" and the aperture ring would be in the way of removing the front plate, the shutter speed "ring" was removed the next. removing this screw, the black plastic piece became free to be taken out.
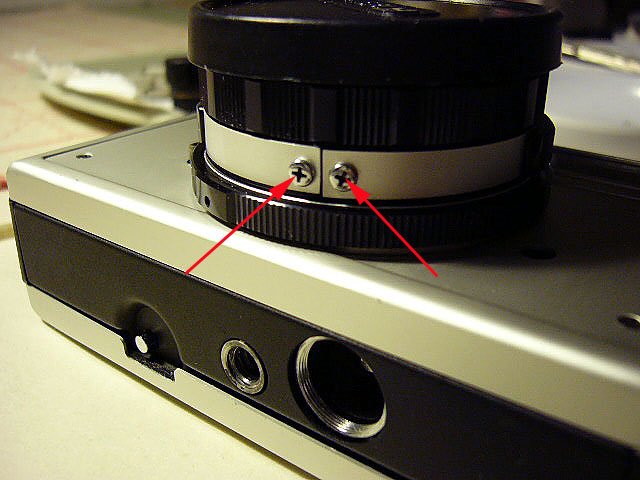
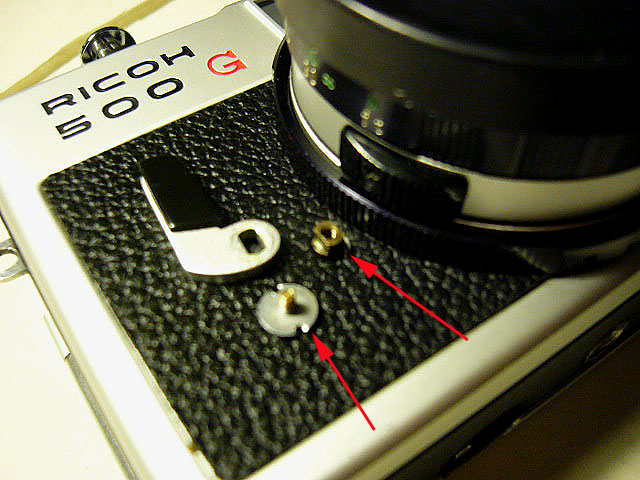
then these two screws were taken out. the shutter speed "ring" sprang free.
there are three tiny screws at 120-deg separation around the aperture ring. loosening them just enough would allow the ring to be slipped off the lens barrel.
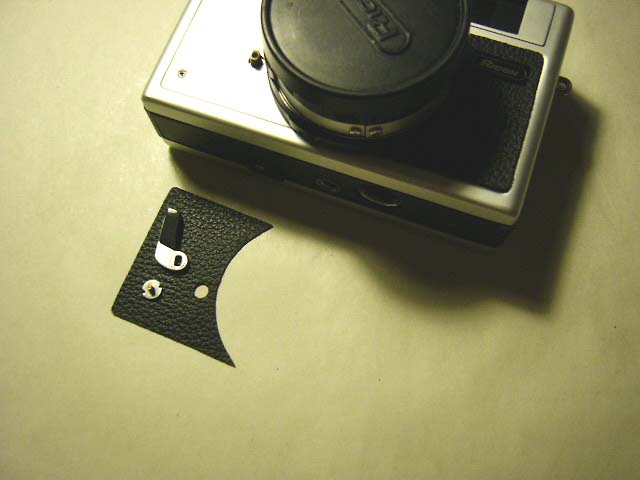

the leatherette was removed the next, revealing four screws, one at each corner, securing the front plate in place.
with these four screws taken out, the front plate was free to be lifted off the camera body.
Special Notes:
when i was done with the fixing and put every thing temporarily back for a test roll, i only put two of these four screws back on, and did away with the leatherette. i got terrible light leaks! i thought it was a problem was with the new light seal i put on earlier, and added additional strips all around. the same terrible light leaks! i later discovered that all these four screw holes actually go through the film chamber! so be sure to put all four screws back on, and put the leatherette back on too, just to be safe.
the leatherette was not brittle, nor was the glue difficult to lift the leatherette from.
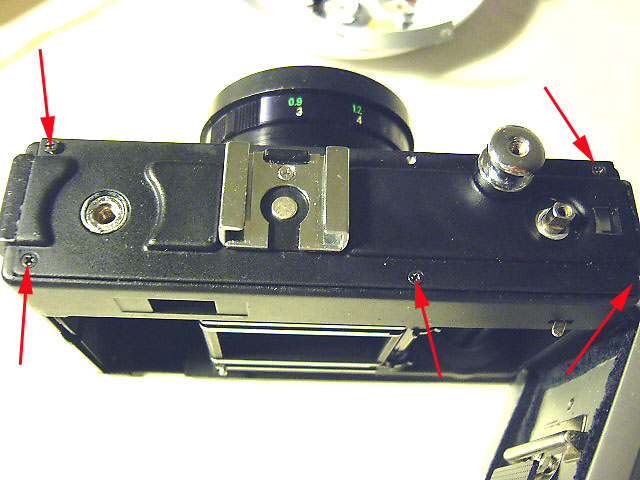
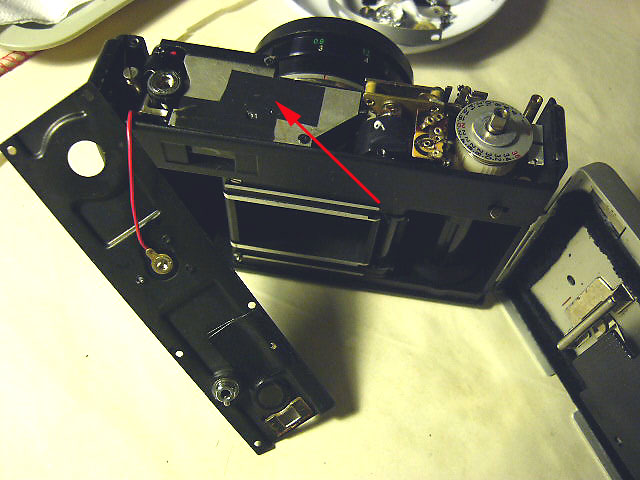
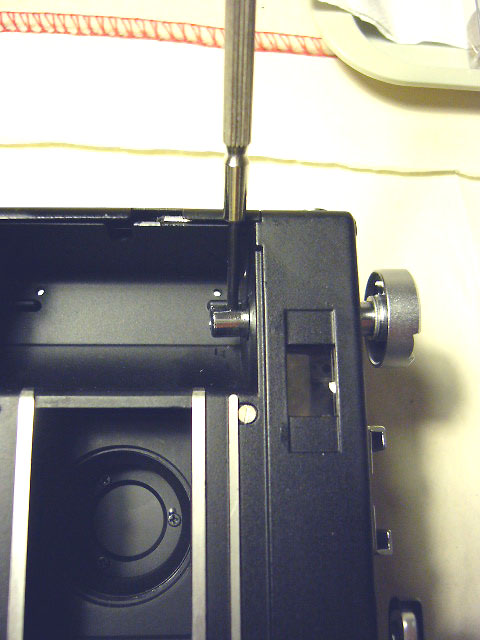
now, nothing was stopping the top plate to be removed, other than thees five screws holding it down.
the red arrow in the second picture shows the cap of the rangefinder enclosure.
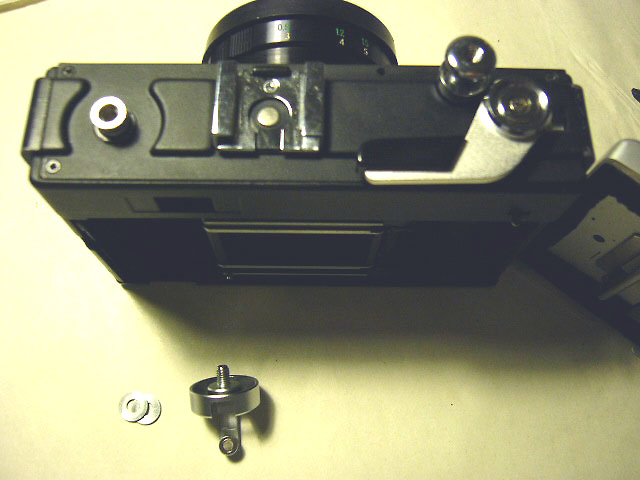
the deformation of the top plate was corrected with a pair of pliers, and the shutter button was put back on. the collar of the shutter botton was held in place with a tight fit. it readily snapped into place, when a little force was applied.
| Ricoh 500G Repair |